VIDEOR 1250 GSA Dynamic Upgrade — short ride
 PHAD MOTORRADPremium Journey Engineering
/
BMW MOTORRAD · BMW · MINI
MAKE LIFE APREMIUM RIDE.
Software, coding and retrofit solutions engineered to unlock the functions, performance and experience your vehicle was built to deliver.
Beyond a conventional workshop
We help your vehicle’s original systems achieve more.
Every project begins with the vehicle itself—its model, production year, equipment, software and the owner’s goals—so the right approach is confirmed before work begins.
DYNAMIC UPGRADE DETAIL
Awaken the excitement.
Software and solutions for BMW Motorrad, BMW and MINI—developed to elevate efficiency, performance and the complete riding or driving experience.
Escape the old routineFind new passion in every rideMake Life A Premium Ride
CHECK YOUR VIN ↑BMW MOTORRAD
Adventure & Touring
R 1300 GS/GSA/RS/RT/R, R 1200/1250 GS/GSA/RT/RS/R, K 1600 B/GA/GTL, R 18, R nineT, F 750 GS, F 850 GS/GSA, F 900 GS and related platforms.Dynamic Upgrade performance
- 01More torque and power, depending on the motorcycle platform
- 02Faster acceleration and reduced throttle-response delay
- 03Smoother transmission and gear-shifter operation
- 04Smoother, stronger ABS and improved engine braking
- 05Smoother traction-control intervention
- 06Firmer and more controlled suspension response
Additional functions where supported
- 01M Sport display with 1+3 Sport screens for supported GS/GSA/XR/R (2018–2024)
- 02Cruising light for supported models from 2015; selected R 1200 RT and K 1600 from 2019
- 03Settings on the go for supported TFT motorcycles (2018–2024)
- 04Six-step heated-grip control for supported TFT models
- 05Top-speed configuration where supported
- 06Digital speed display for supported older RT and K 1600 instrument clusters
BMW MOTORRAD
Sport
S 1000 RR/XR/R, F 900 XR/R, R 1200 R/XR, R 1250 R/XR and R 1300 R/XR.A customer dyno test of a 2023 S 1000 XR recorded 159.88 wheel horsepower, calculated at approximately 188.09 engine horsepower after Dynamic Upgrade — an increase of about 23 hp for that vehicle.
Dynamic Upgrade performance
- 01More torque and power, depending on the motorcycle platform
- 02Faster acceleration and reduced throttle-response delay
- 03Smoother transmission and gear-shifter operation
- 04Smoother, stronger ABS and improved engine braking
- 05Smoother traction-control intervention
- 06Firmer and more controlled suspension response
Additional functions where supported
- 01M Sport display with 1+3 Sport screens for supported 6.5-inch TFT models
- 02Cruising light for supported models from 2015
- 03Settings on the go for supported TFT models
- 04Six-step heated-grip control for supported TFT models
- 05Top-speed configuration where supported
- 06Software update to a supported current version
BMW MOTORRAD
Scooter
C 400 X/GT (2019, 2021 and 2025 versions), C 650 GT/Sport from 2016, CE 04 and CE 02.Dynamic Upgrade performance
- 01Increased power and torque
- 02Faster throttle response with reduced delay
- 03Smoother traction control for riding and cornering
- 04Smoother ABS operation with shorter braking response
Additional functions where supported
- 01M Sport display with 1+3 Sport screens for supported 2019/2021 C 400 GT/X
- 02Cruising light where supported
- 03Settings on the go for supported 2019/2021 C 400 GT/X
- 04Six-step heated-grip control
- 05ASC enablement for supported 2021-onward C 400 GT/X
- 06Touring-style display coding for the 2025 C 400 GT large TFT
STAGE 2
AFR Mapping
S 1000 R/RR/XR, R 1200 and R 1250 GS/GSA/RT/R/RS, K 1600 B/GA/GTL, R nineT, R 12 G/S, F 750 GS, F 850 GS/GSA, F 900 R/XR/GS and supported R 1300 variants.Stage 2 AFR Mapping uses an original BMW calibration file—not a generic custom tune—to balance the air/fuel ratio for a full-system exhaust according to the supported BMW configuration.
Dynamic Upgrade performance
- 01Approximately 4–5 engine horsepower increase where supported
- 02Reduced low-RPM jerking
- 03More balanced throttle response and faster acceleration
- 04Stronger response at higher RPM
- 05Reduced engine operating temperature
Hardware requirements
- 01Replace the stock header with a full-system titanium exhaust
- 02Replace the stock air filter with a high-flow air filter
- 03Install a Servo Buddy or supported software solution when required to prevent a servo error
WHAT CHANGES
Dynamic Upgrade features
Every vehicle is checked by VIN and Type Code before the supported configuration is confirmed.
- 01Latest software version update
- 02Increased torque and horsepower
- 03Crisper throttle response
- 04Faster acceleration with reduced delay or lag
- 05Smoother and firmer suspension response
- 06Smoother automatic gear operation
- 07Improved ABS and engine-braking efficiency
- 08More effective traction-control operation
- 09Maximum-speed configuration where supported
BMW & MINI · F / G / U / I - SERIES
Dynamic Upgrade
Software optimization for supported BMW and MINI vehicles, using the vehicle's existing capability with no additional performance hardware required.
Software OptimizationSafe-Zone CalibrationNo Hardware Required
CHECK YOUR VIN ↑SUPPORTED VEHICLES
BMW & MINI F / G / U / I - Series
VIN confirmation identifies the Type Code, chassis generation and supported programming family before an appointment is confirmed.
ELIGIBILITY
- 01Submit the vehicle's 17-character VIN
- 02The system identifies Type Code and chassis generation
- 03Phad Motorrad confirms the supported configuration
CAPABILITIES
Specialist Services
Solutions for BMW Motorrad, BMW and MINI.
 01
0101
Efficiency & Performance
Dynamic Upgrade↗
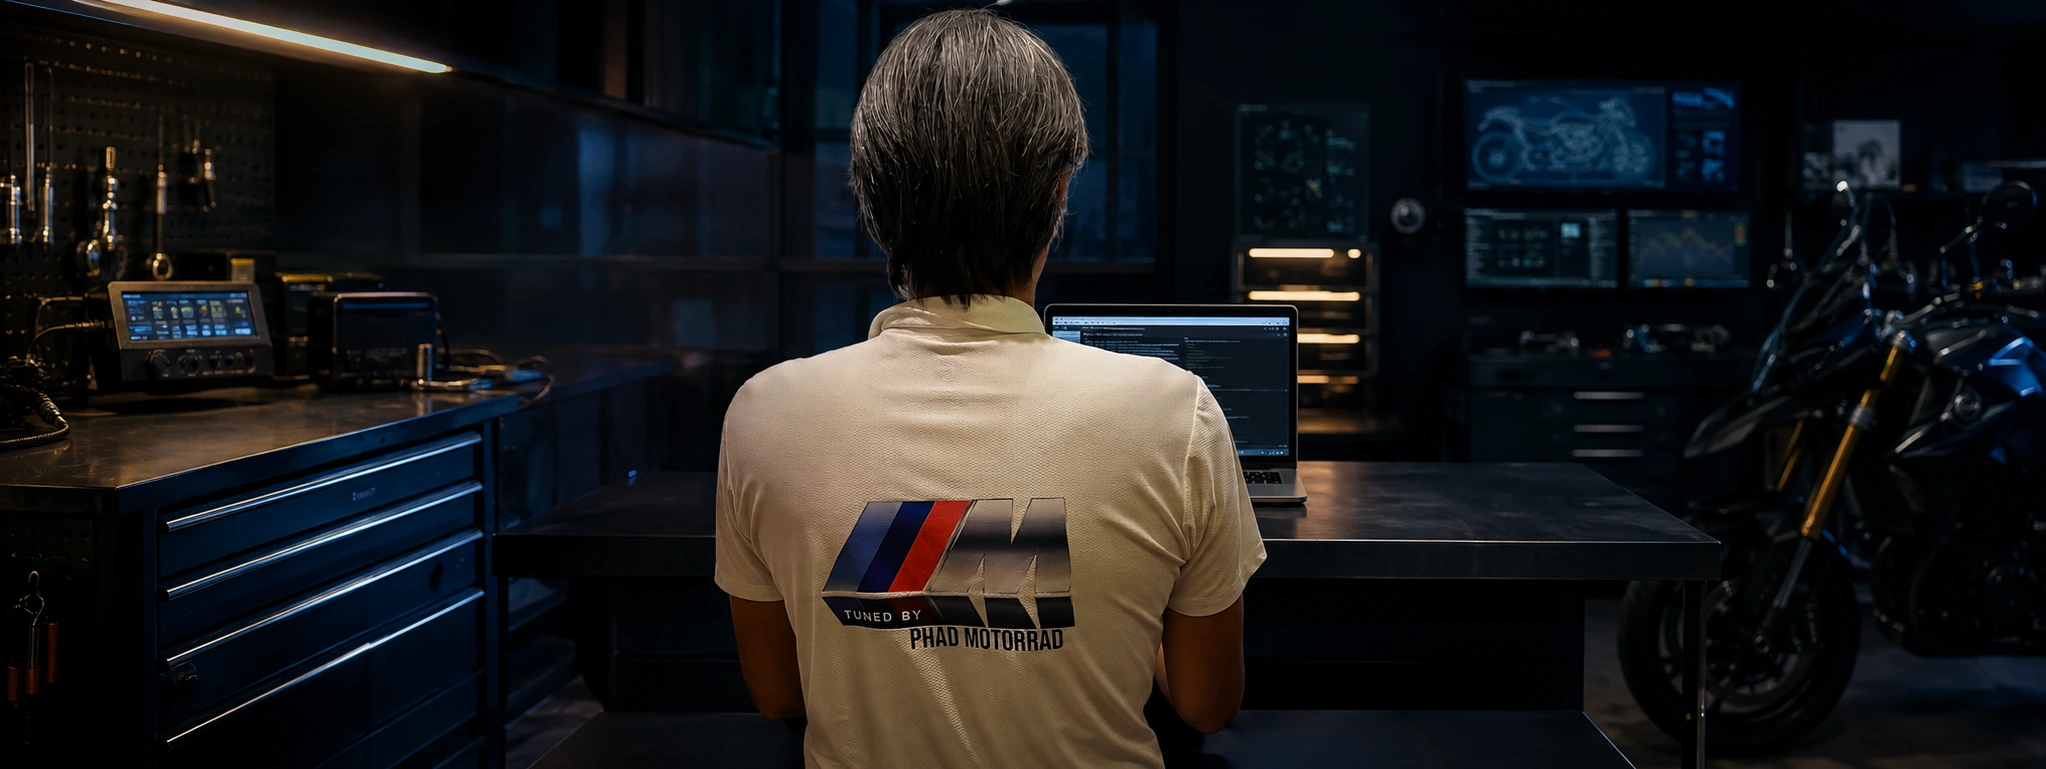
Software calibration engineered to enhance response, performance and the driving experience for BMW Motorrad, BMW and MINI.
 02
0202
Configuration & Programming
Software & Coding↗
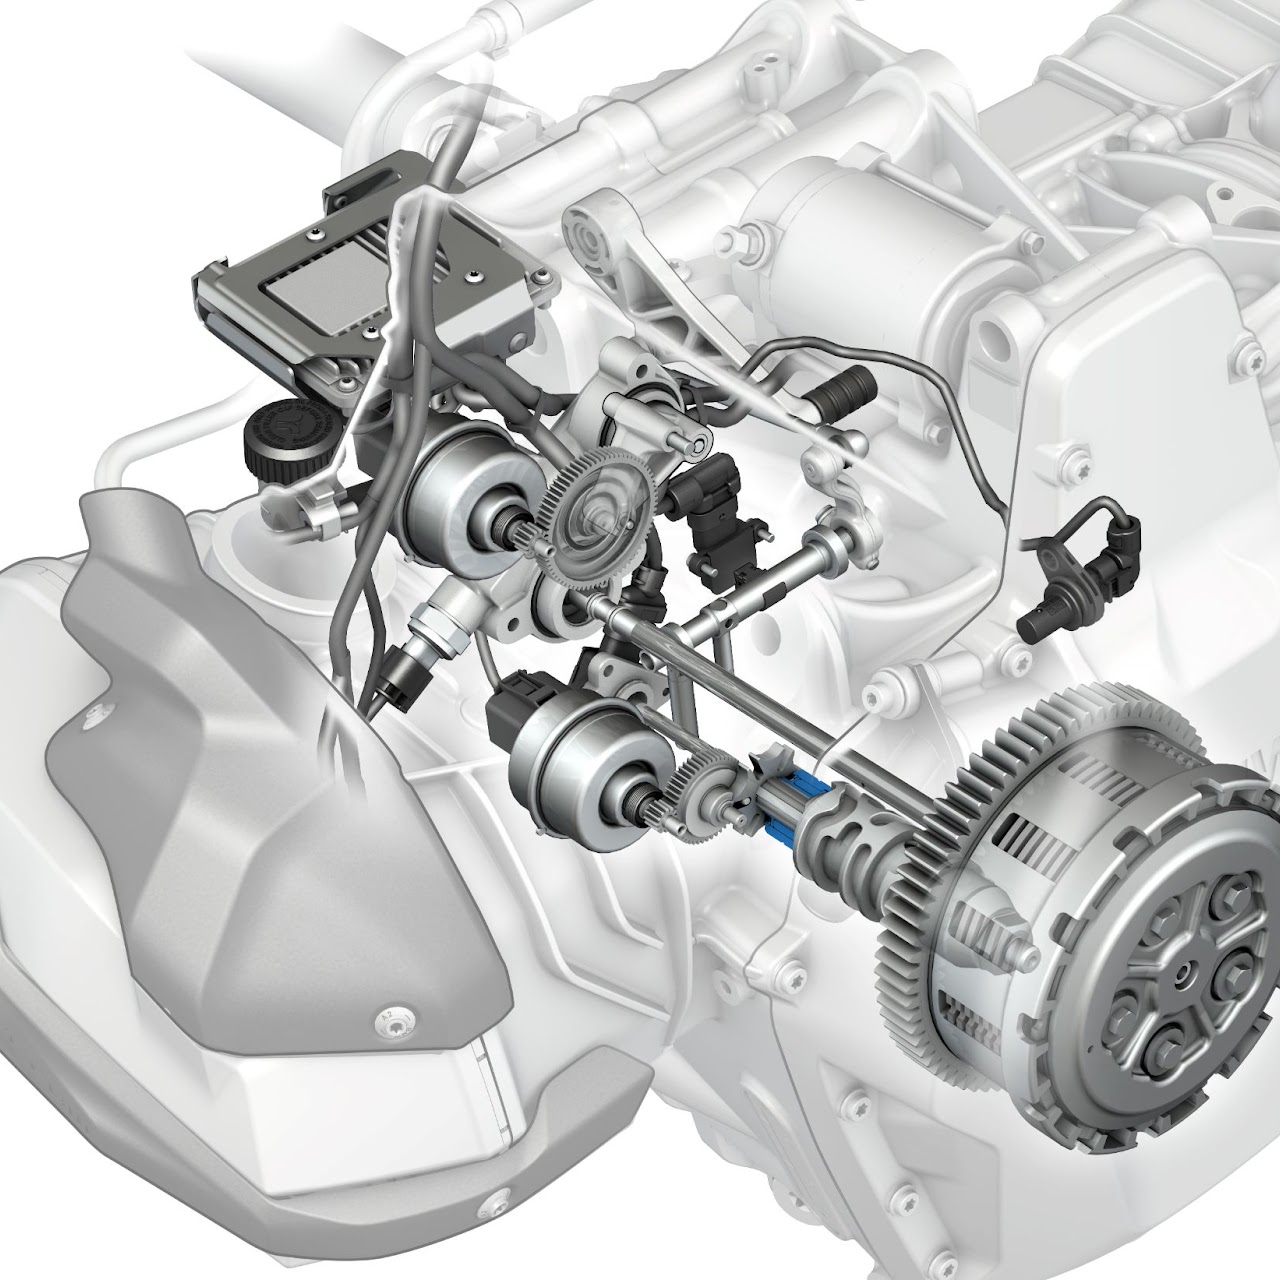
Coding, programming and software upgrades configured around the vehicle, its equipment and the owner’s requirements.
 03
0303
Remove / Add-on
Retrofit & Options↗
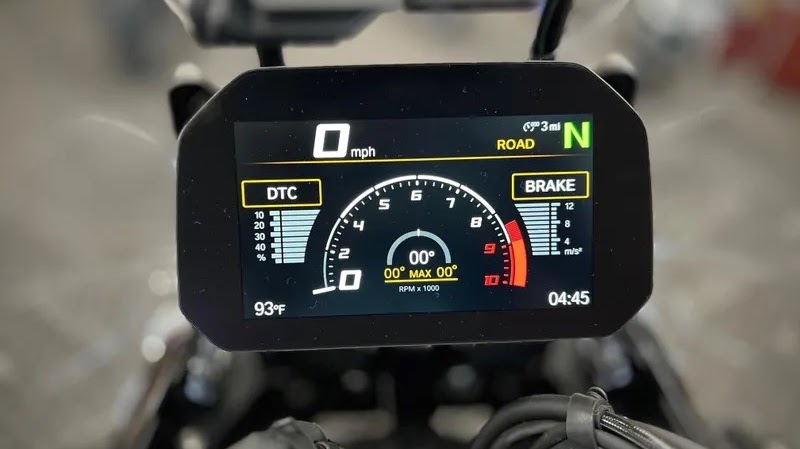
Factory-style option upgrades and retrofits, verified against the model, production year, equipment and compatibility before work begins.
 04
0404
Remote Operation
Online Tools & Support↗
Remote services through a Windows PC using the appropriate ENET/OBD2 connection, remote software and vehicle-specific tools.
NCD 2.0
NCD 2.0 Retrofit & Coding
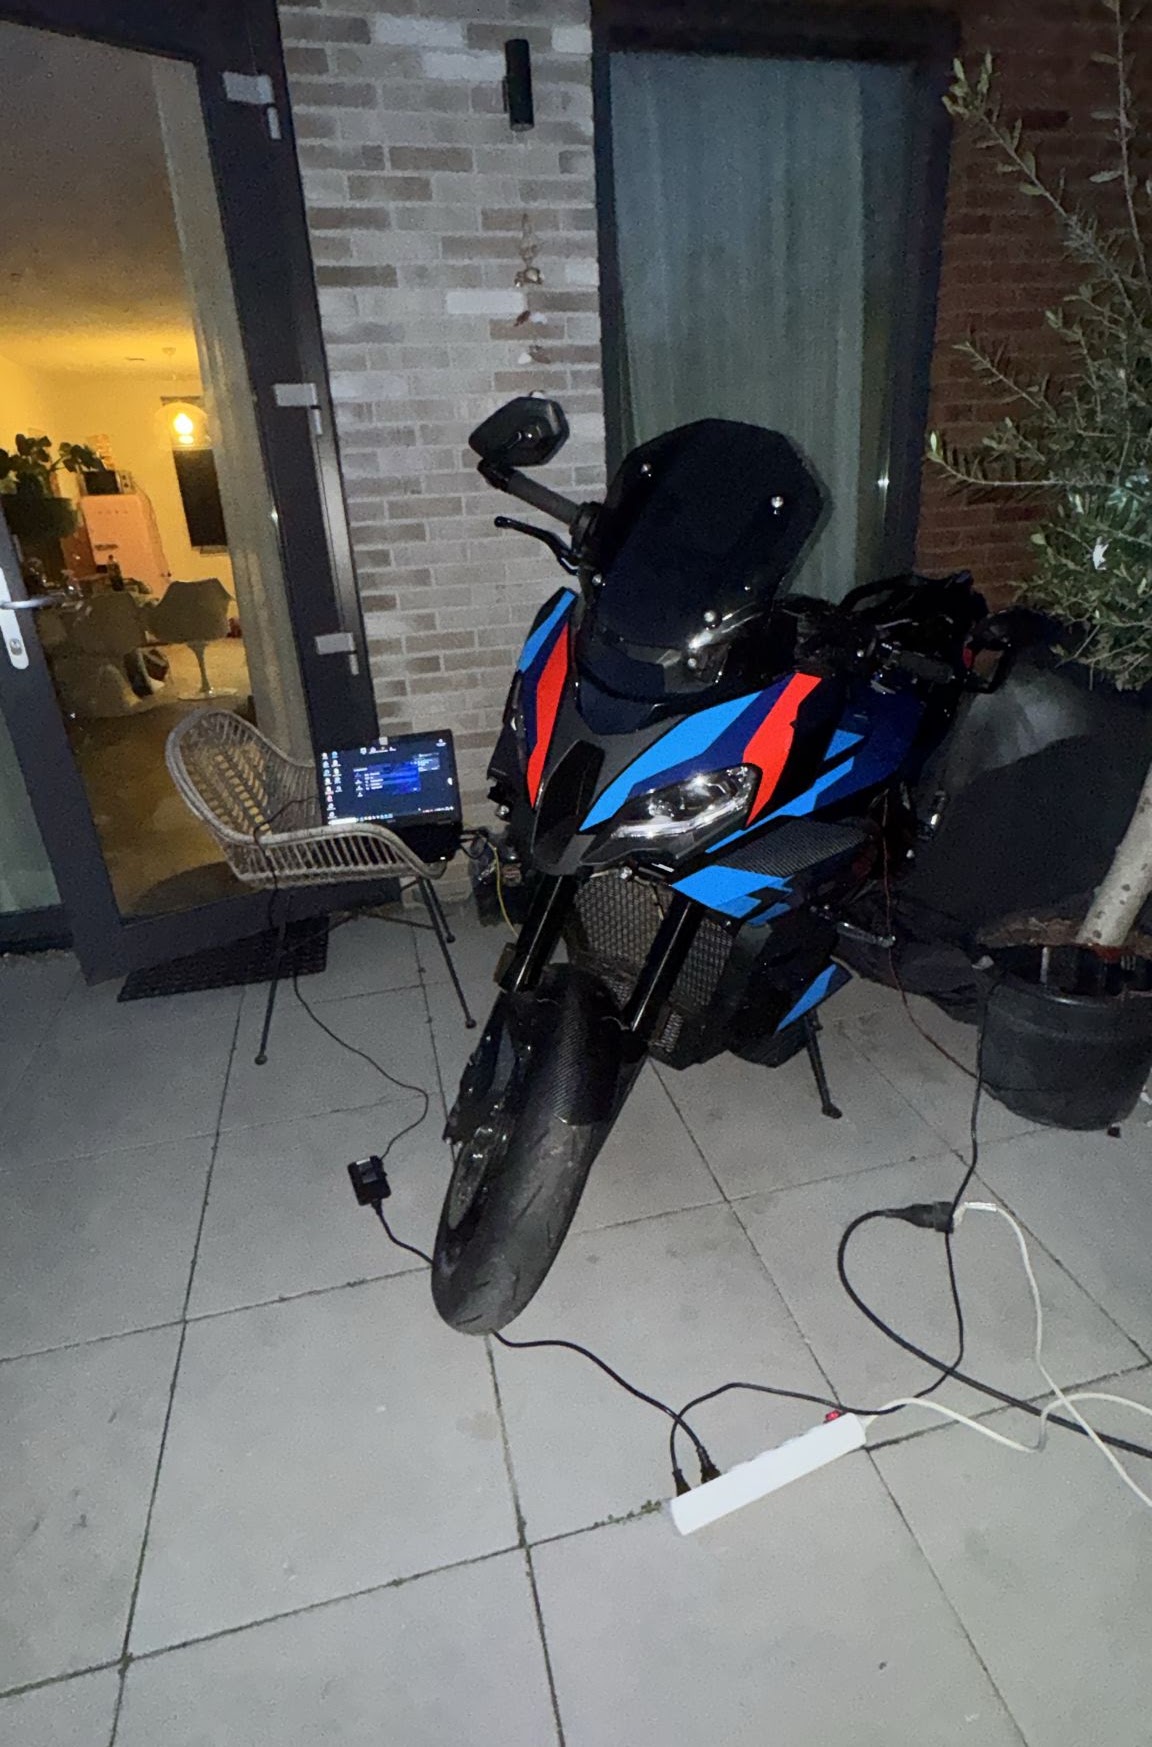
NCD 2.0 secures BMW control-unit coding by requiring NCD (Netto Codier Daten) files to be signed through BMW backend services. Introduced in late 2019 and used across newer G Series platforms, it prevents unsupported offline modification of protected ECUs.
Online signing replaces previous offline workflows for protected NCD files.
Phad Motorrad provides NCD 2.0 solutions for supported Retrofit and Coding work on newer BMW, MINI and BMW Motorrad vehicles.
SUPPORTED WORK
NCD 2.0 Retrofit
01 · M 1000 XR
NCD 2.0 & AFR Mapping for Full System Titanium Exhaust
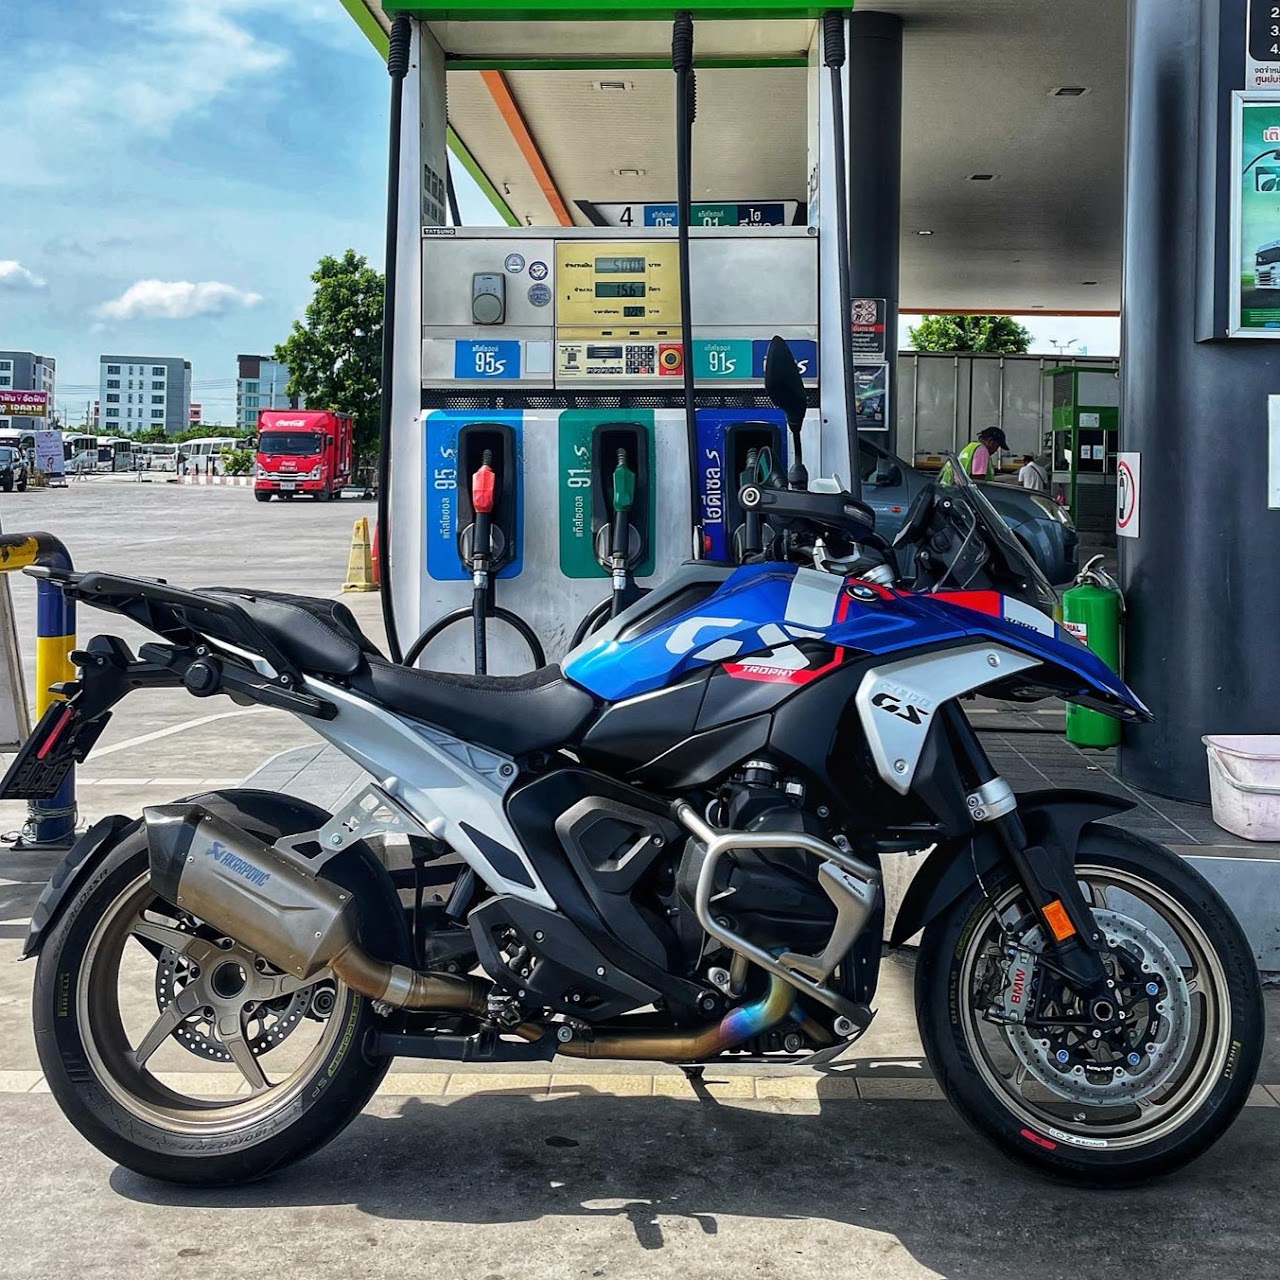
02 · R 1300 GS
Retrofit 19-inch wheels to 17-inch wheels + AFR Mapping
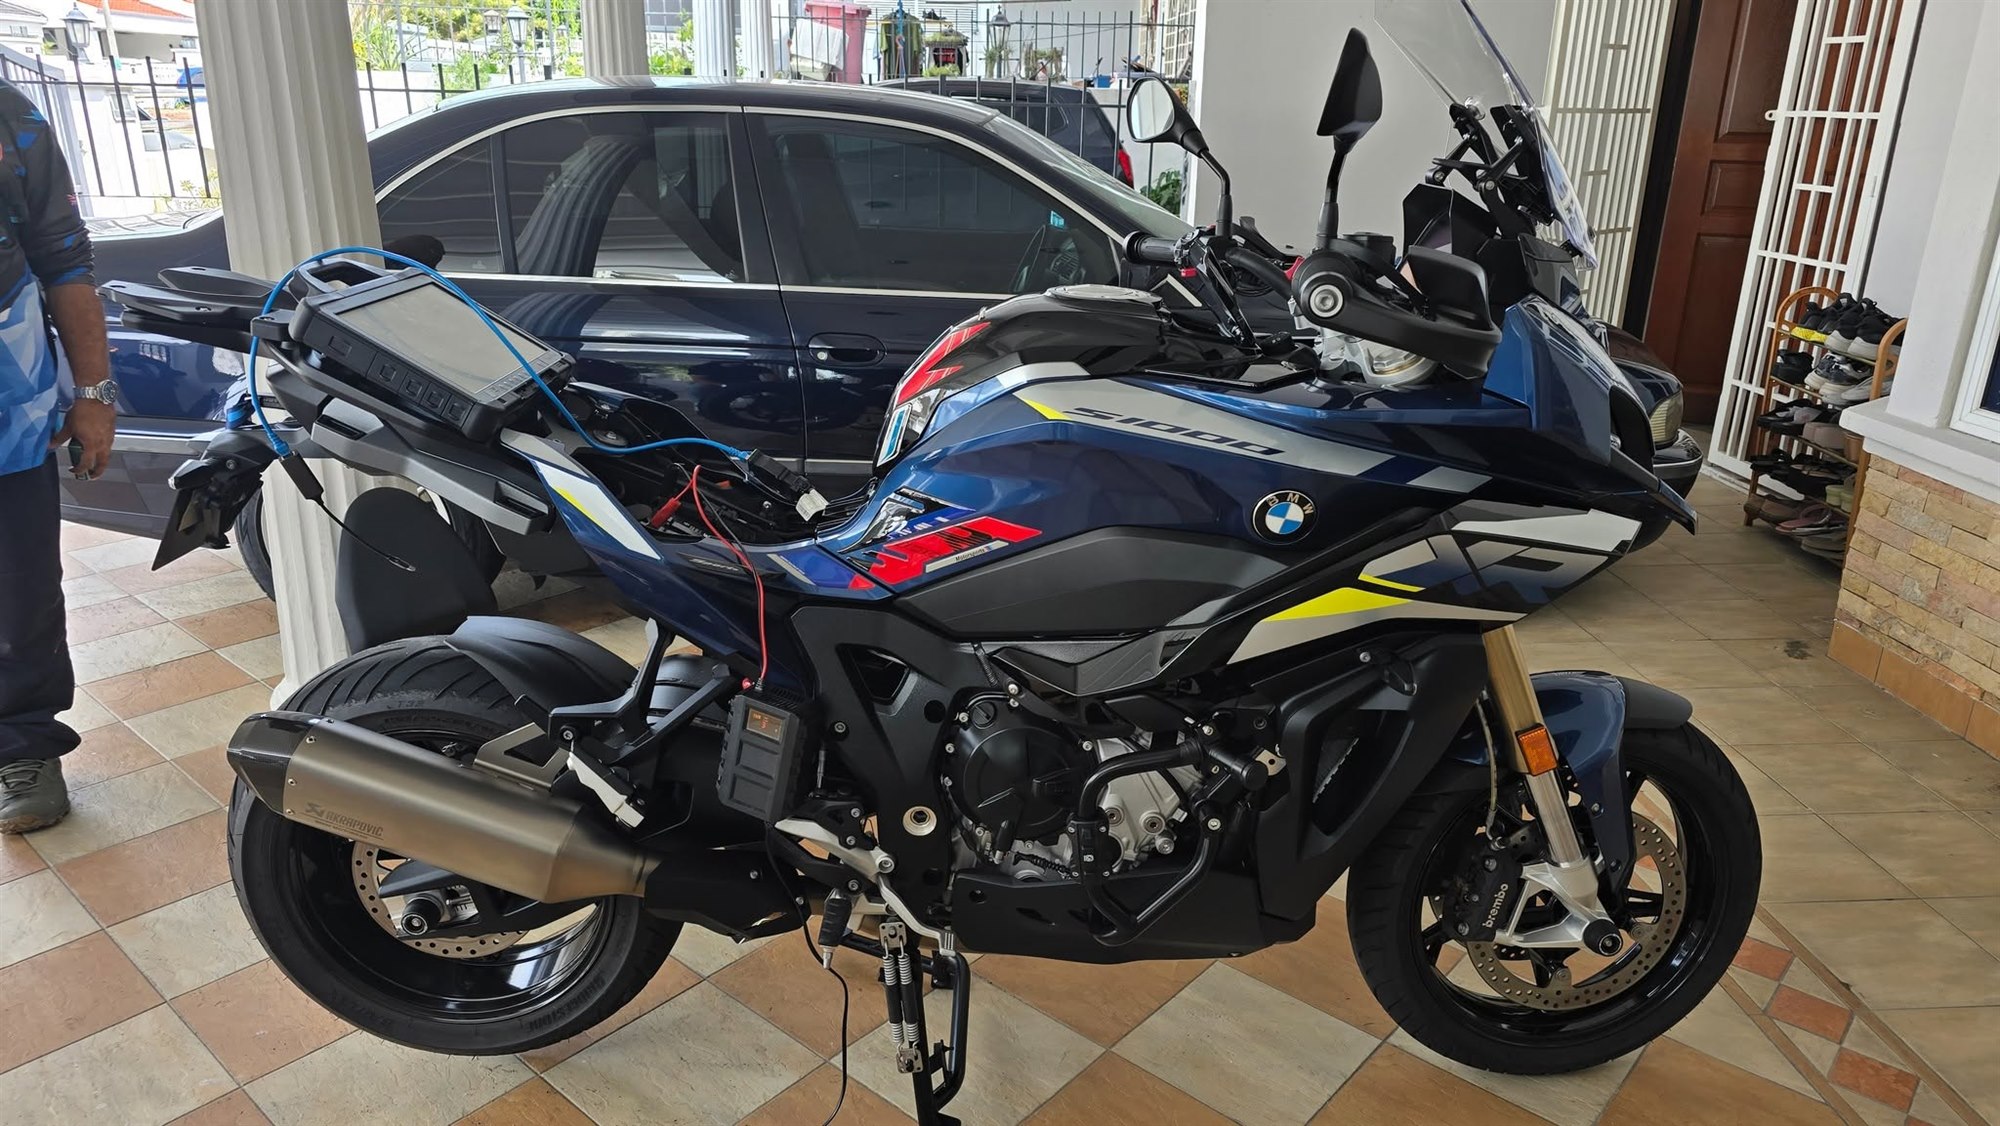
03 · S 1000 XR
NCD 2.0 & Dynamic Upgrade
04 · R 1300 GSA
NCD 2.0 full coding + AFR Mapping
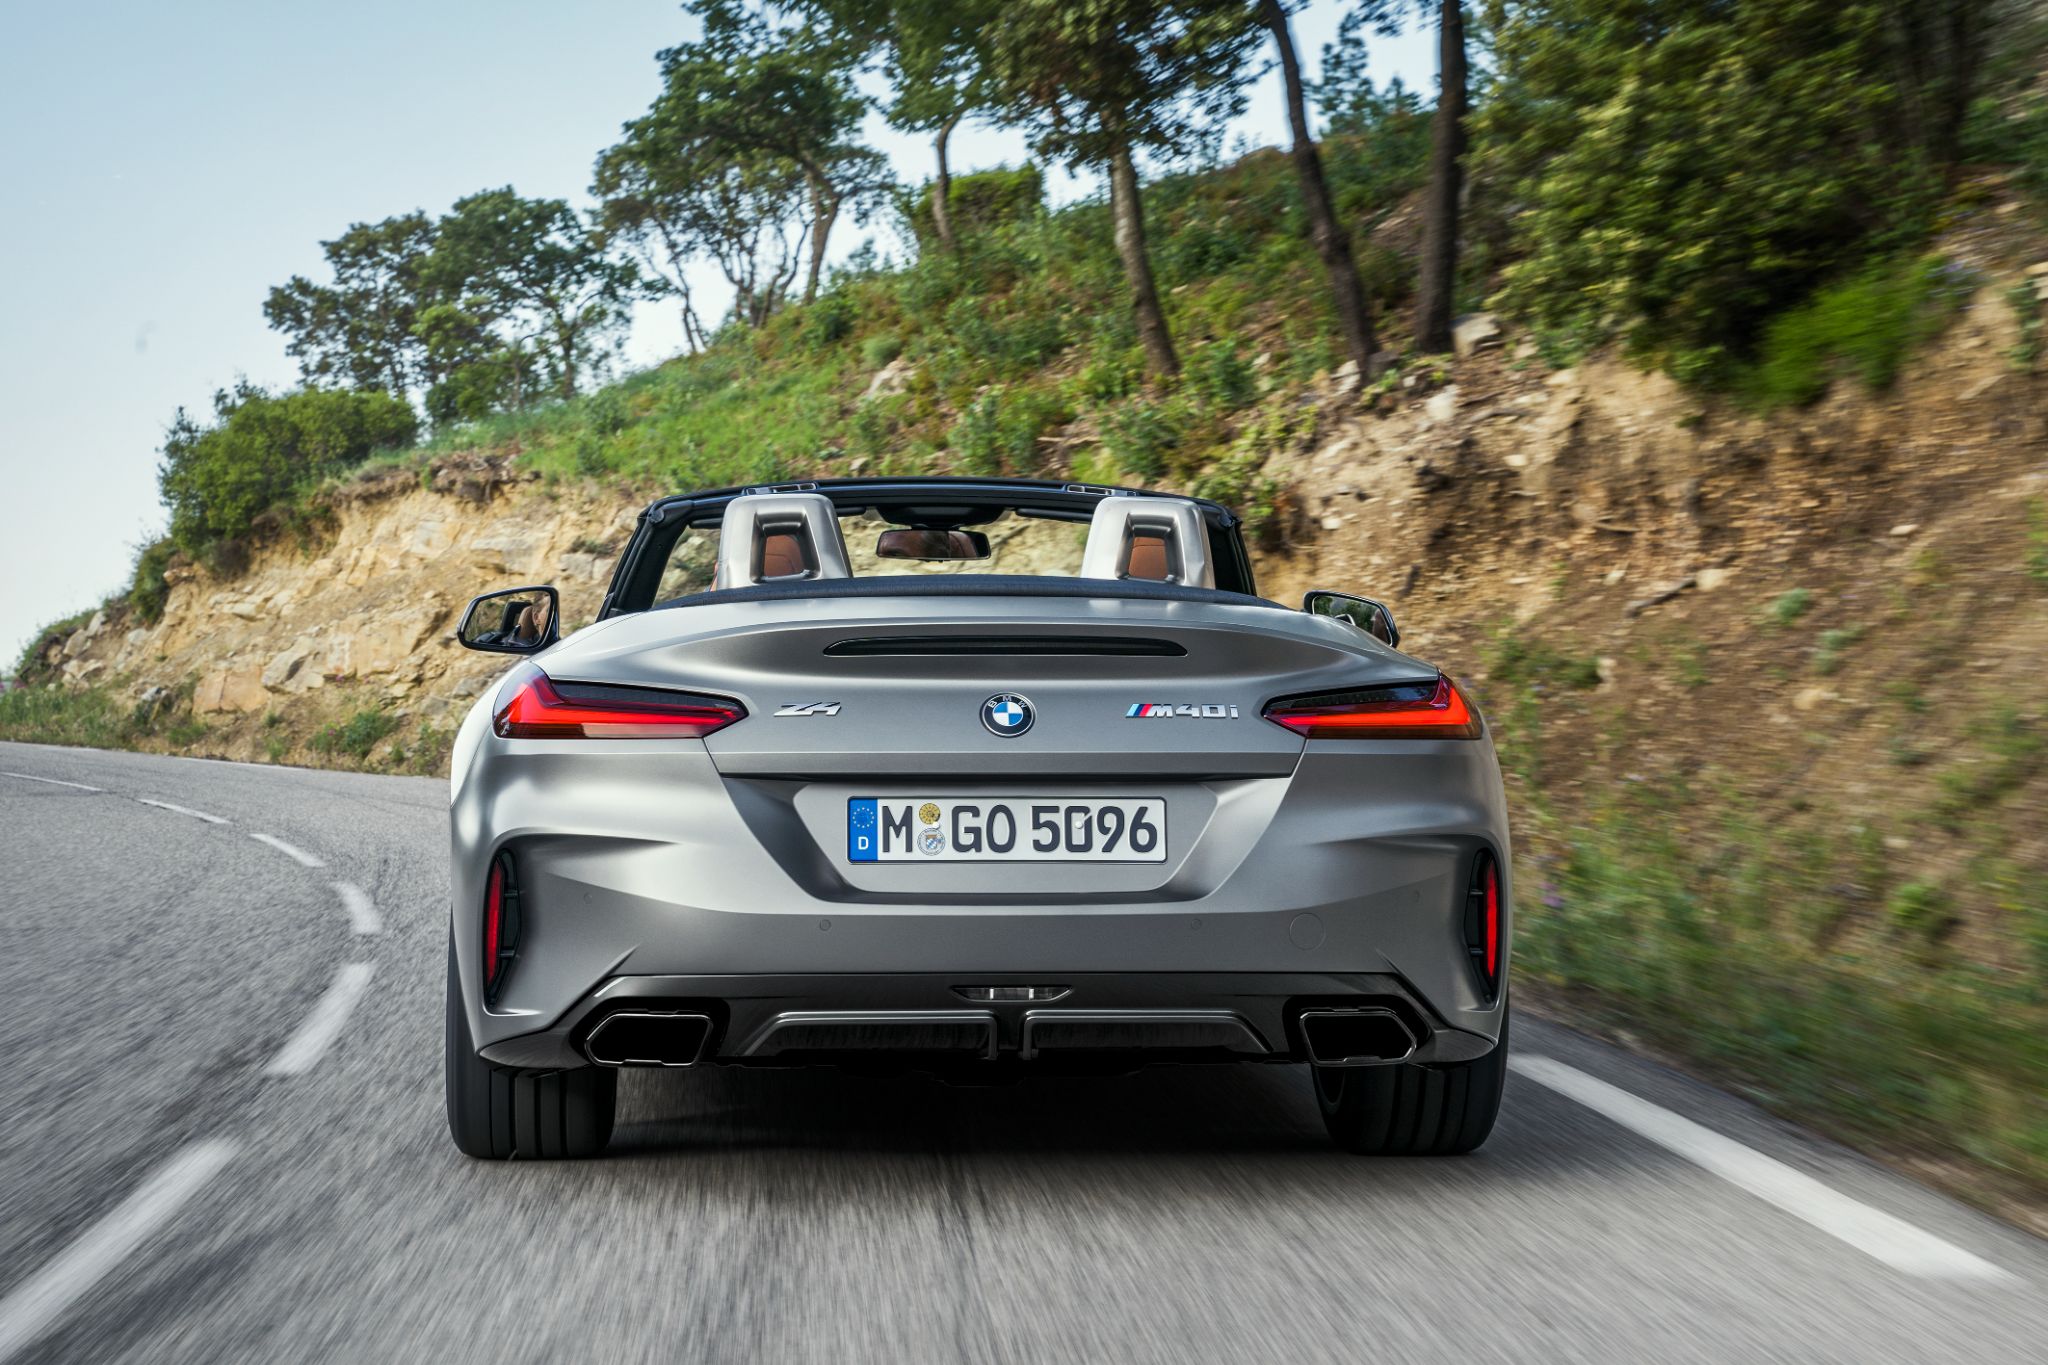
05 · BMW Z4
NCD 2.0 Coding
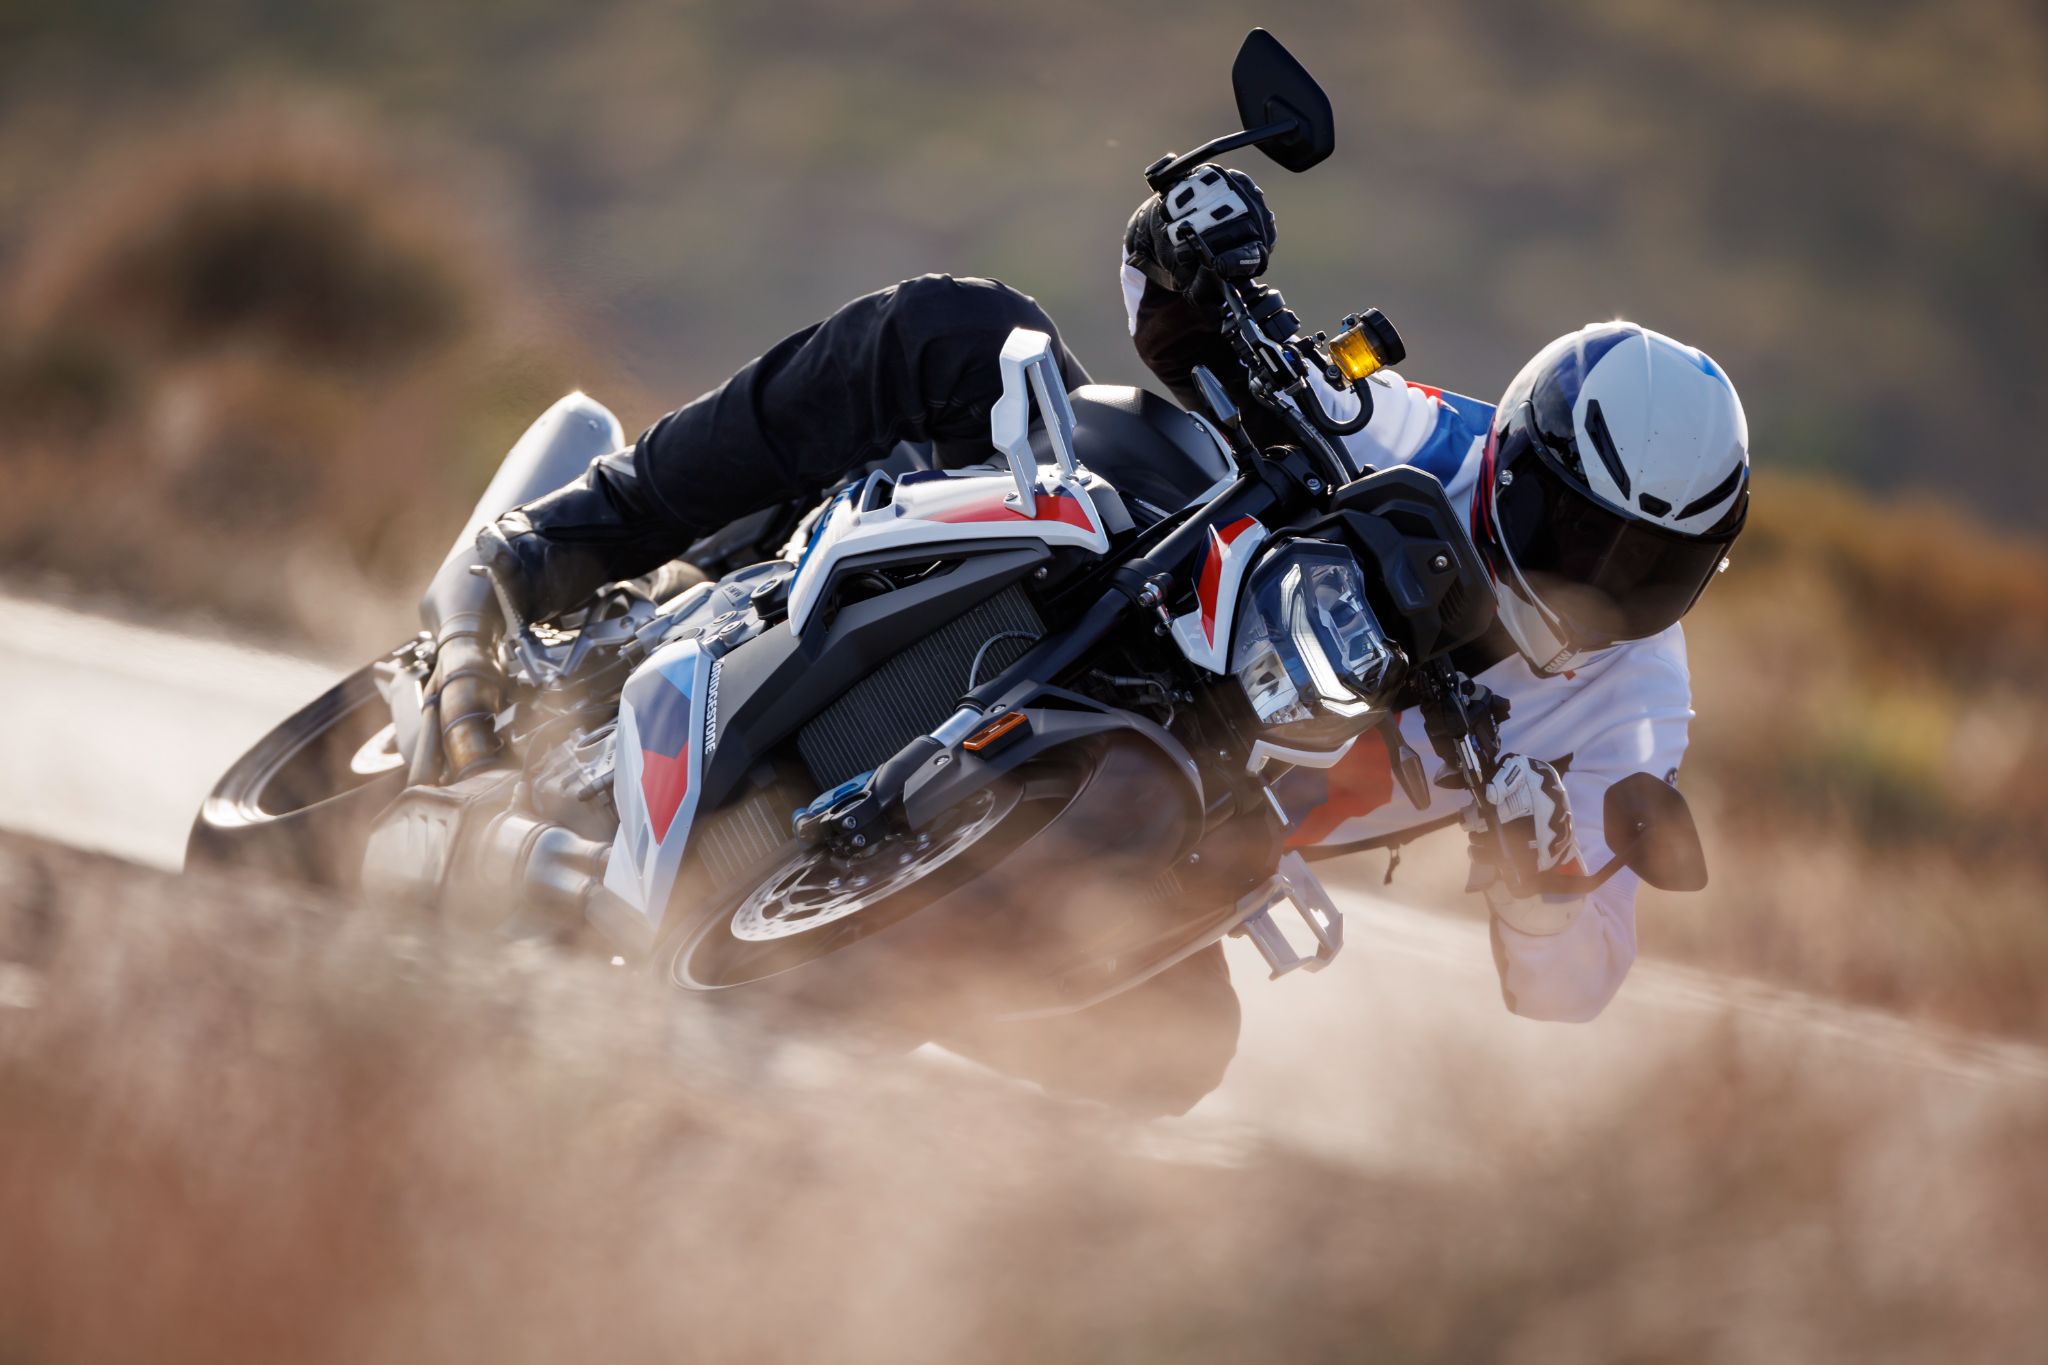
06 · M 1000 XR
NCD 2.0 Coding
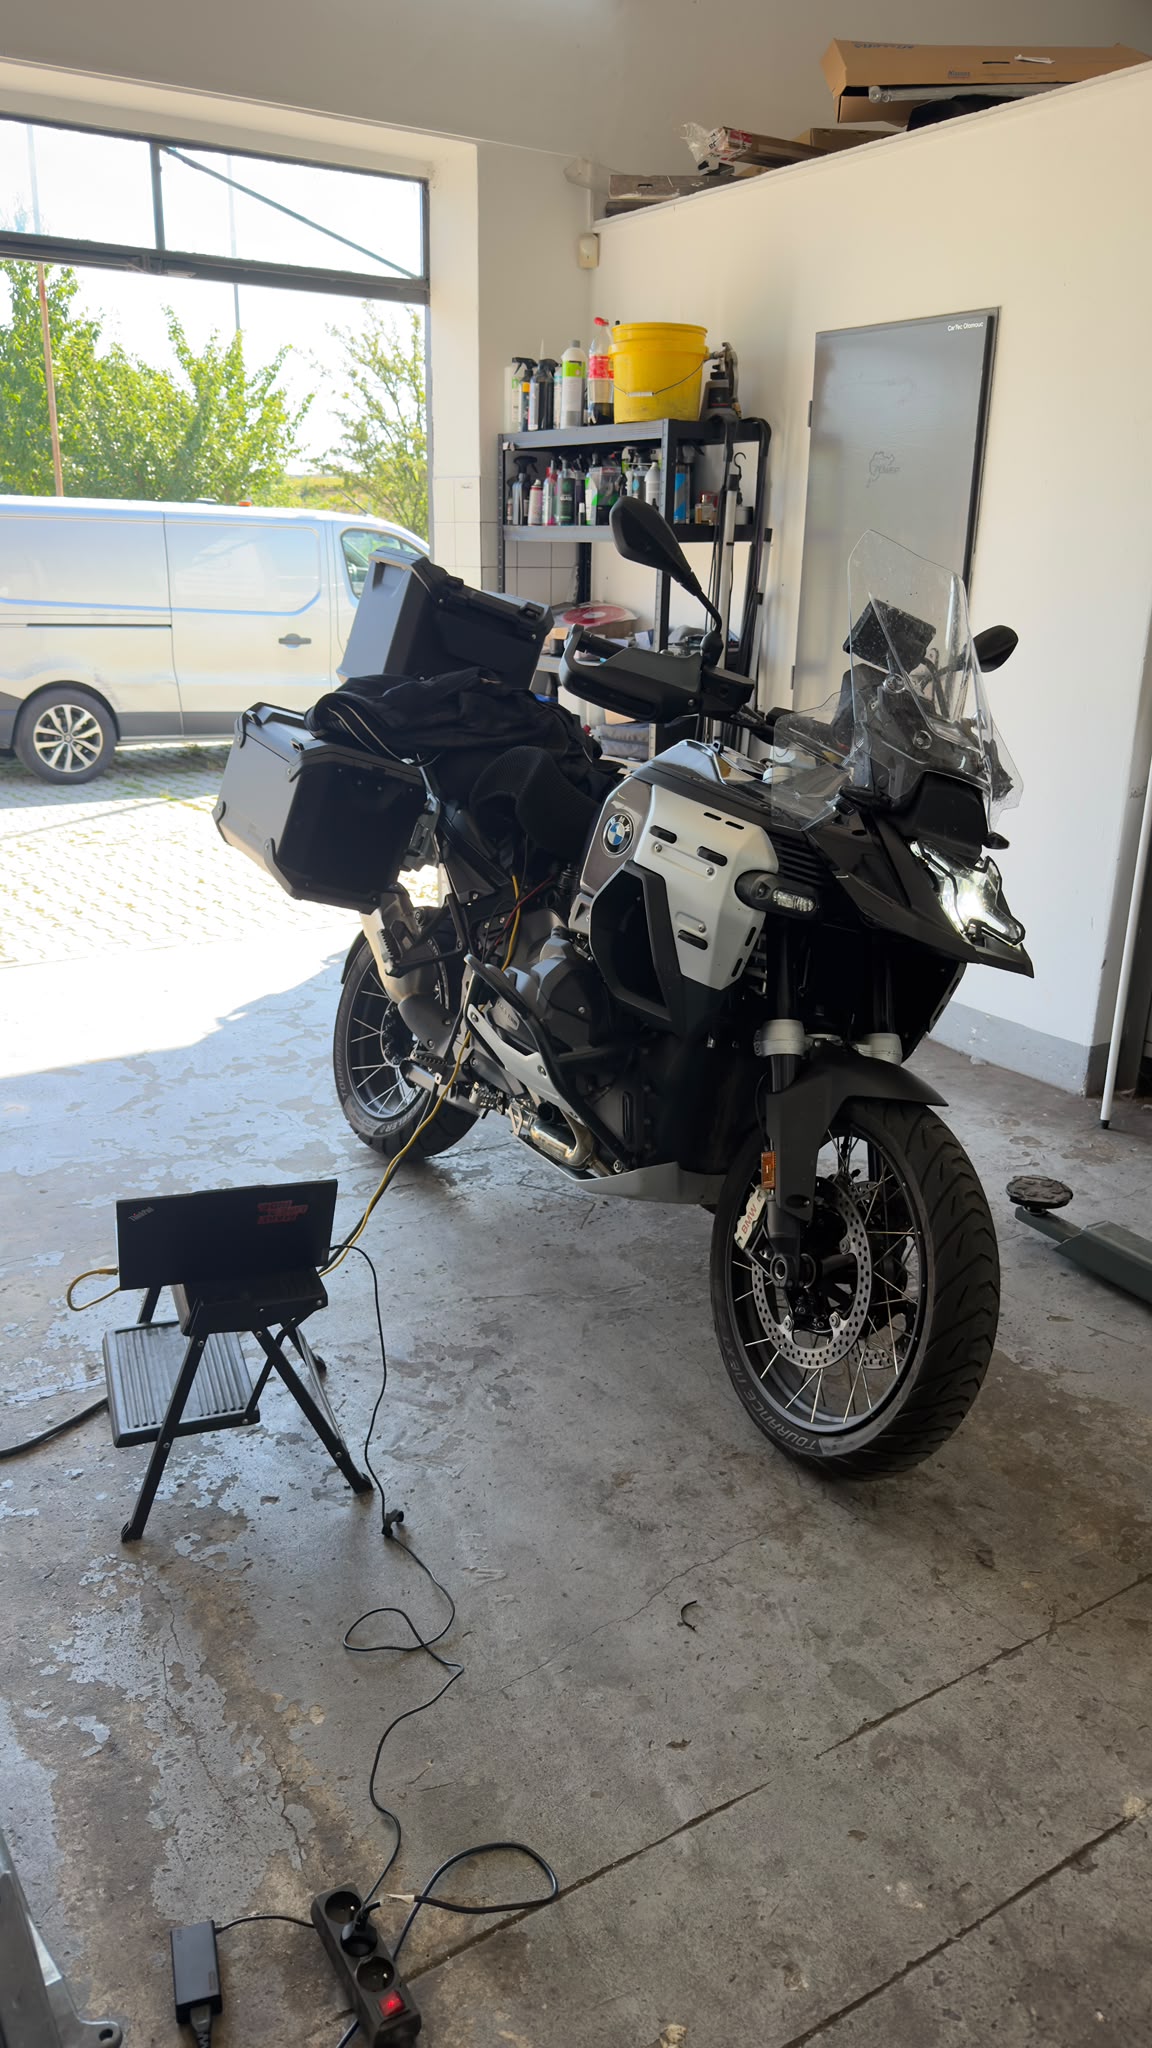
07 · R 1300 GSA Triple Black
NCD 2.0 Coding & Dynamic Upgrade
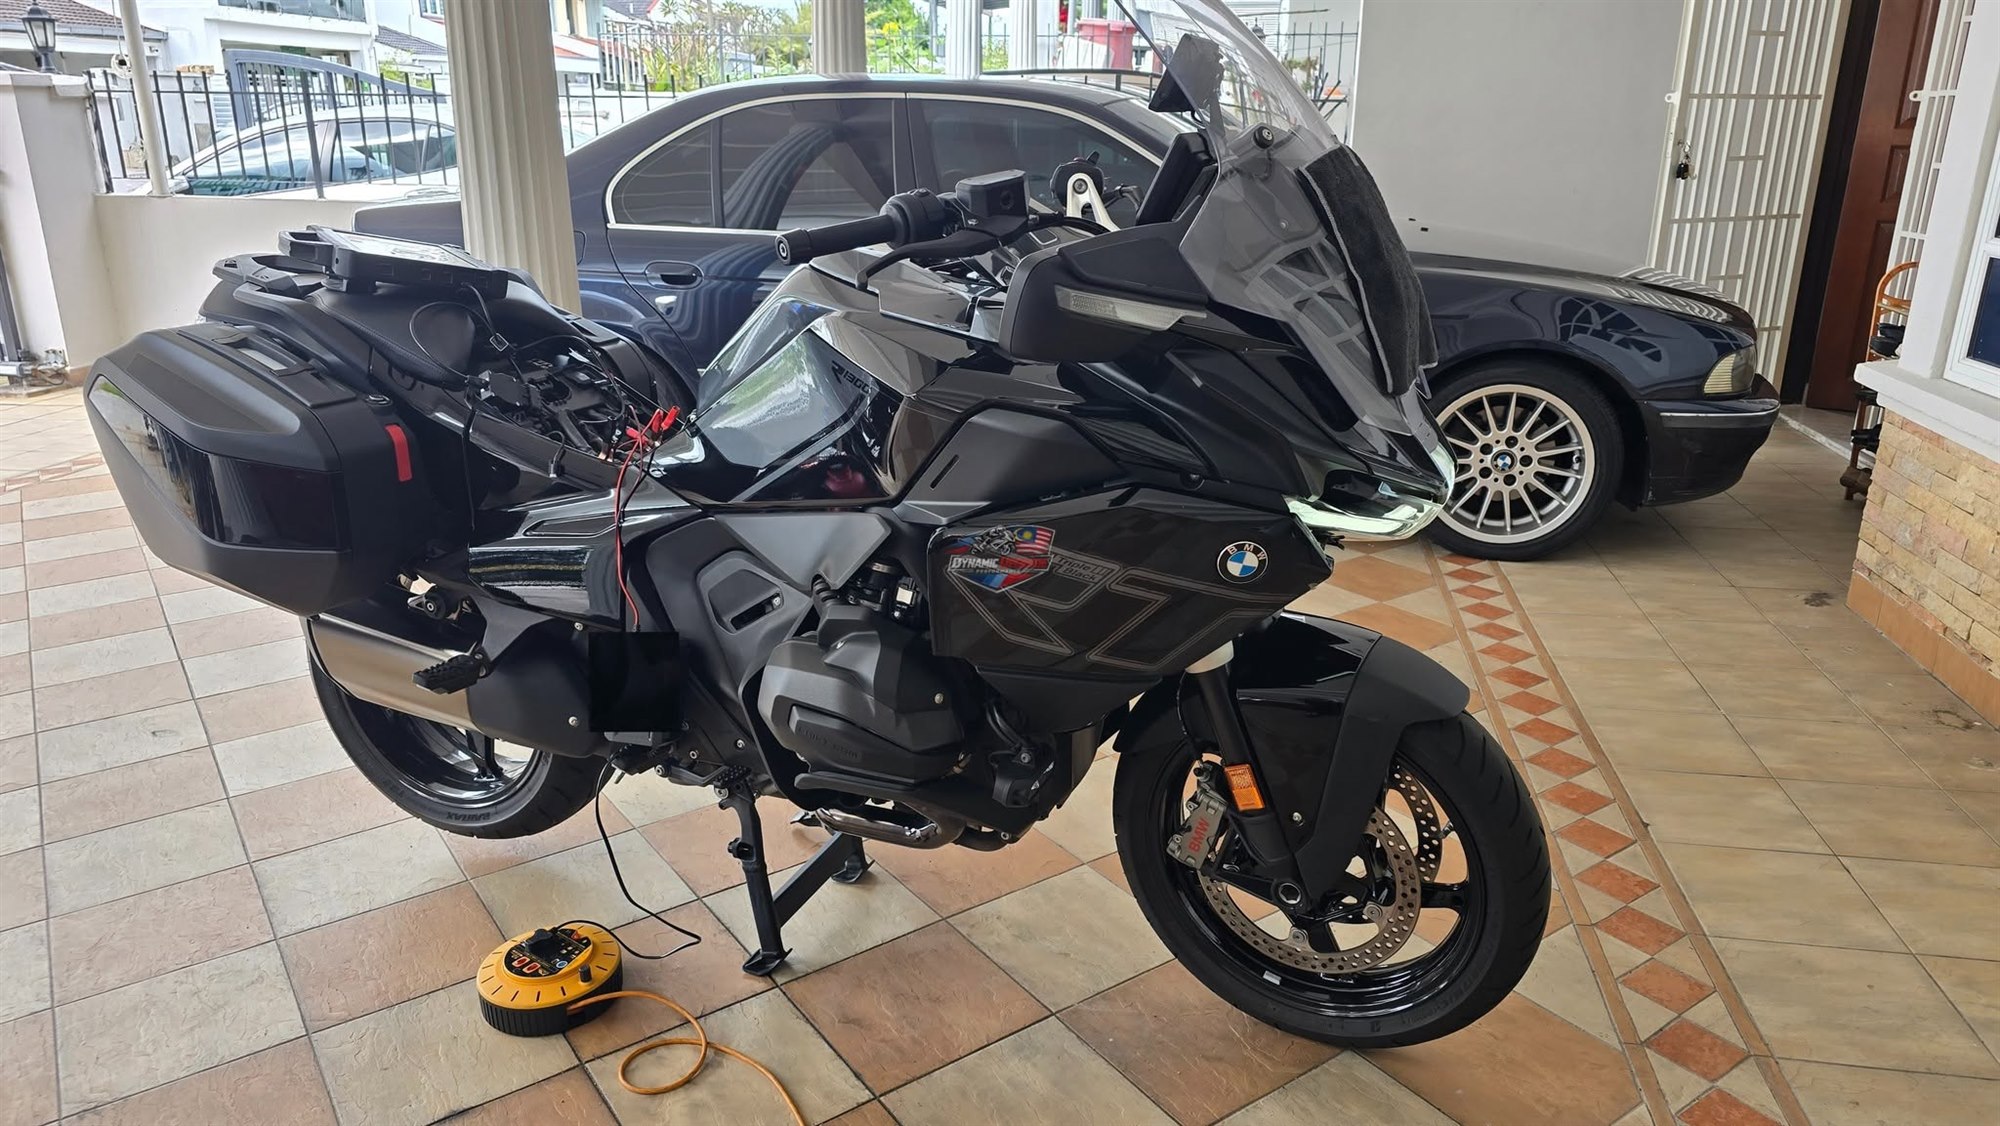
08 · R 1300 RT ASA Triple Black
NCD 2.0 Coding & Dynamic Upgrade
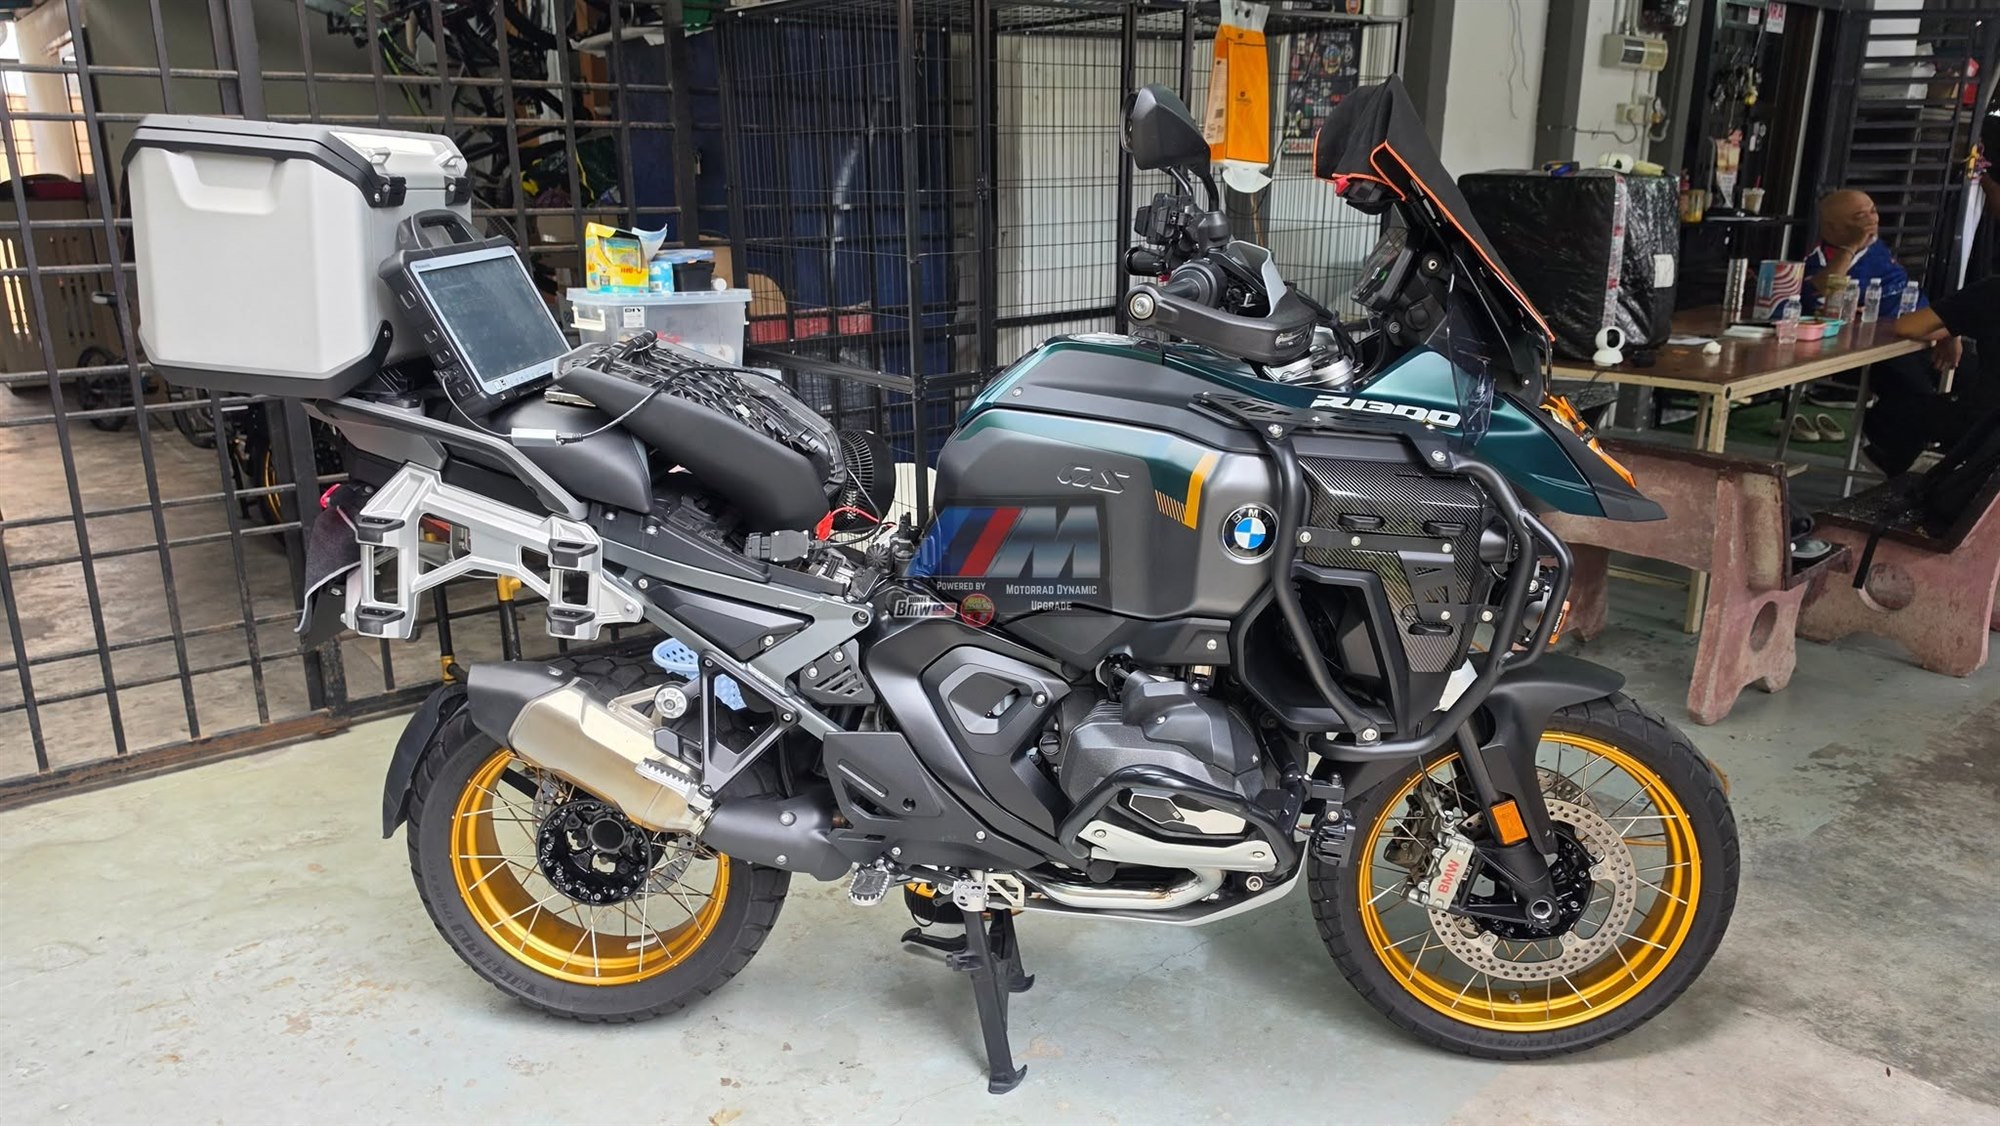
09 · R 1300 GSA ASA Option719
NCD 2.0 Coding & Dynamic Upgrade
SOFTWARE & CODING
Configuration & Programming
Choose the original Phad Motorrad section. Each detail opens independently in a new tab.
SOFTWARE UPGRADE & PROGRAMMING
Vehicle Programming
Choose BMW Motorrad or BMW & MINI. Contact us for more information if your vehicle requires diagnosis or repair.
BMW MOTORRAD
Codes + Coding + Software Modification
Content restored from the original Google Site.
COMPLETE LIST
BMW Motorrad coding work
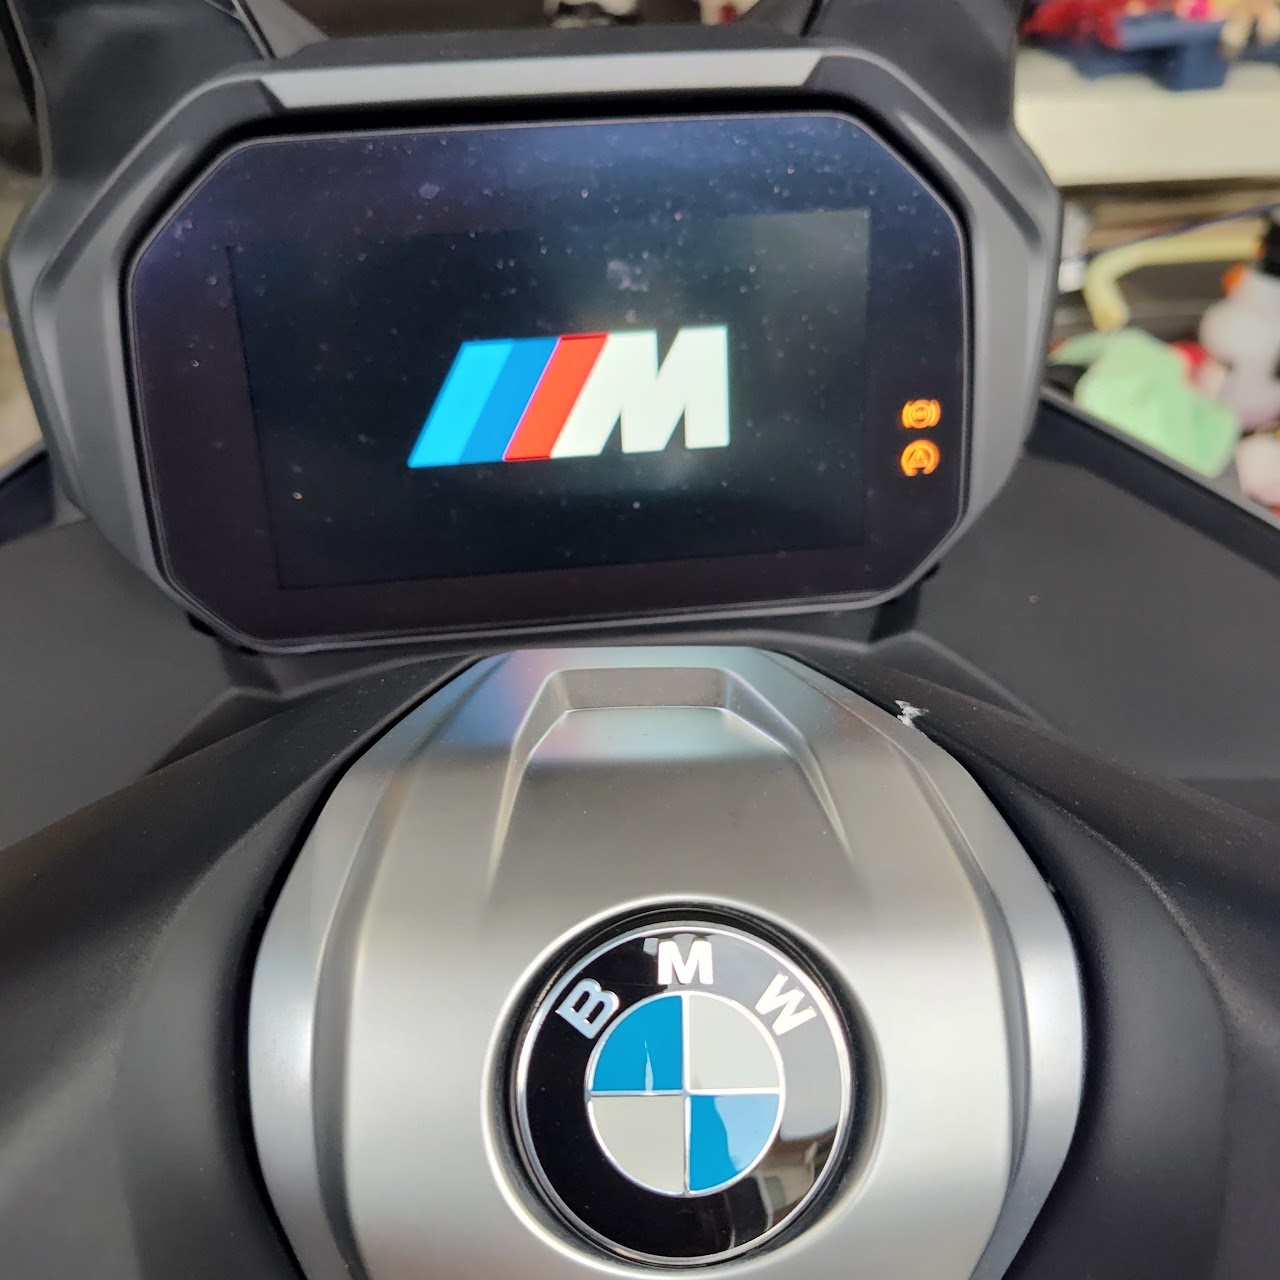
01C400GT Startup
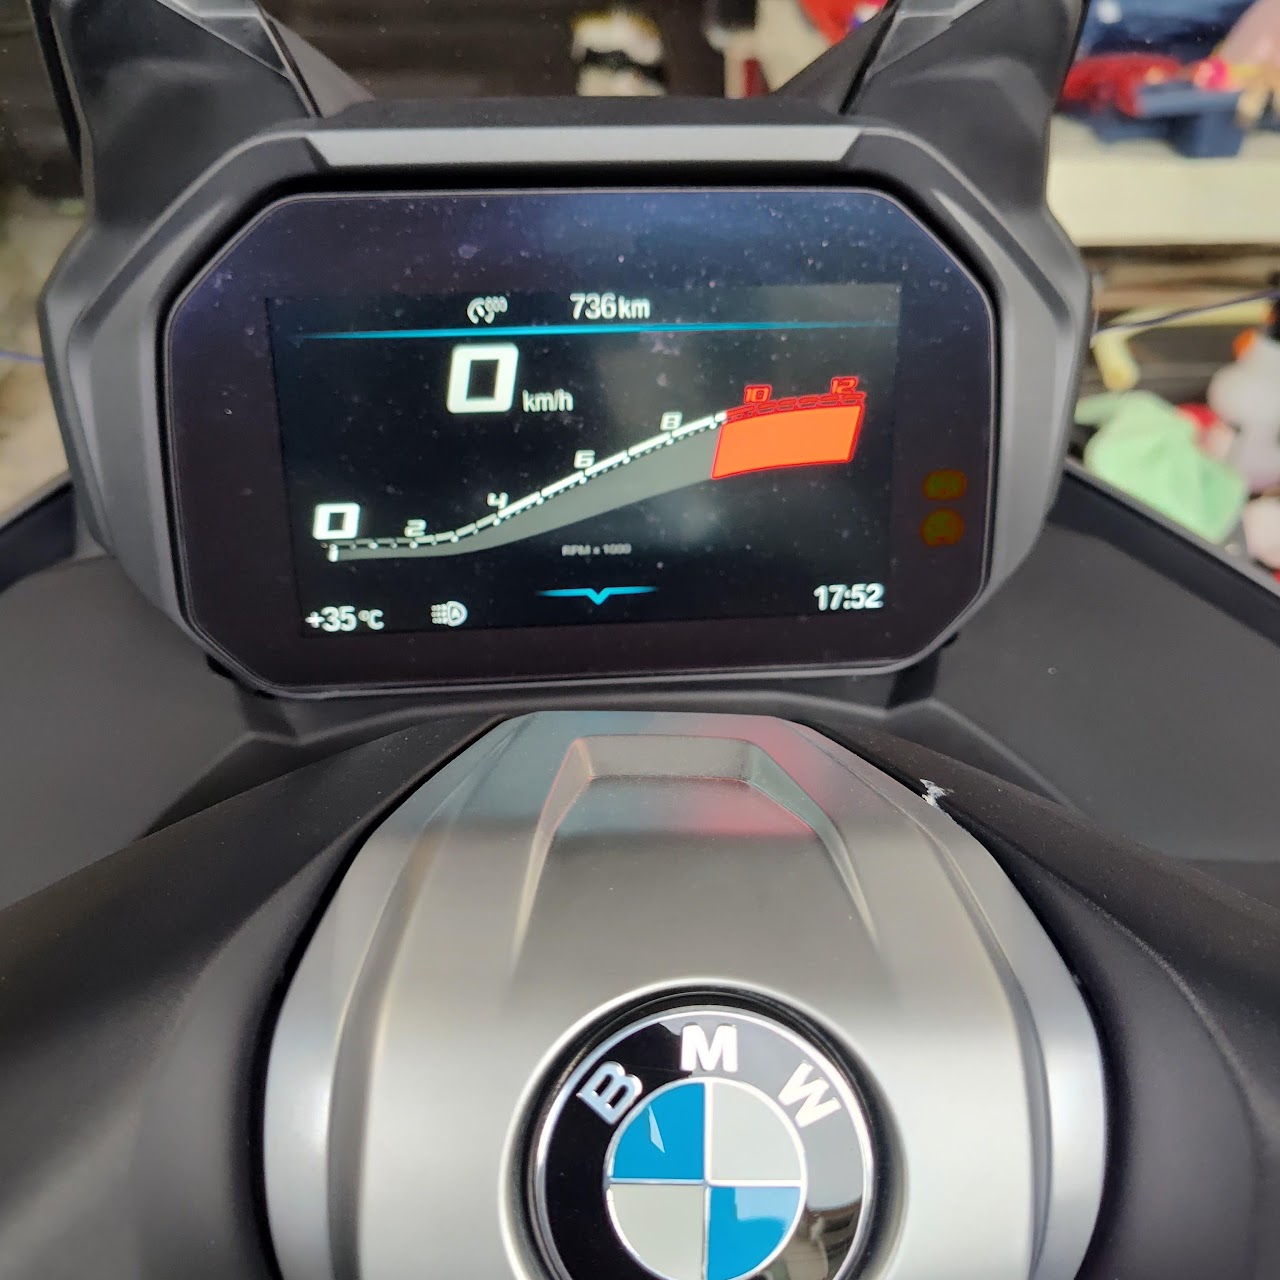
02Main Display
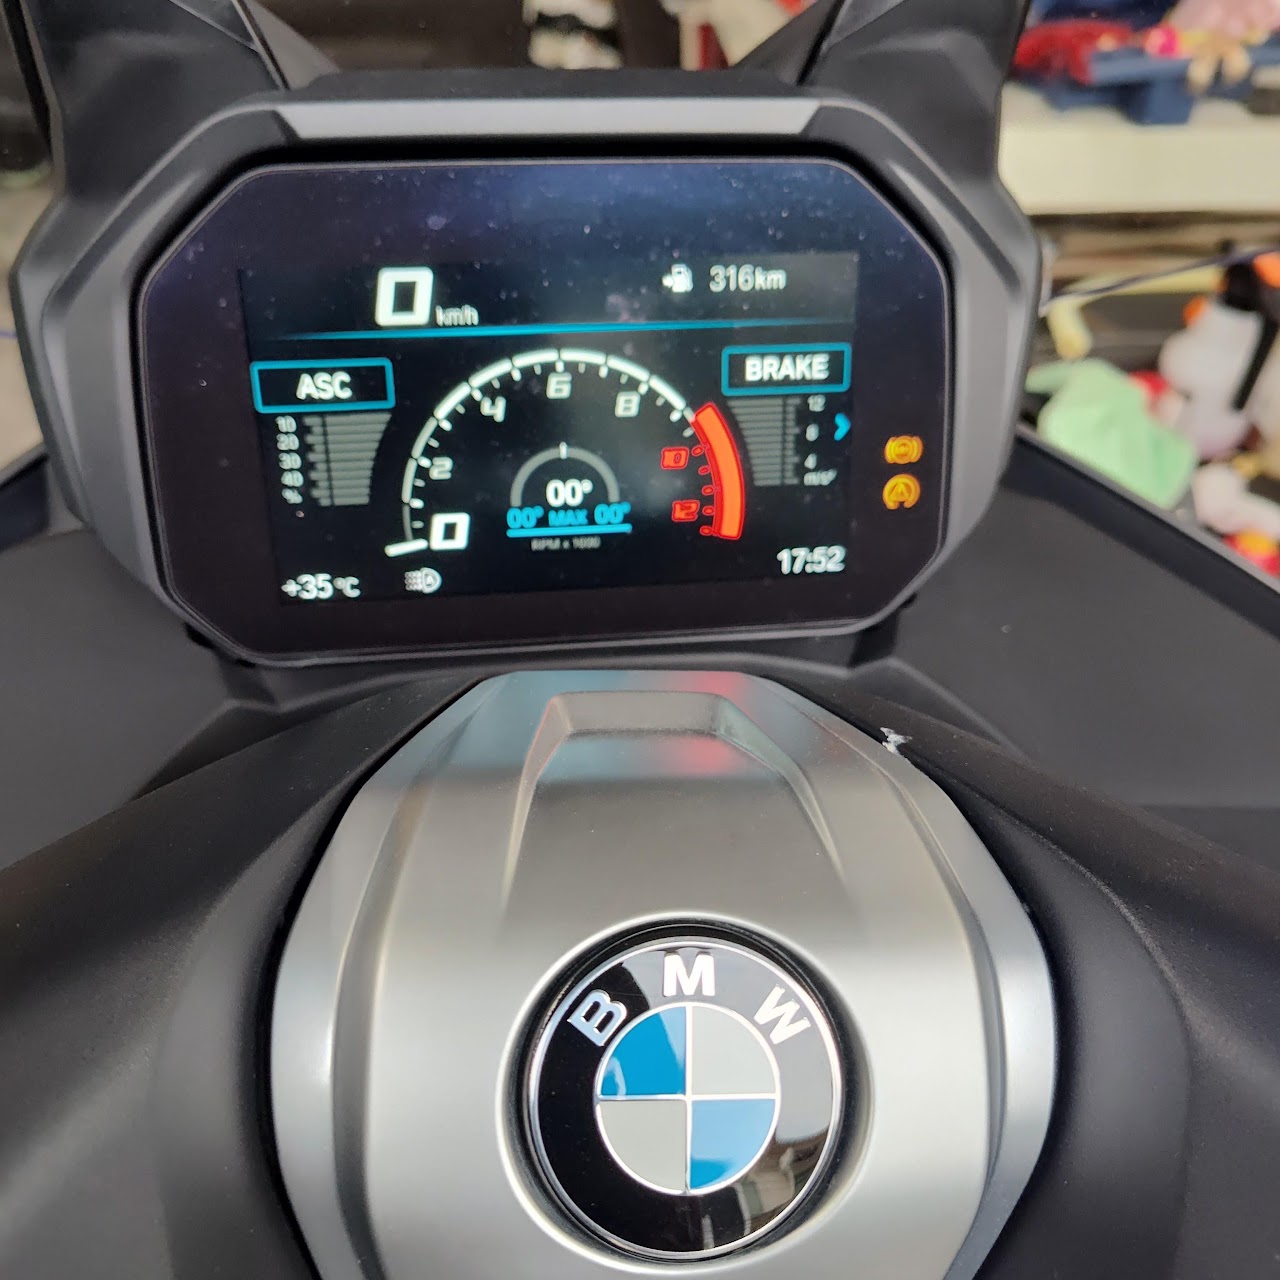
03Sport Display
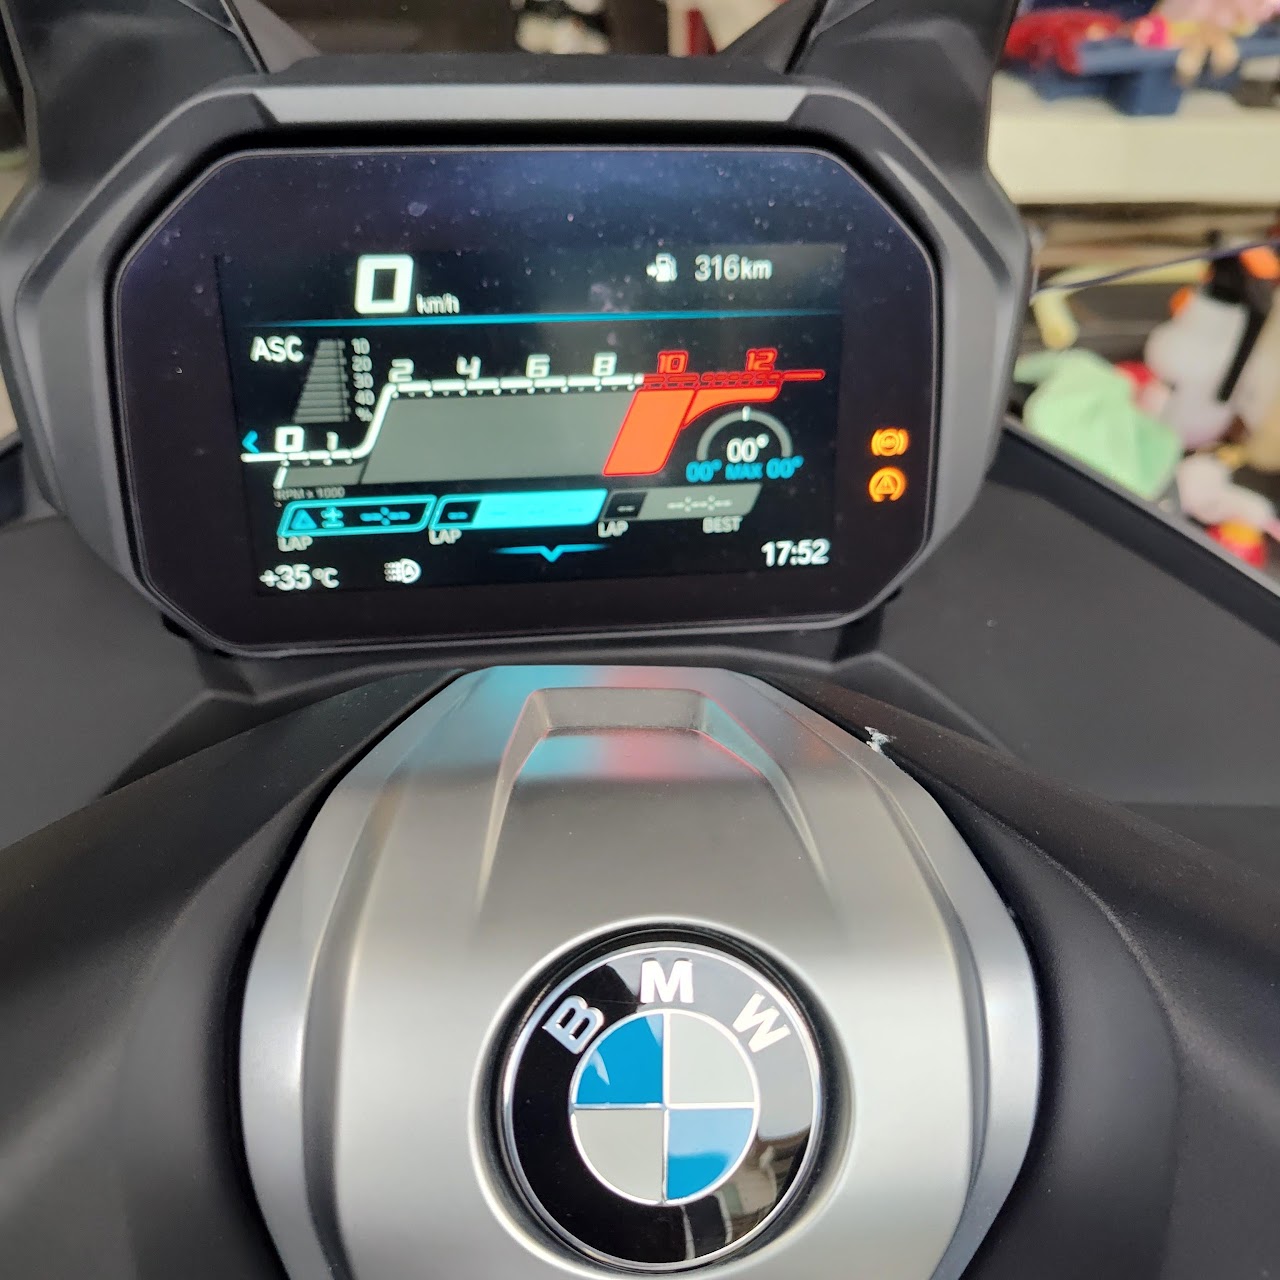
04Sport Display
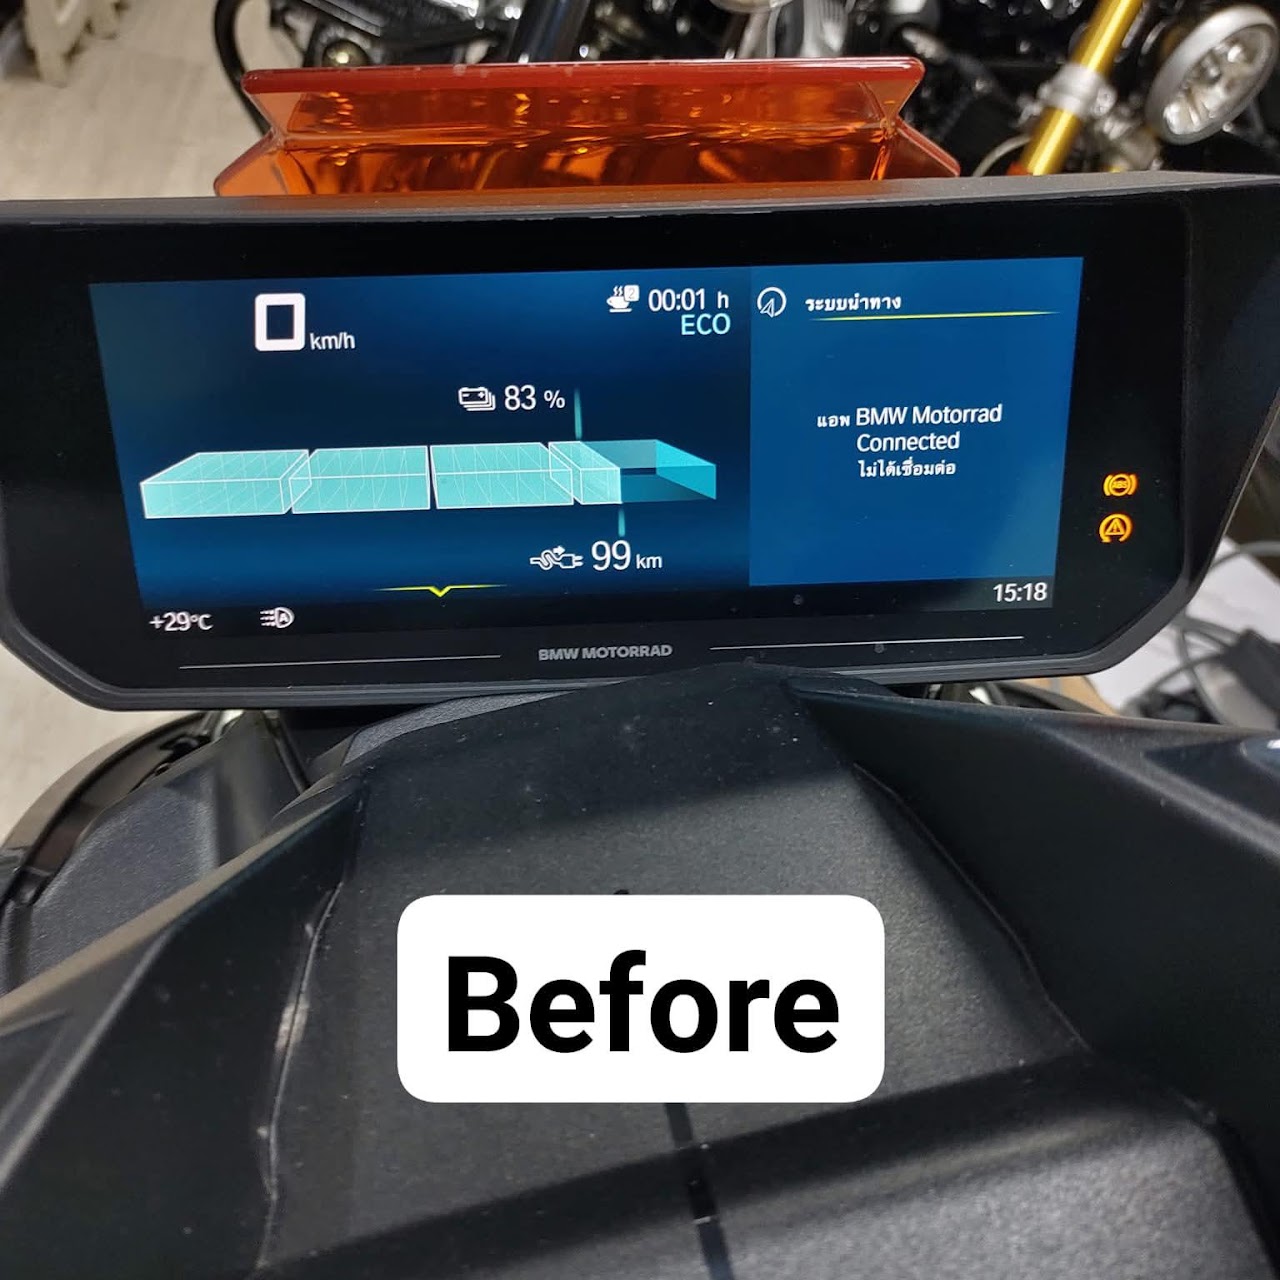
05CE04 Standard
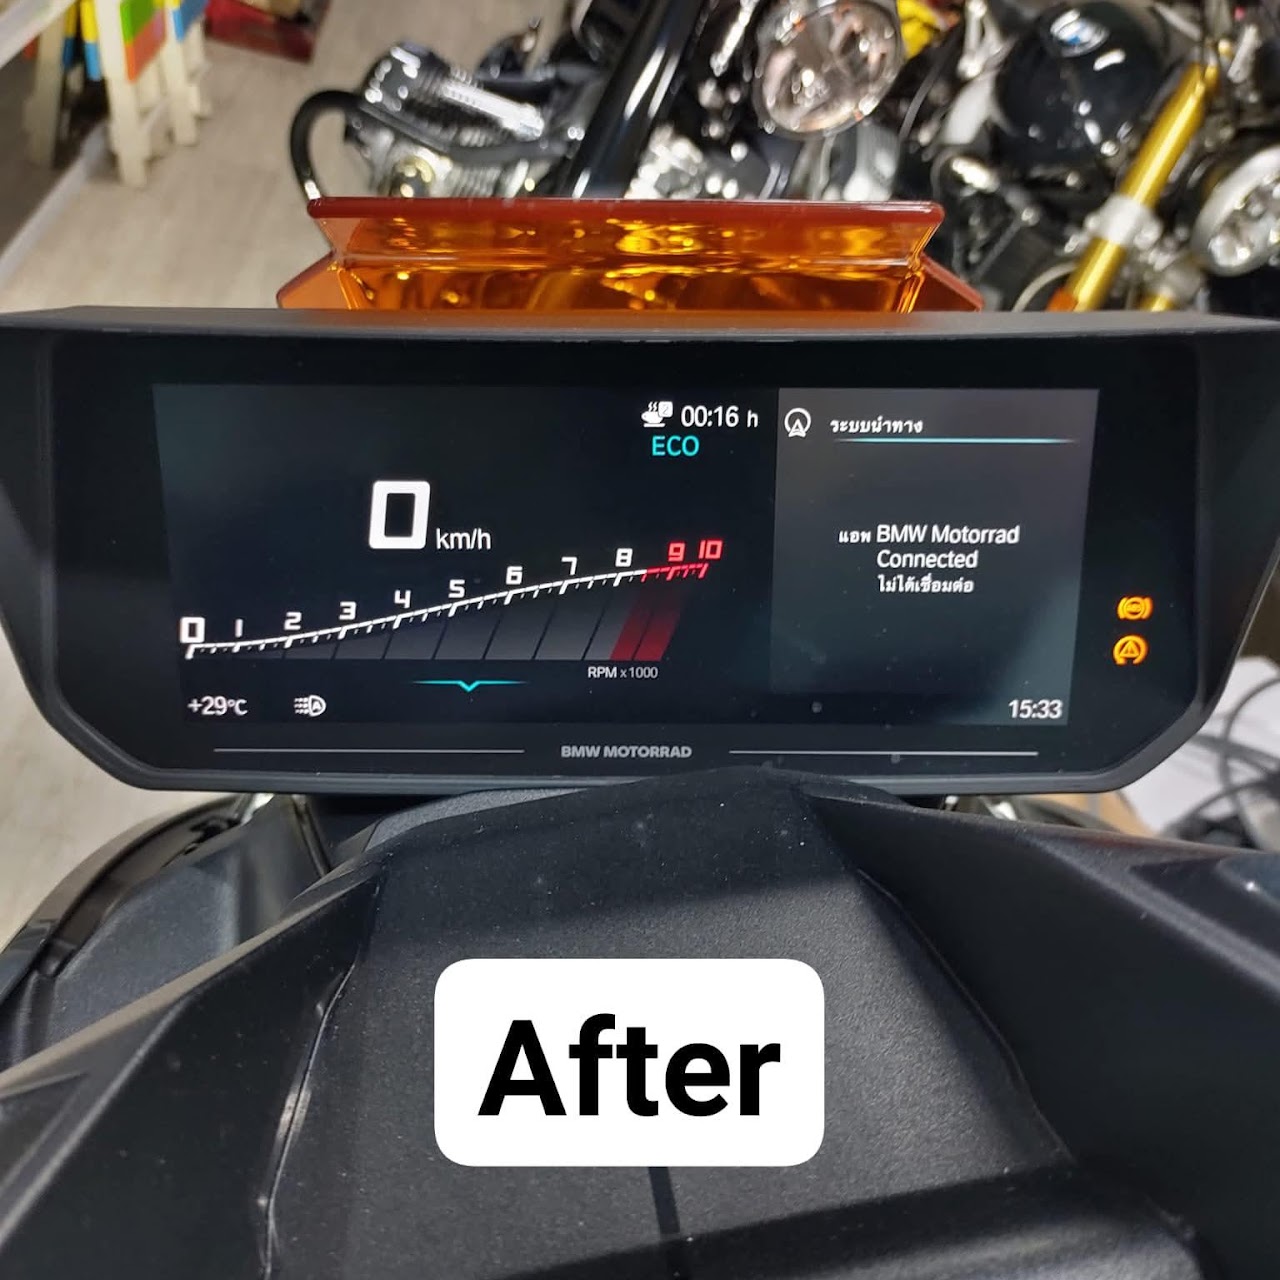
06CE04 After coding
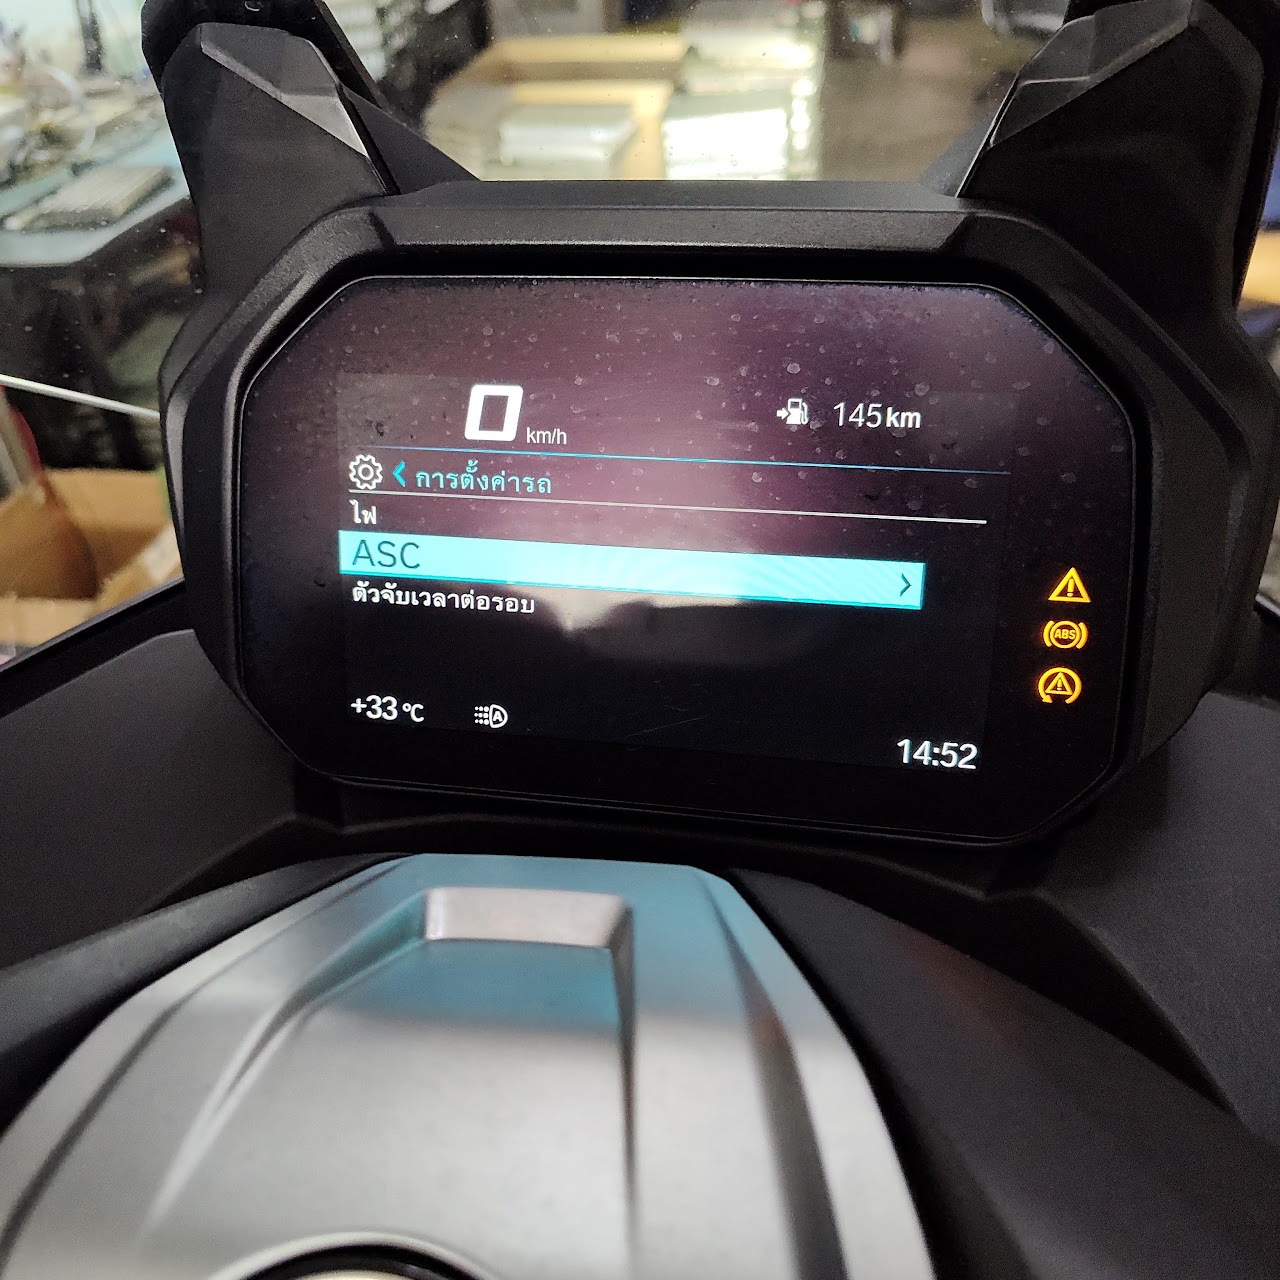
07C400 ASC Enable
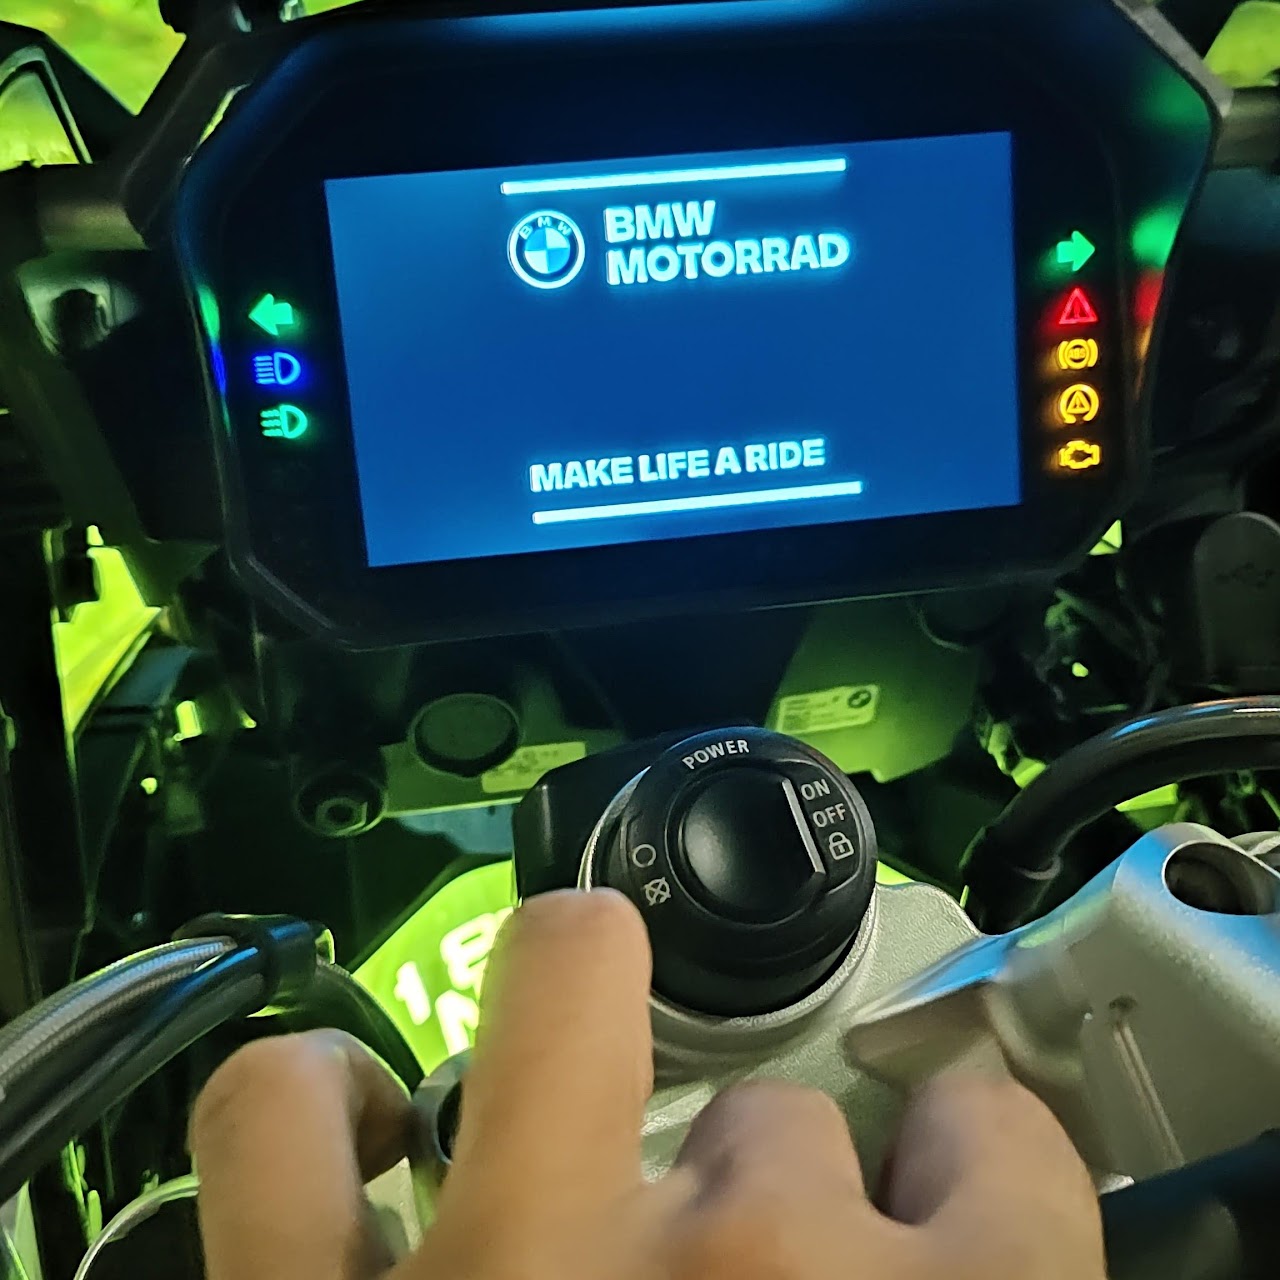
08M Startup R1200GS
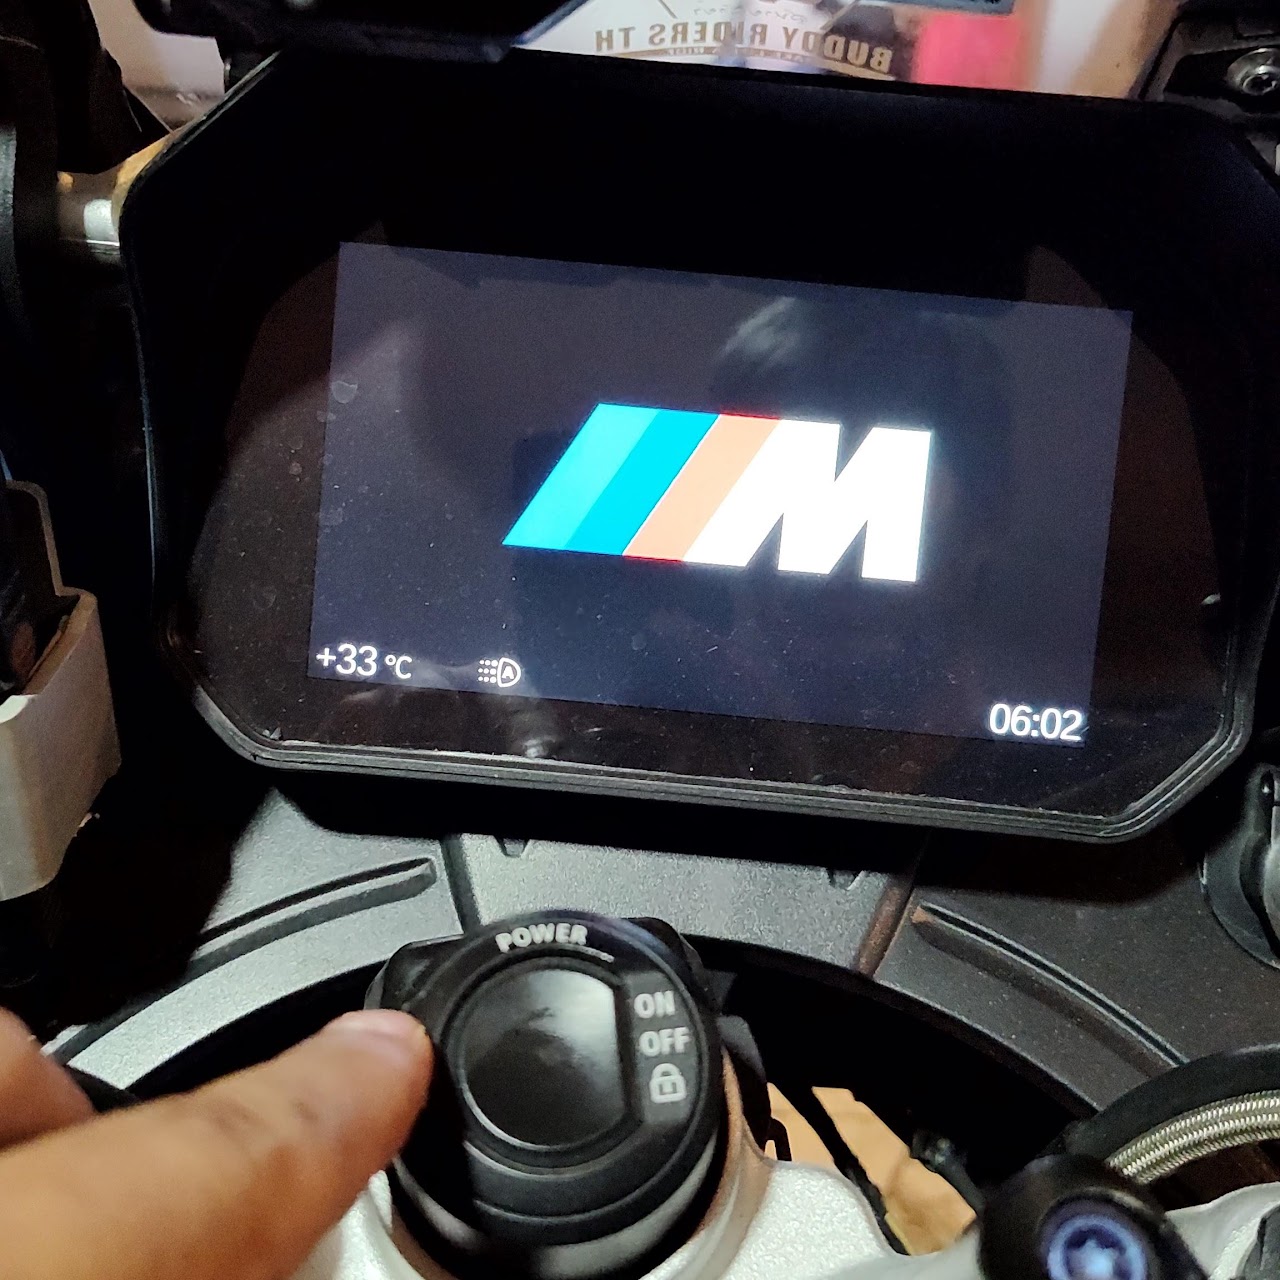
09M Sport R1250GSA
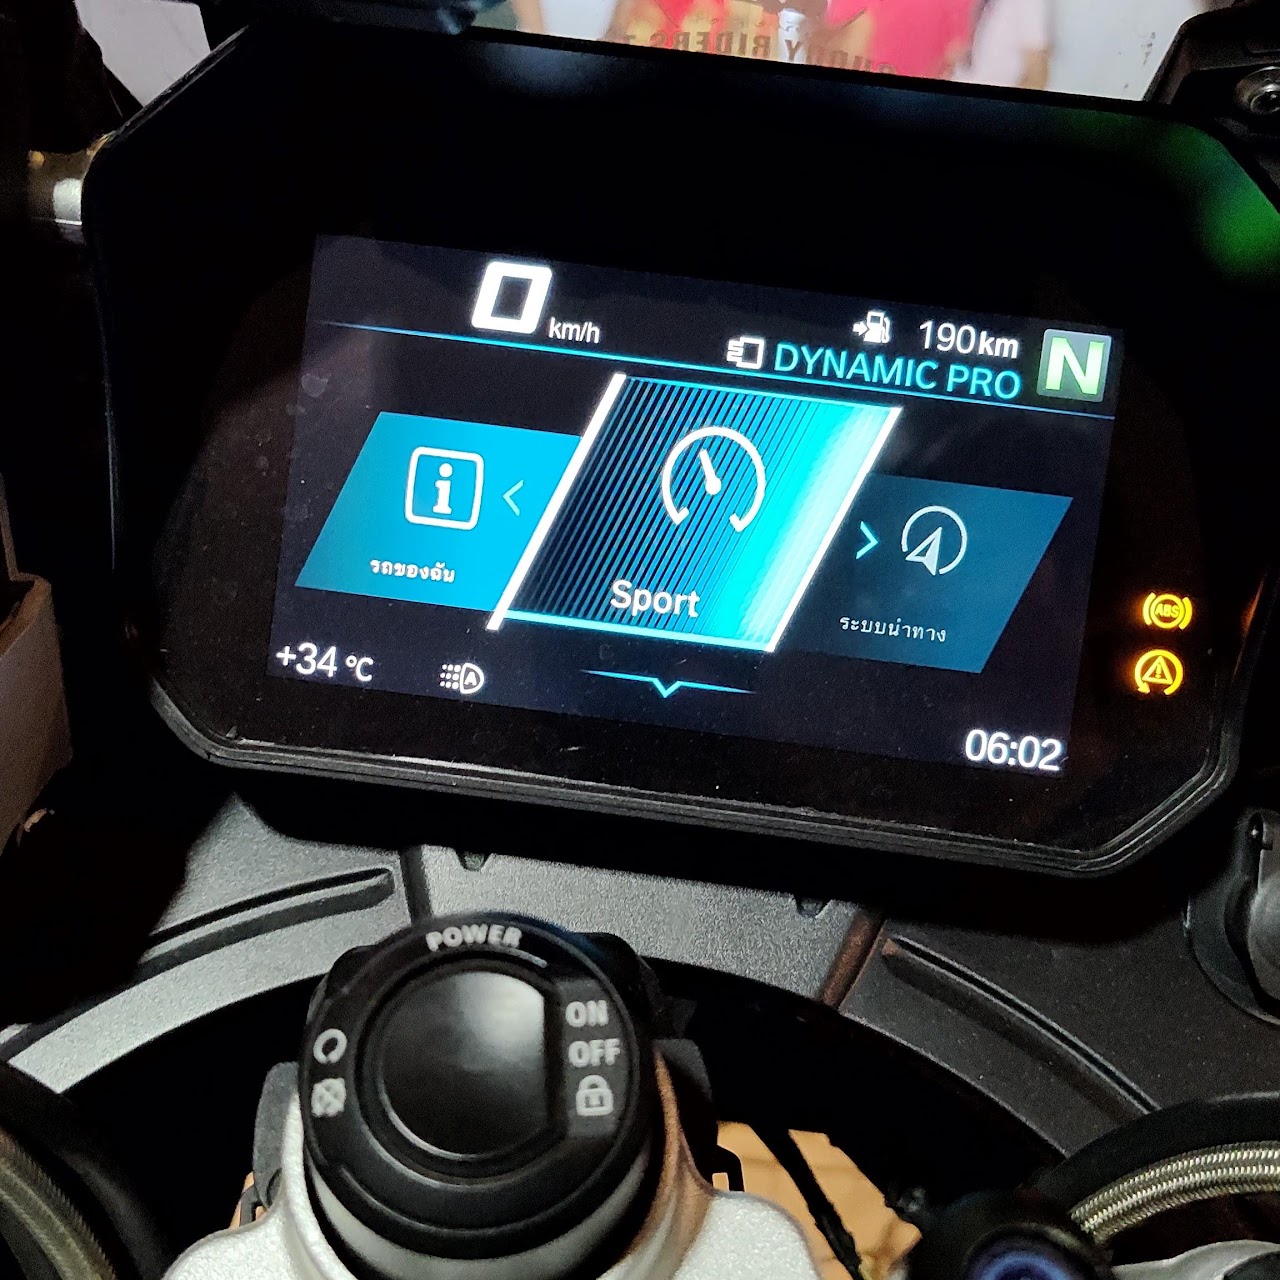
10Sport Menu R1250GSA
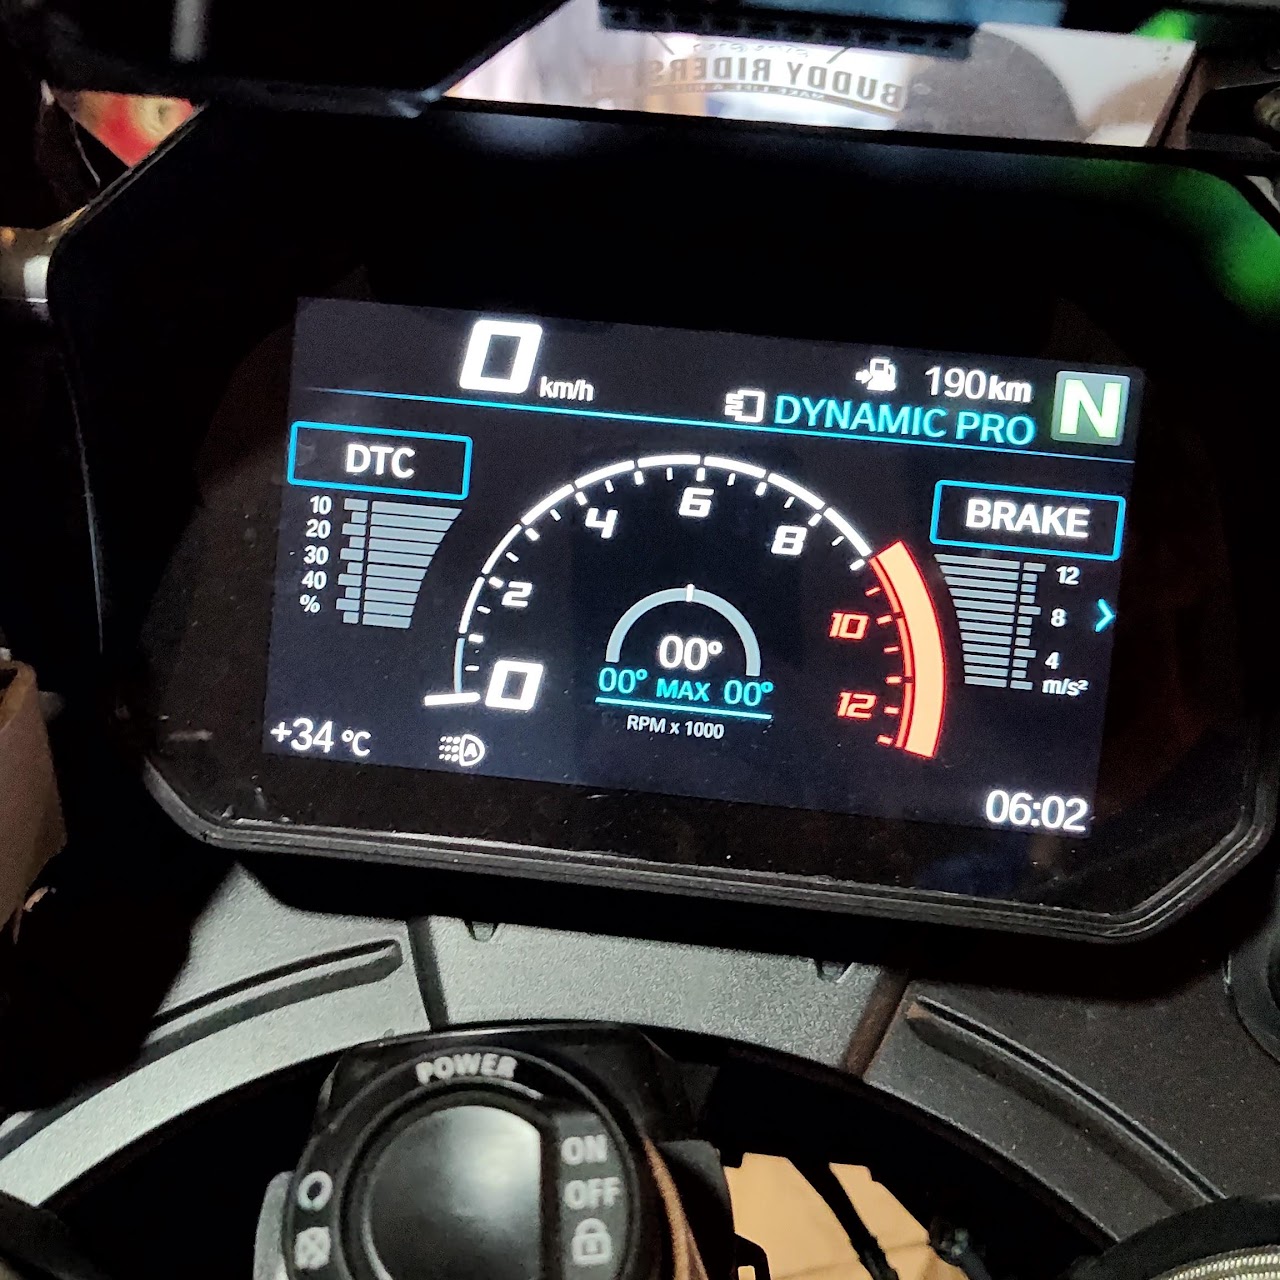
11Lean Angle R1250GSA
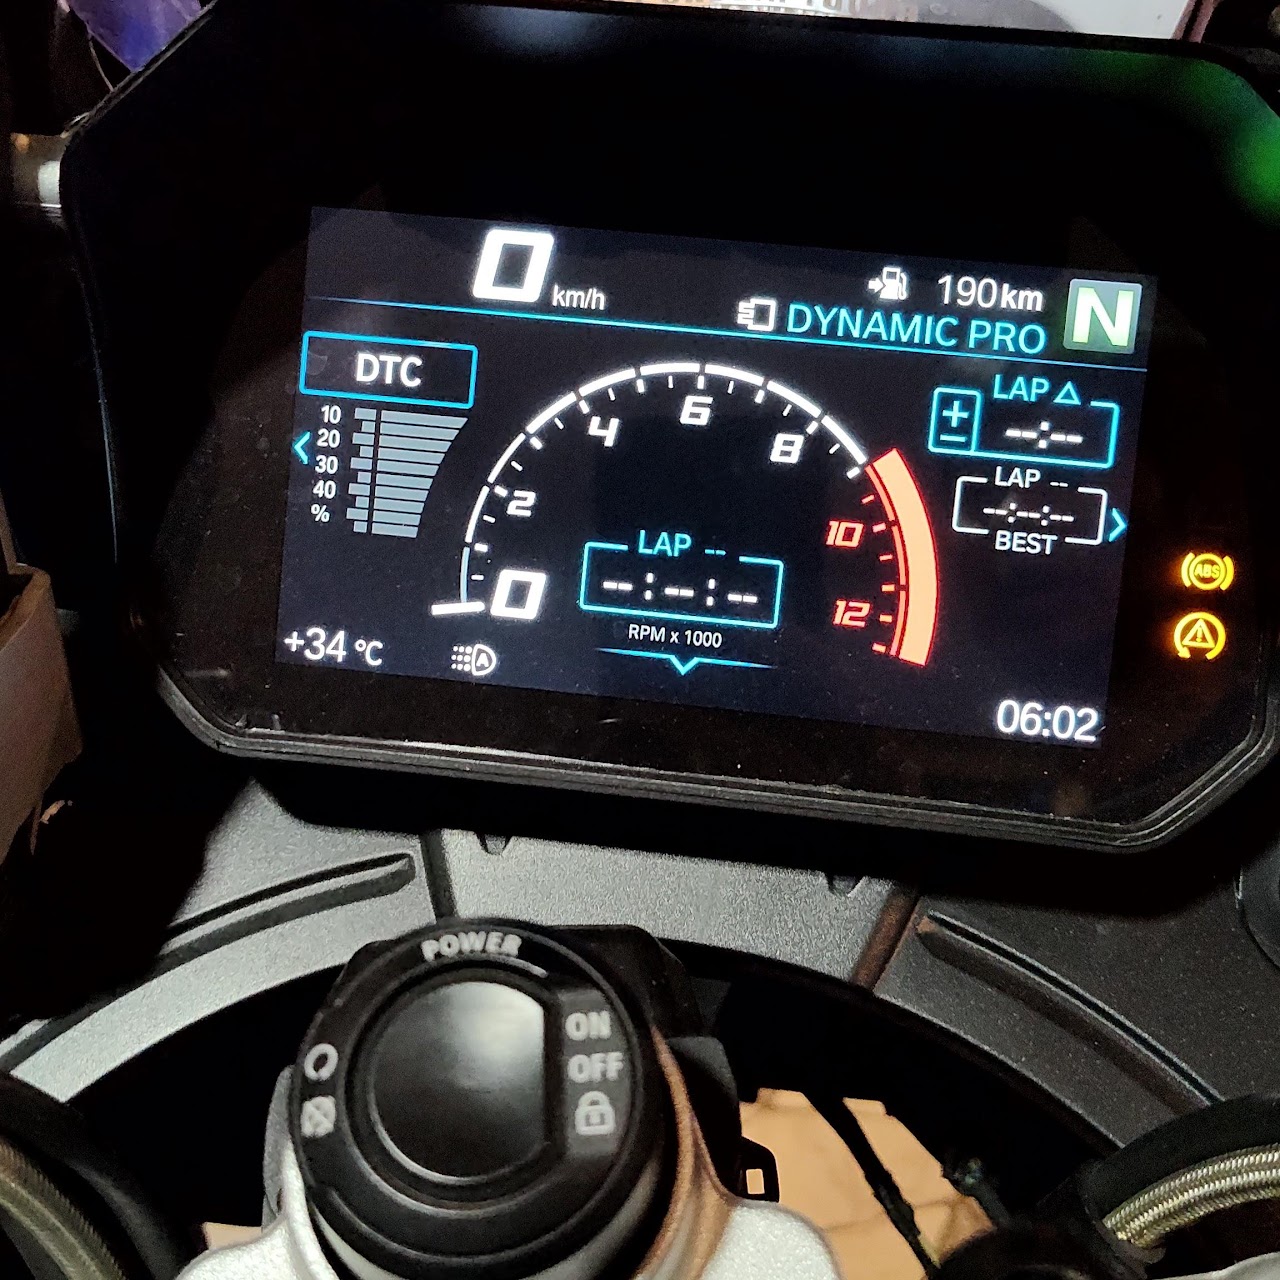
12Laptimer R1250GSA
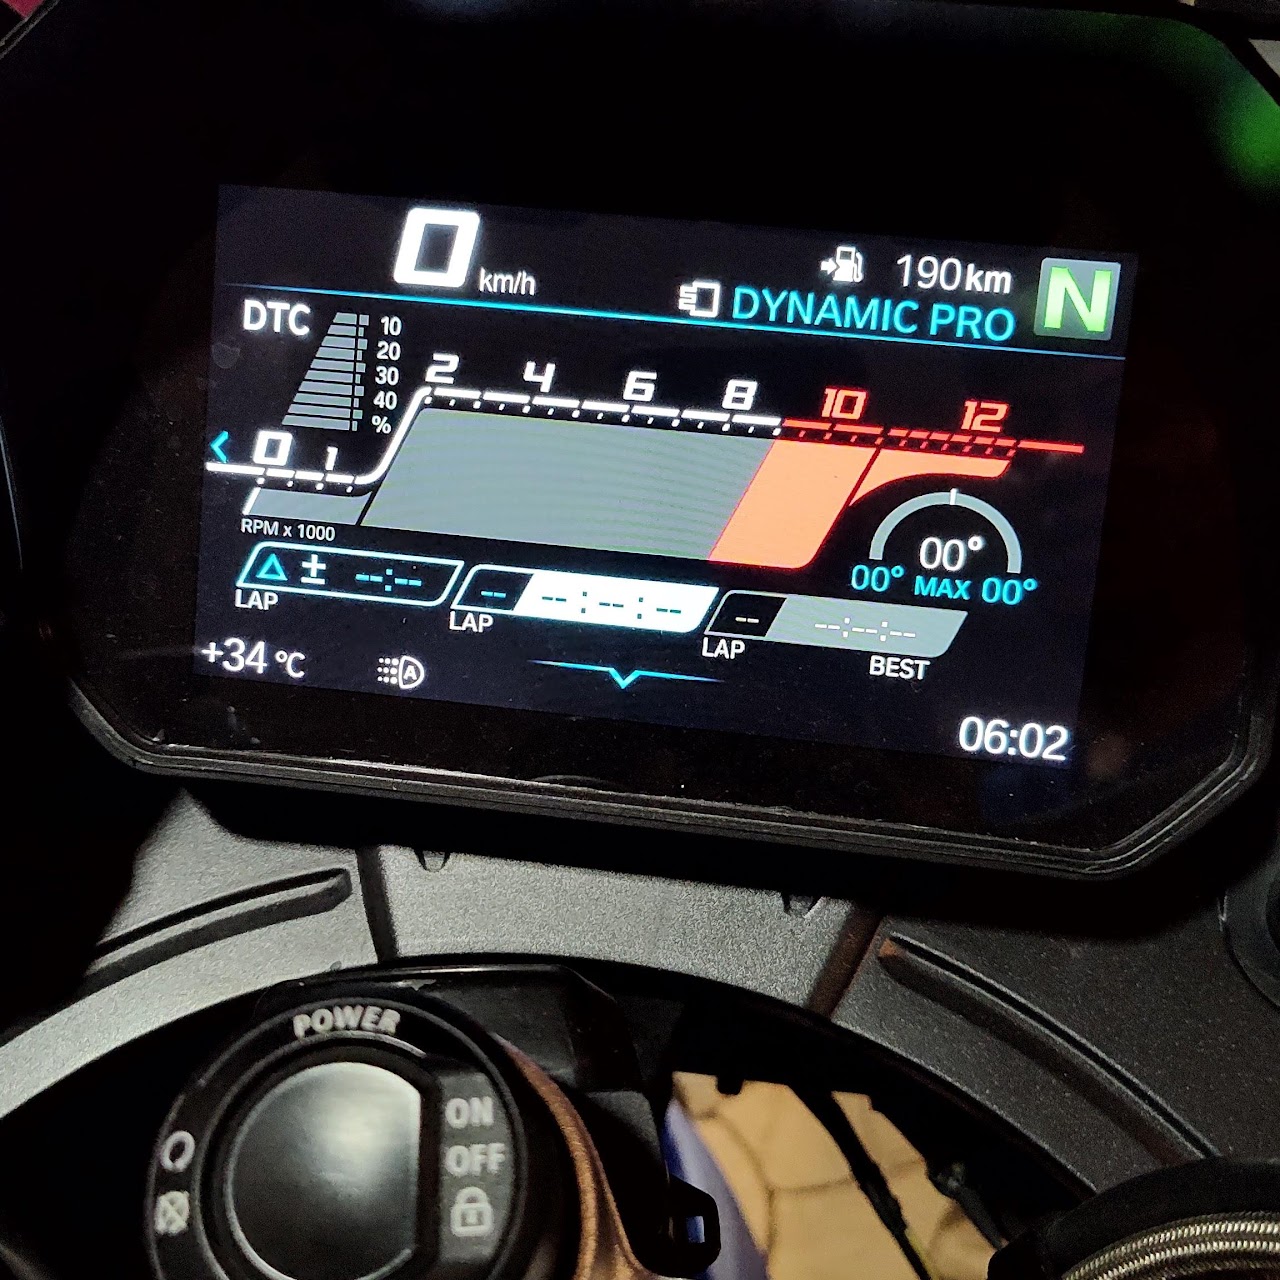
13Sport Plus
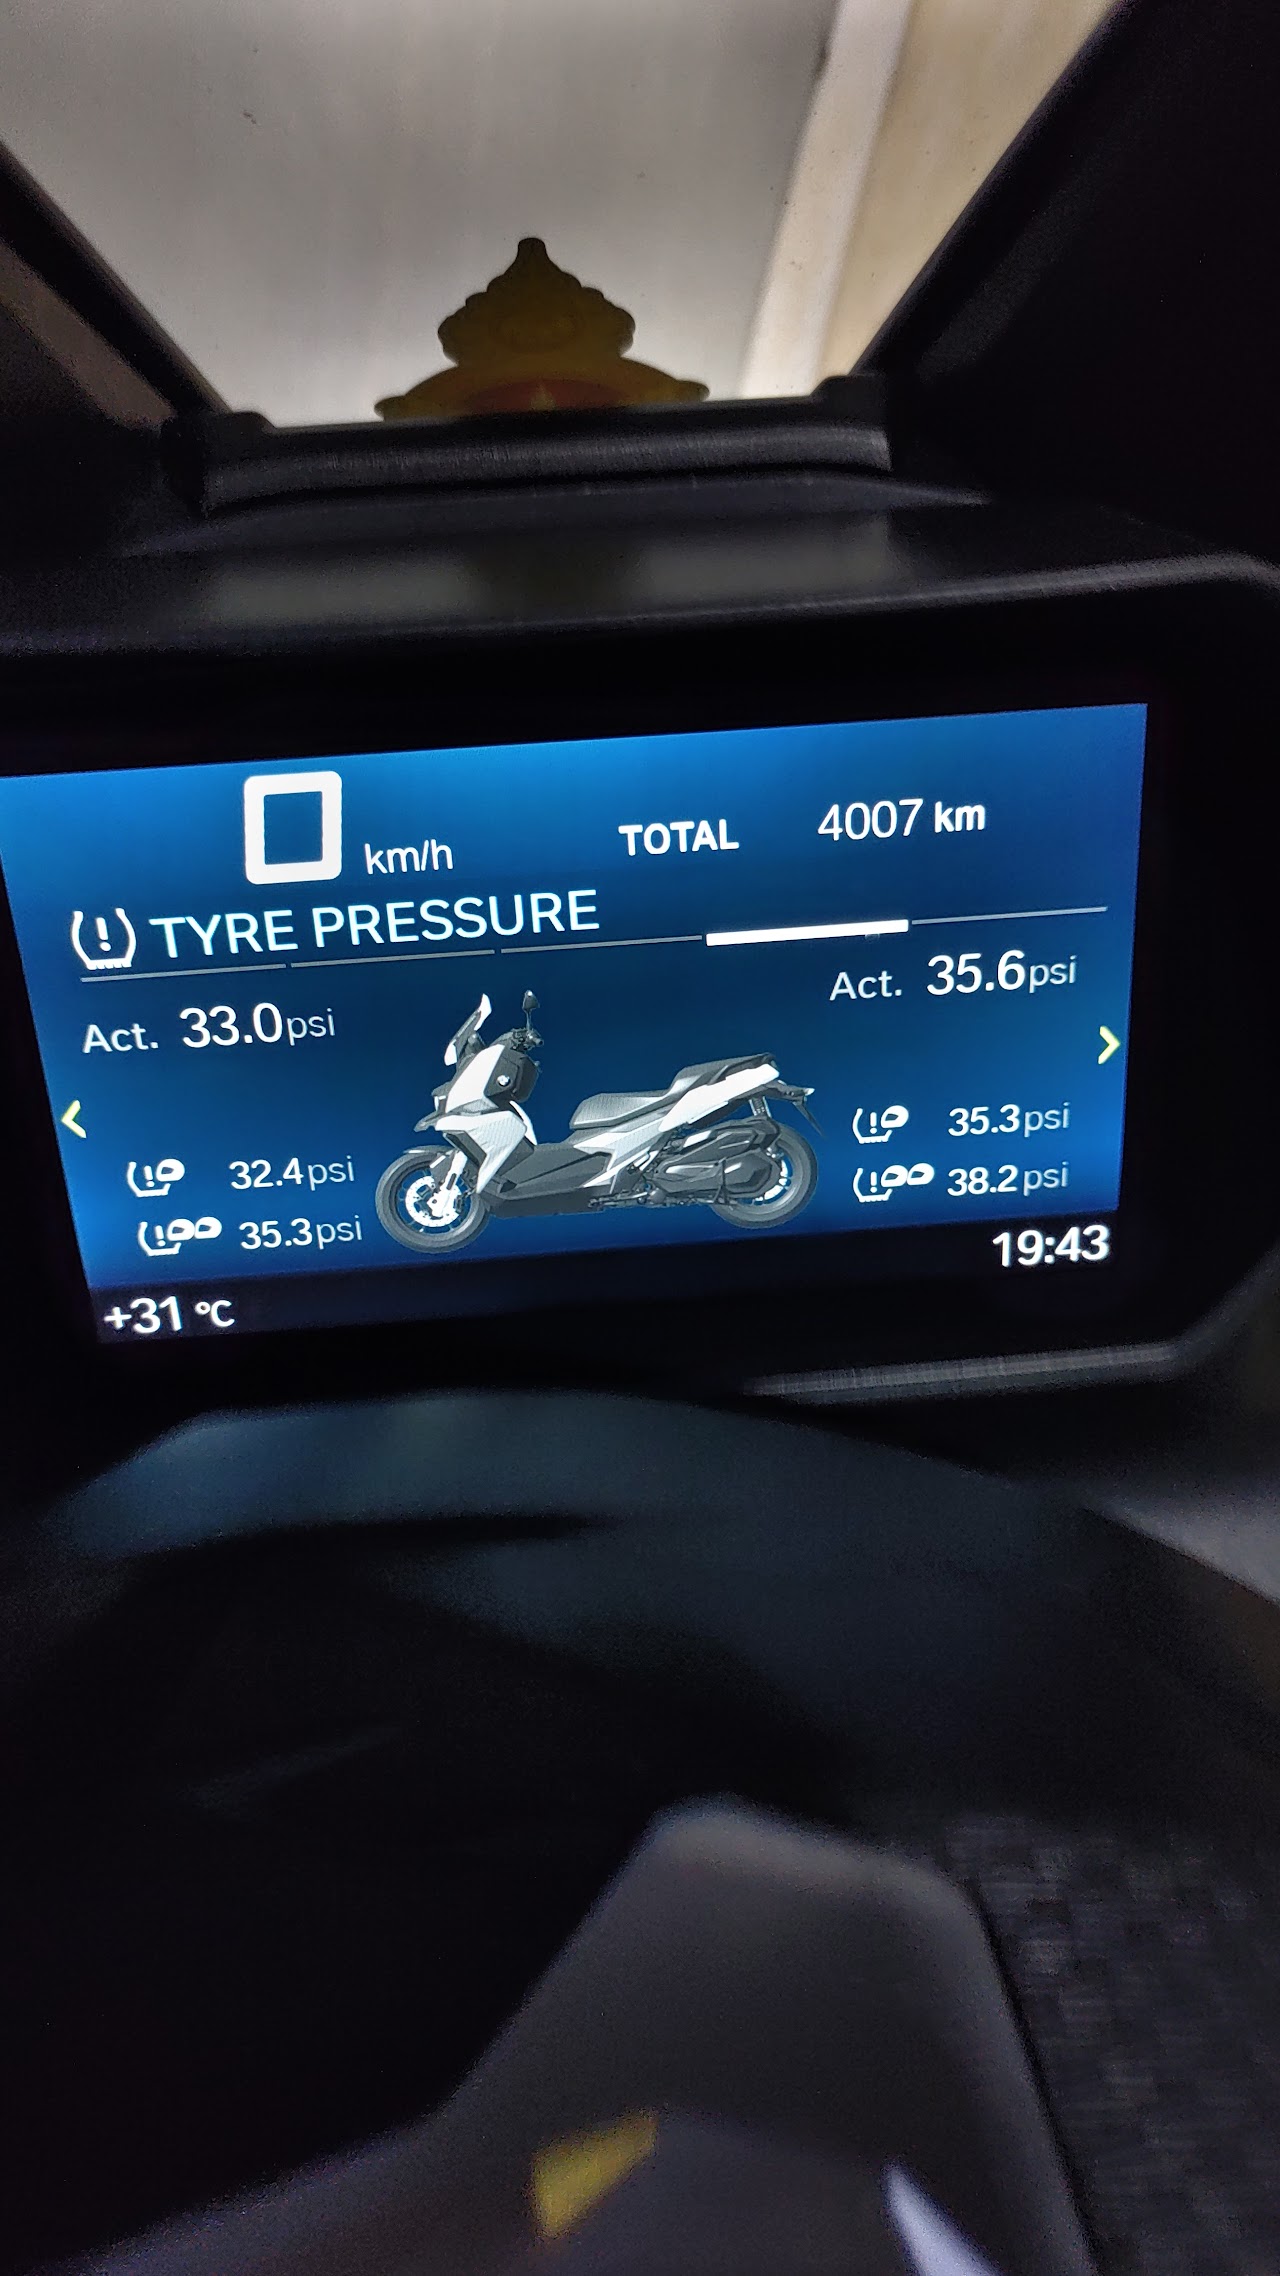
14TPMS C400X
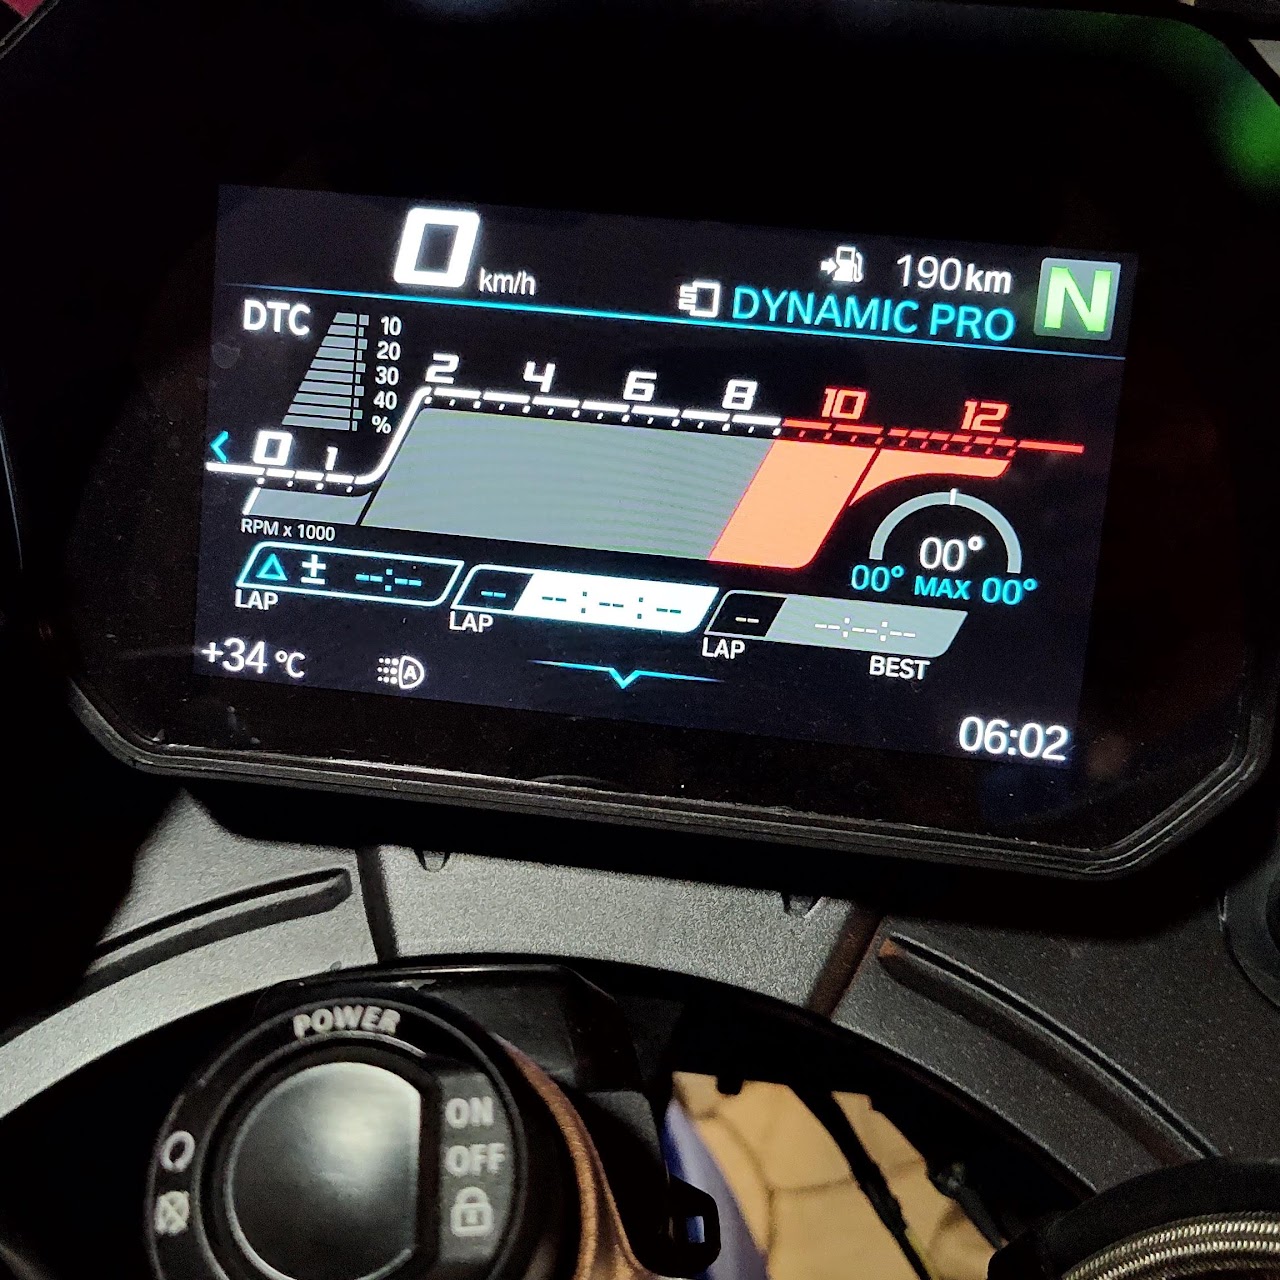
156 Step heating grips
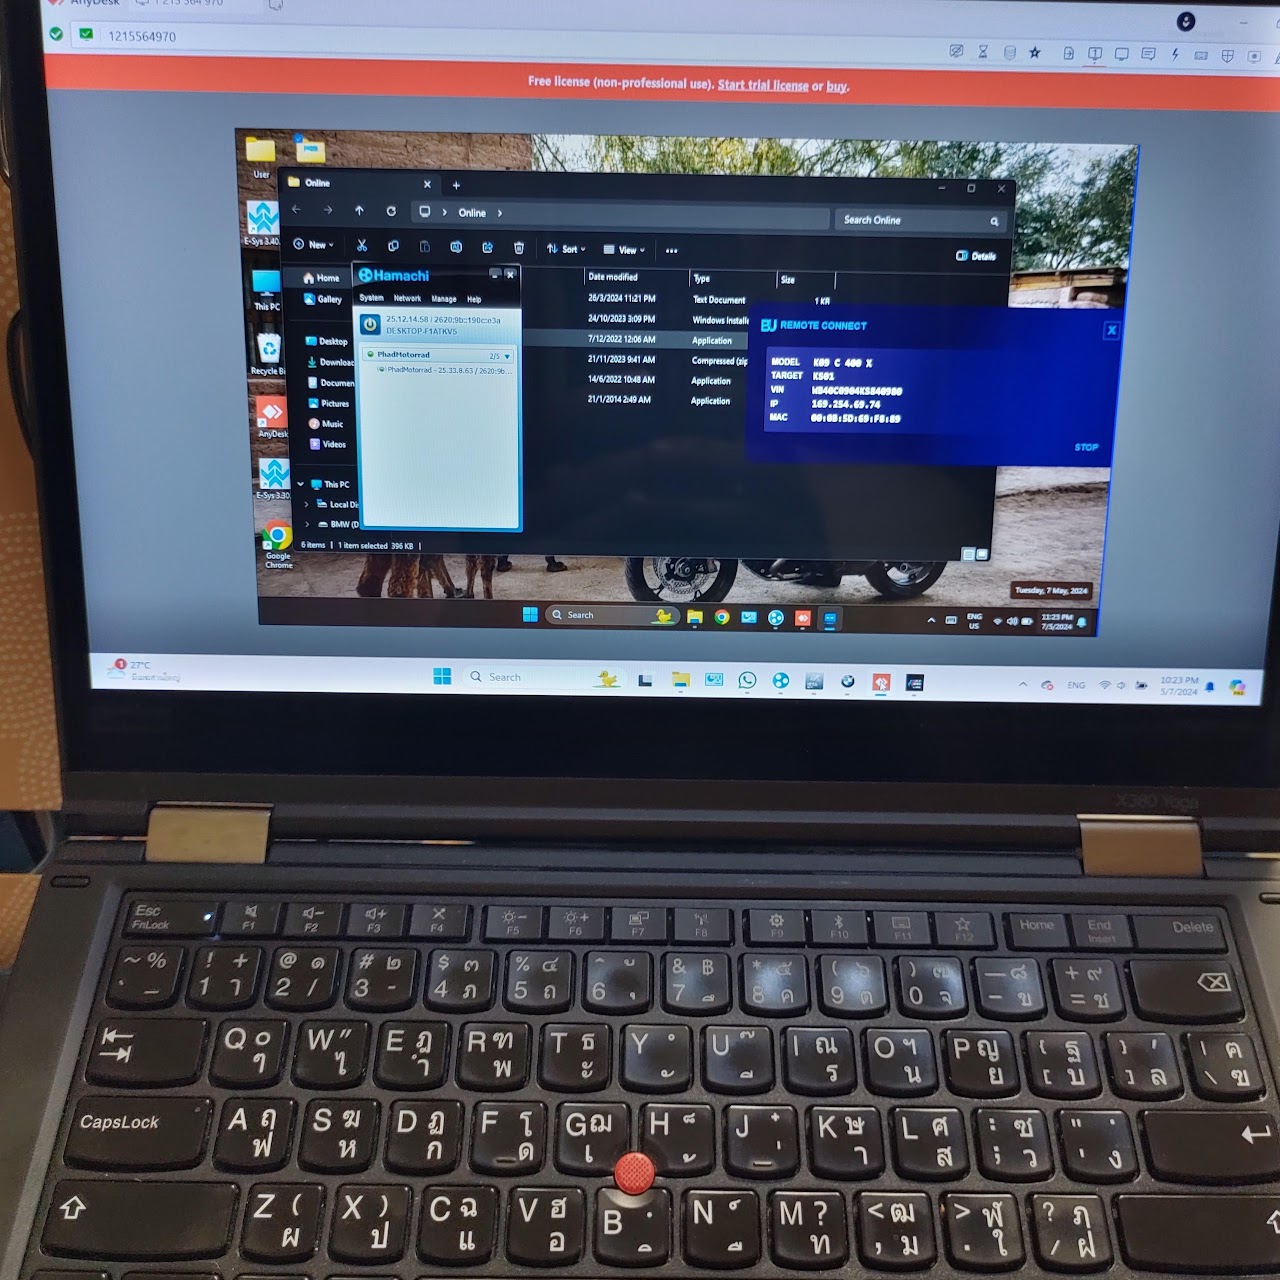
16Online Remote Coding
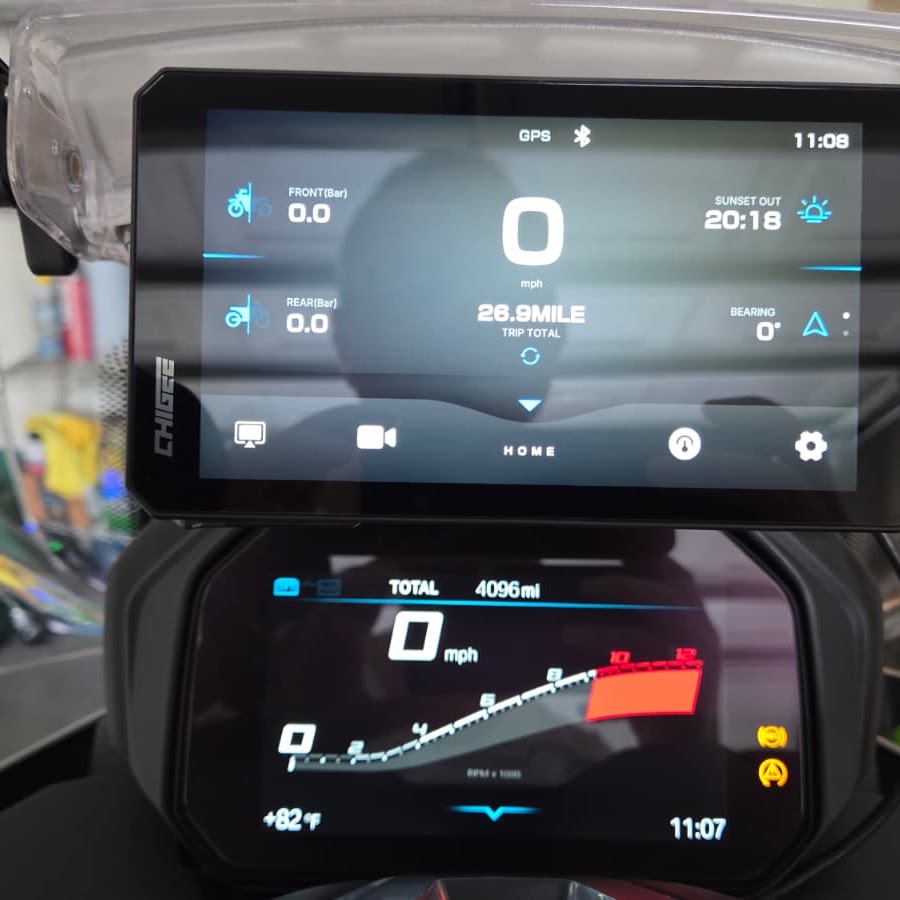
17C400GT/X GPS Coding
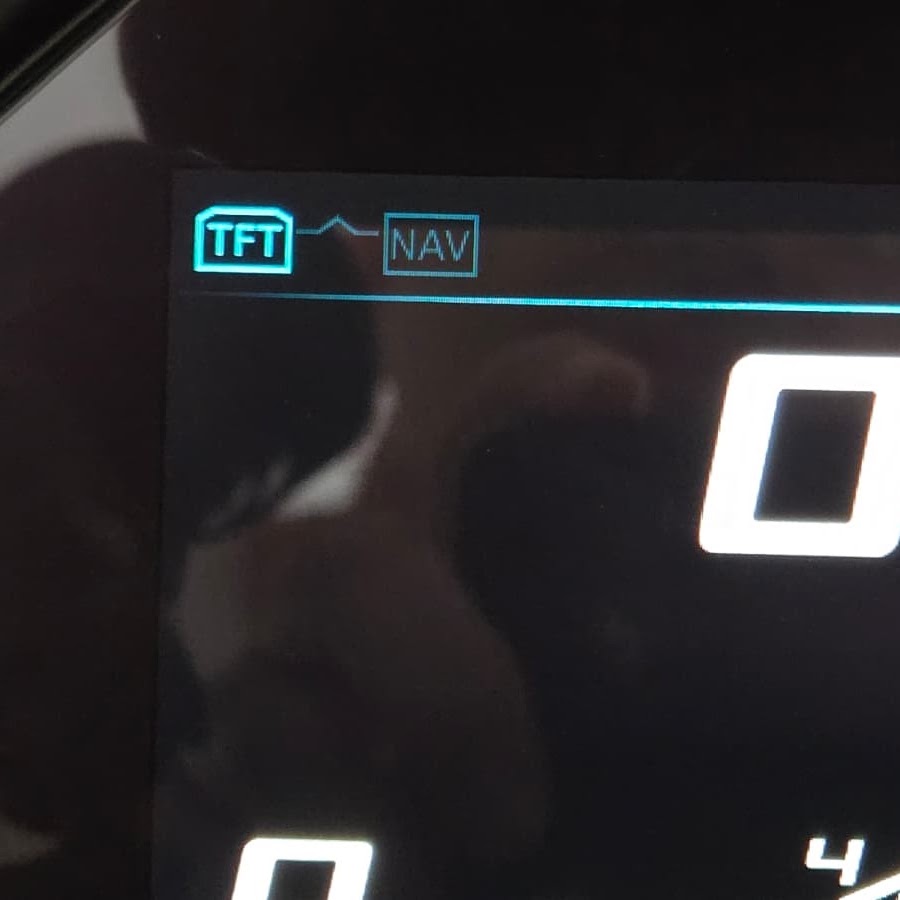
18C400GT/X NAV coding
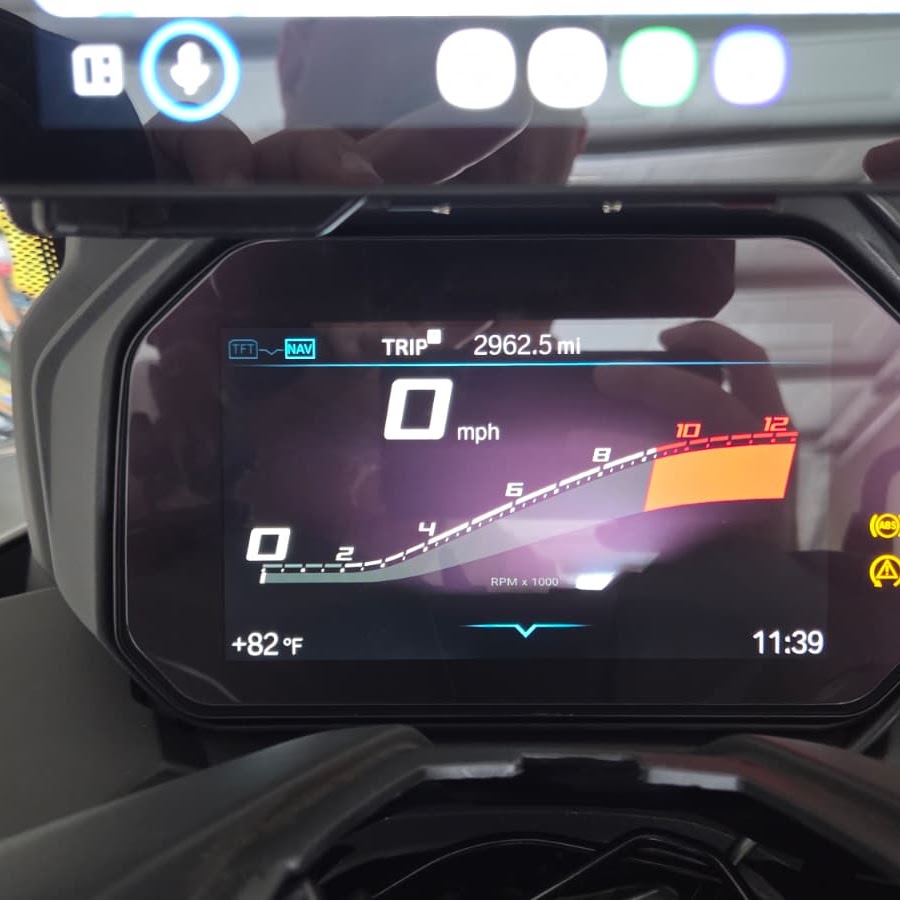
19C400GT/X NAV connected
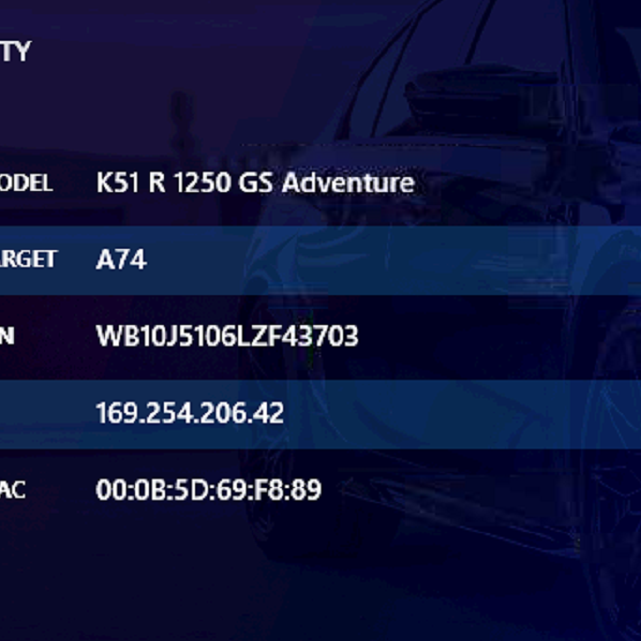
20R1250GSA Remote VPN via internet
BMW & MINI
BMW & MINI Coding
Content restored from the original Google Site.
COMPLETE LIST
Coding examples
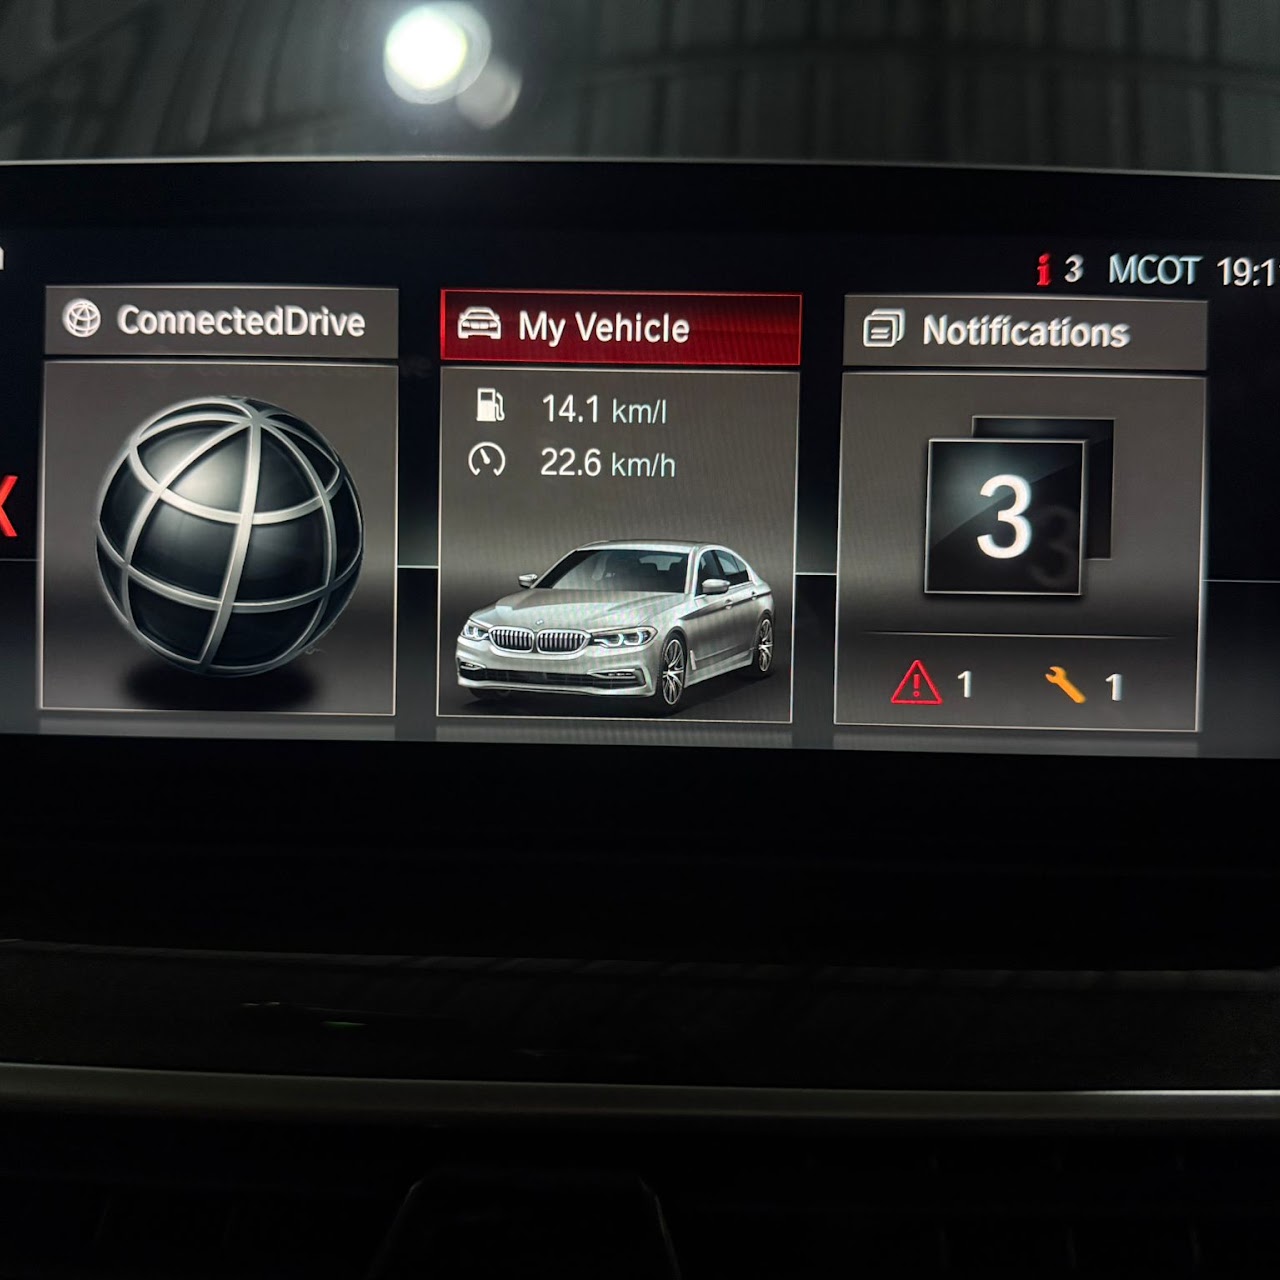
01BMW F30 — Custom Image
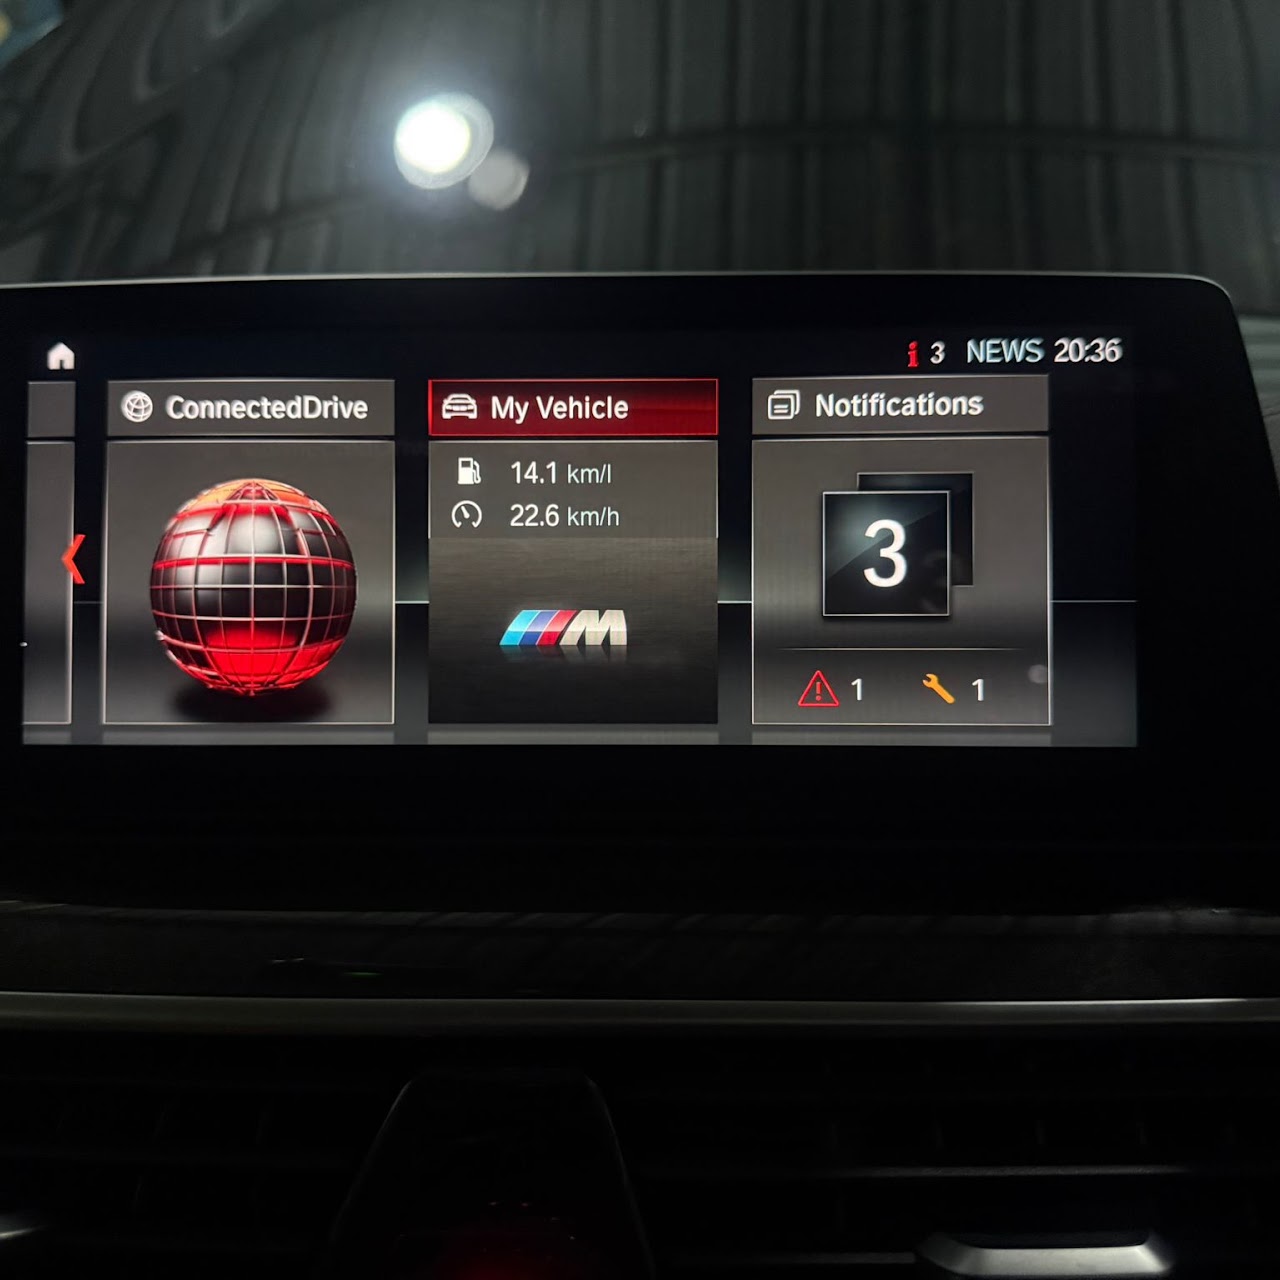
02BMW F30 — Custom Connected Drive
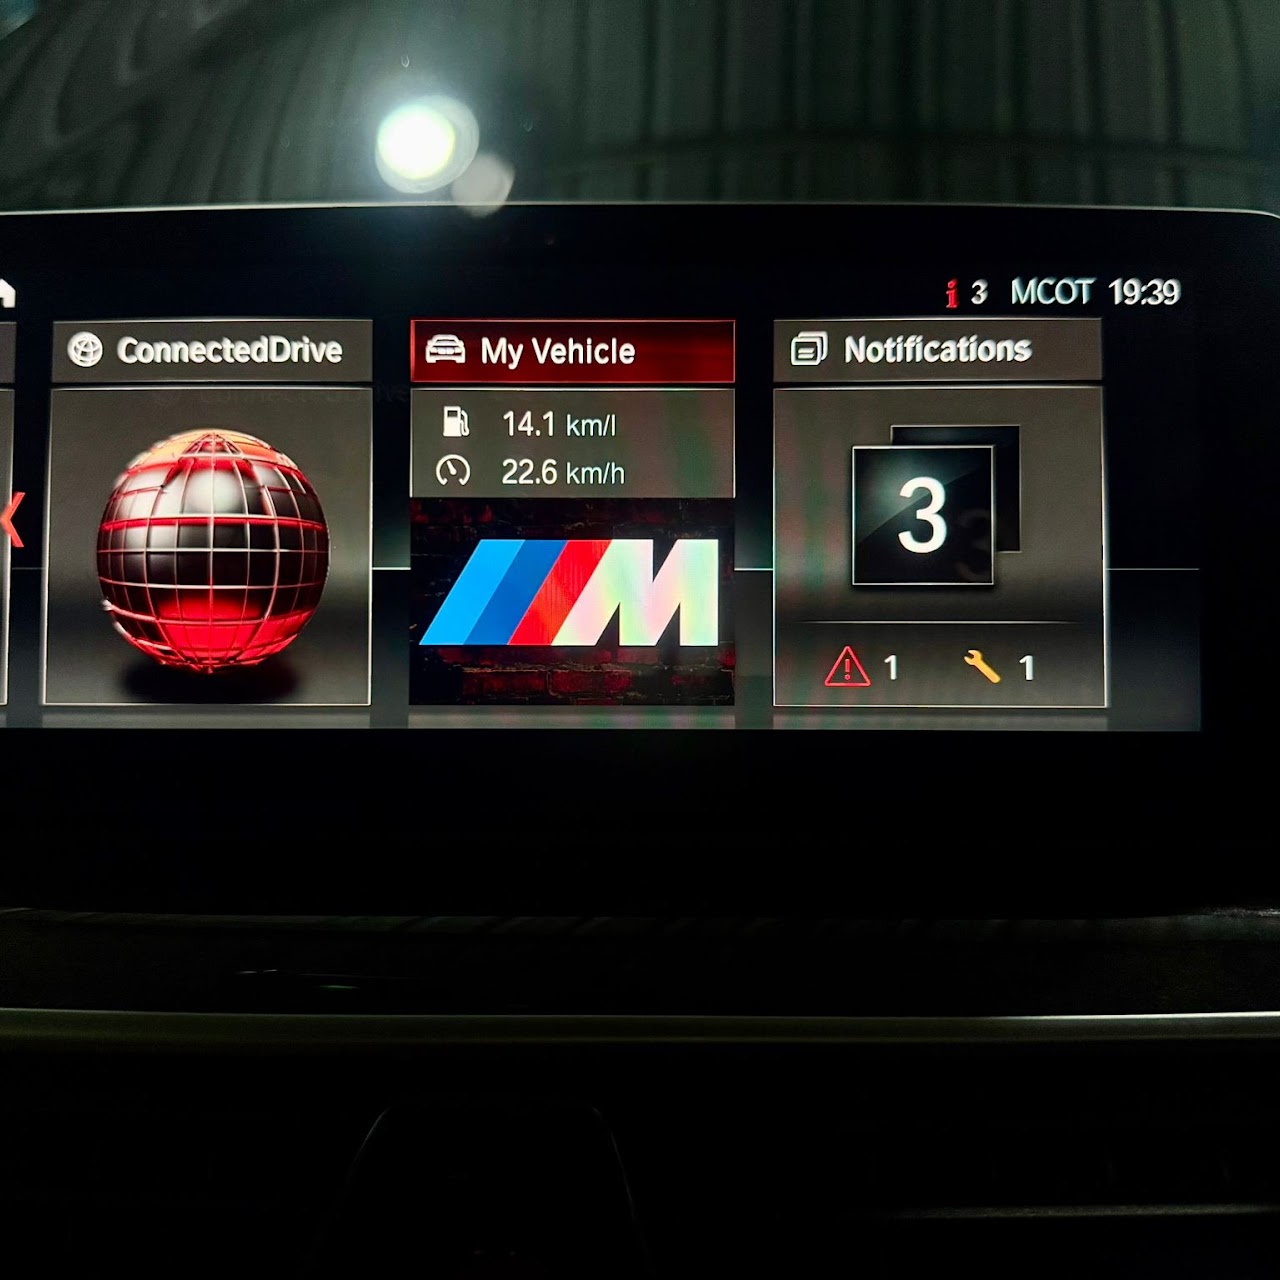
03BMW F30 — Custom My Vehicle
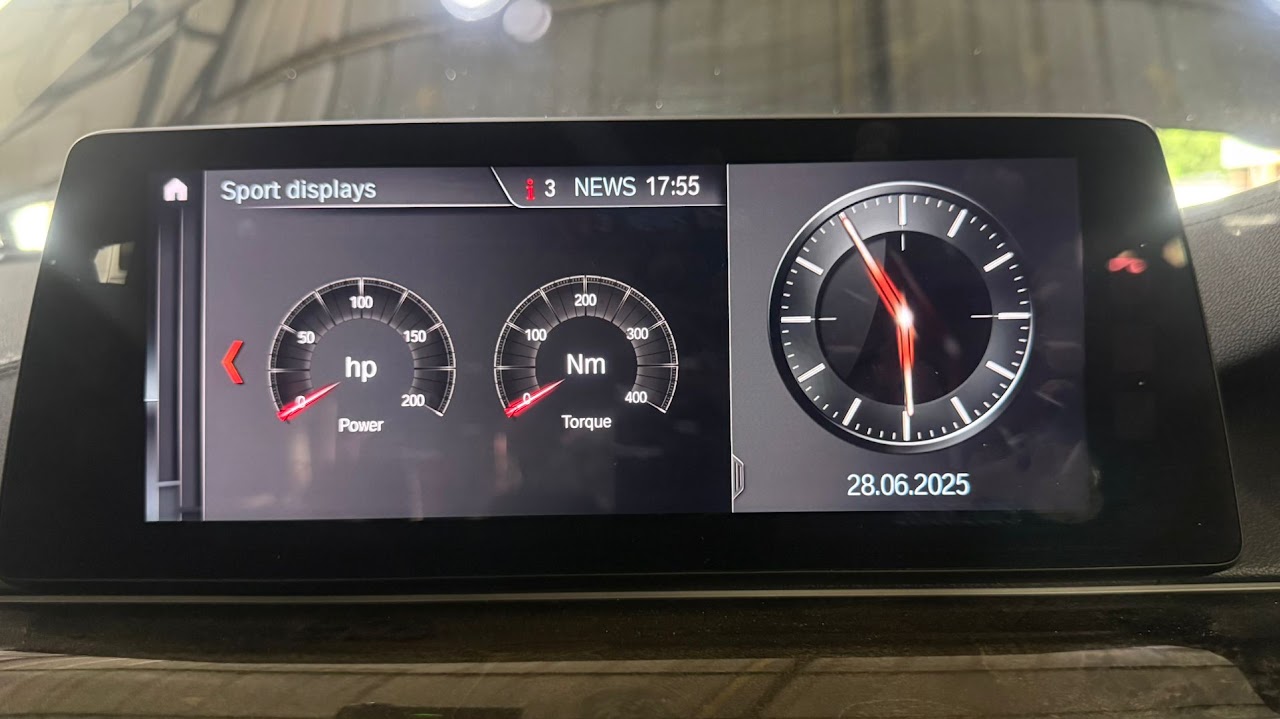
04BMW G20 — Clock Image
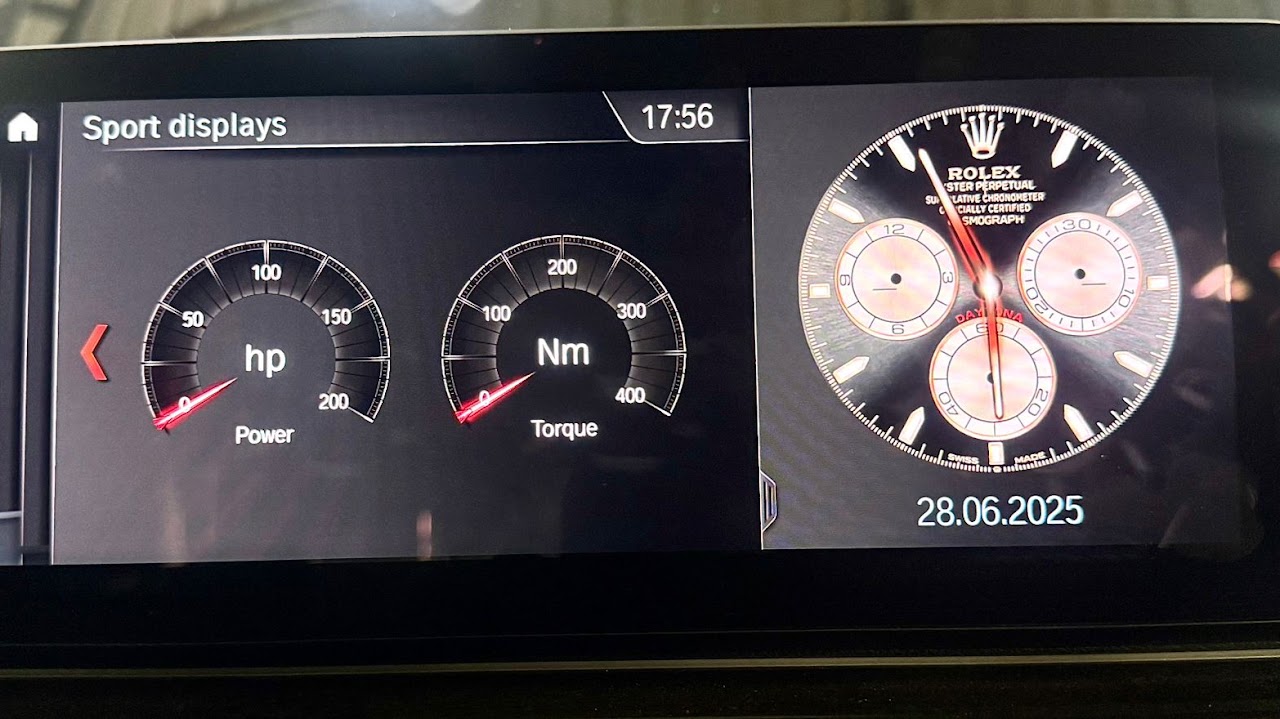
05BMW F30 — Clock Image
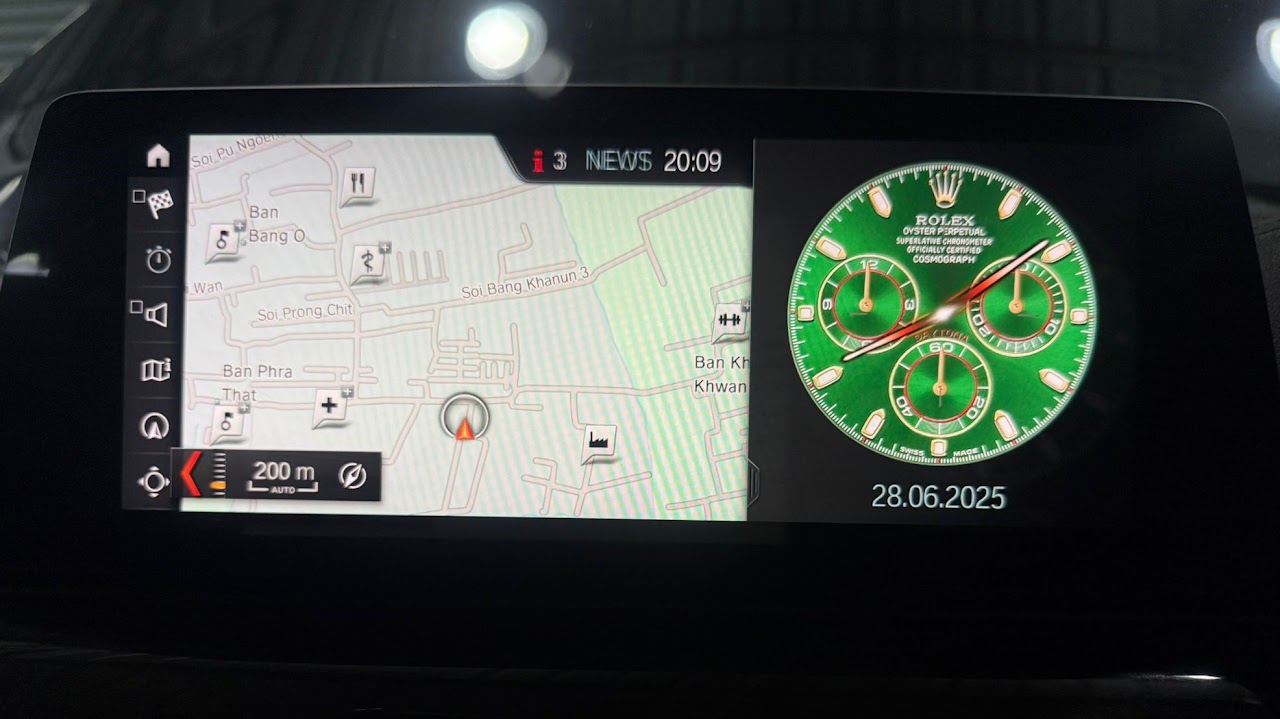
06BMW G20 — Clock Image
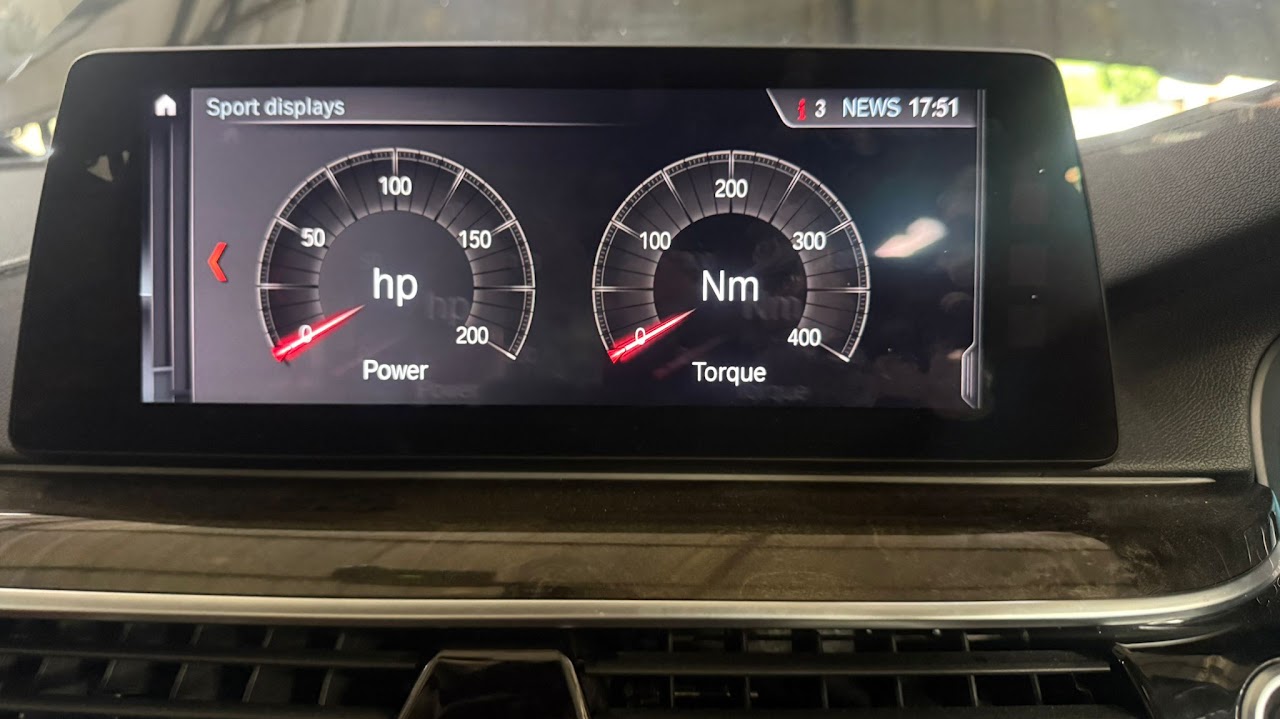
07BMW F30 — Custom Image
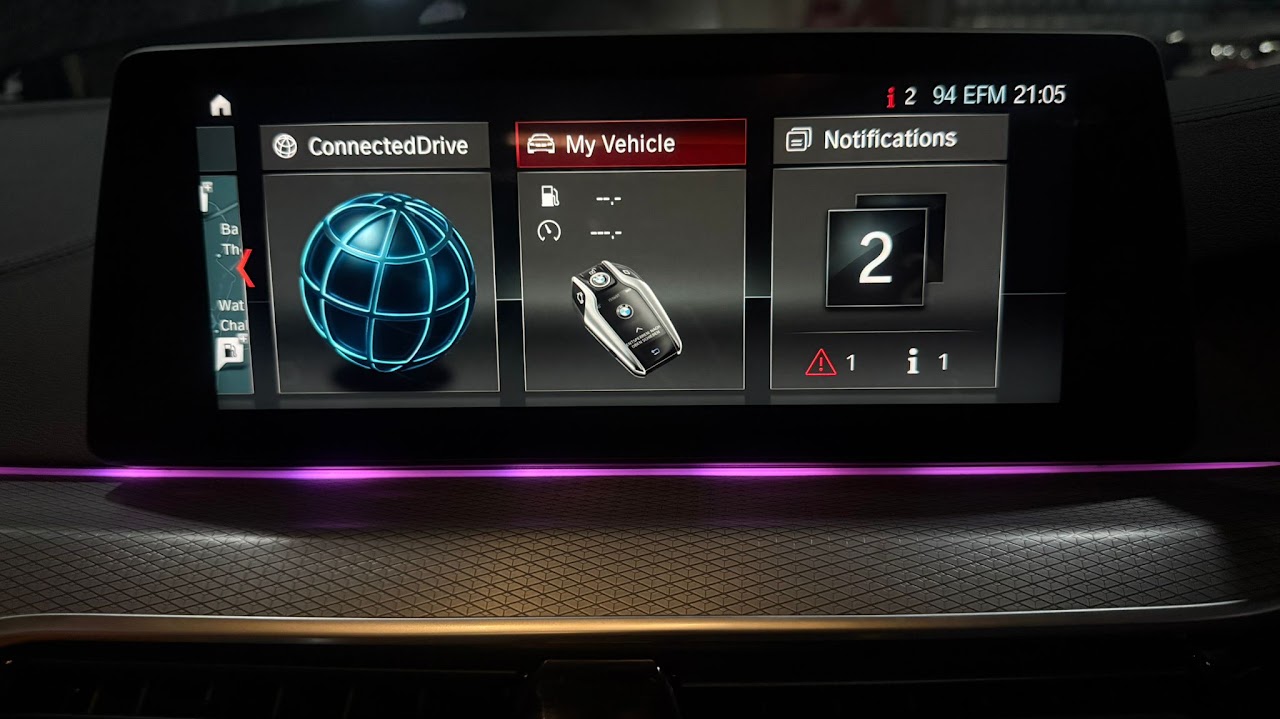
08BMW G30 — Custom Image
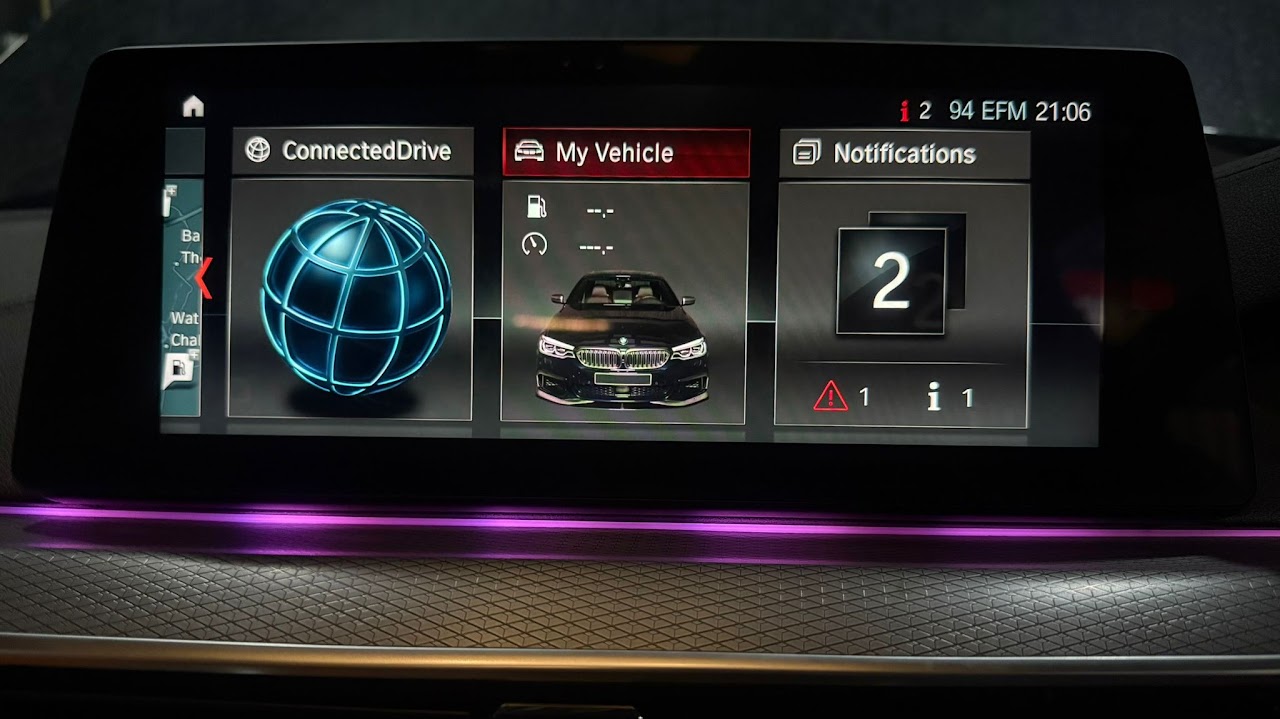
09BMW G30 — Custom Image
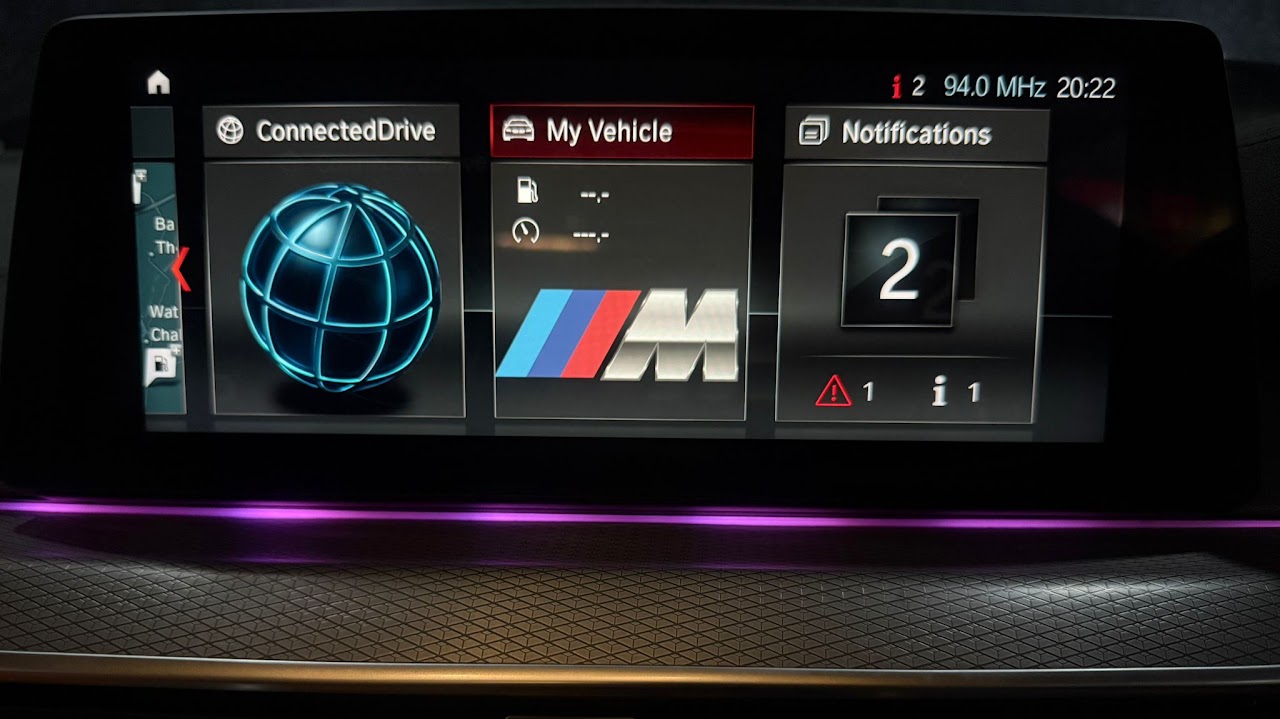
10BMW G30 — Custom Image
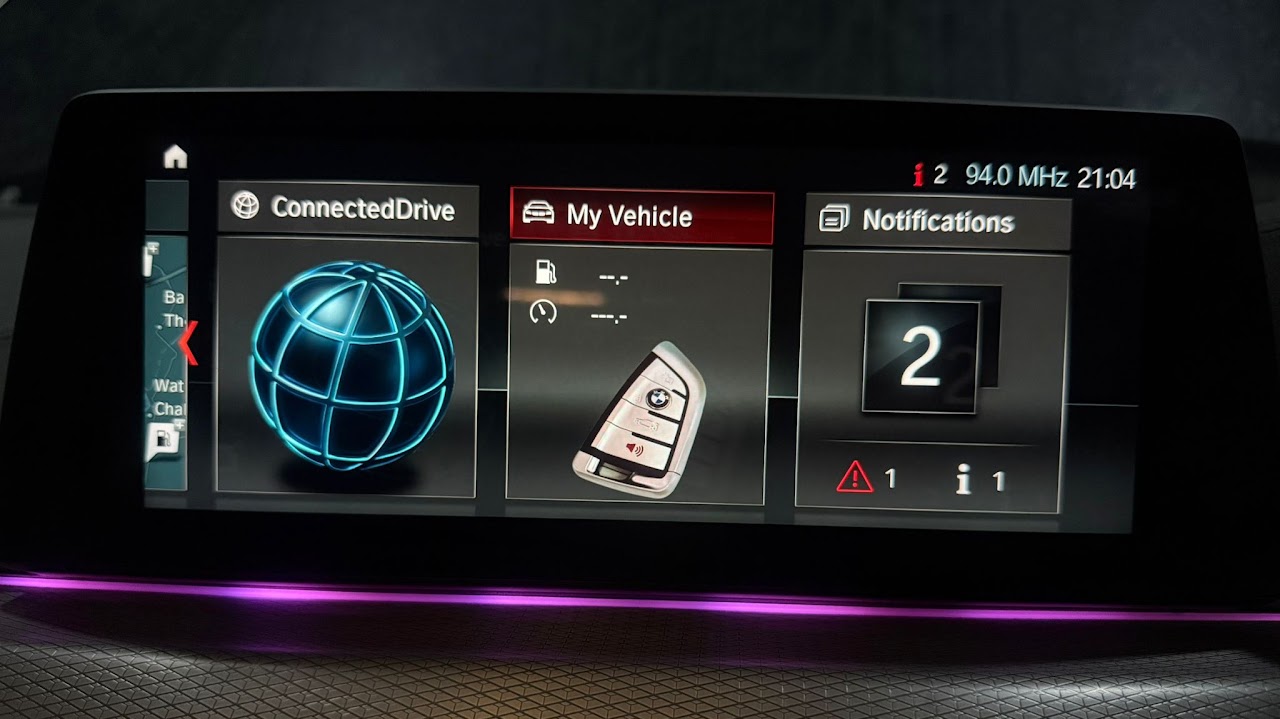
11BMW G30 — Custom Image
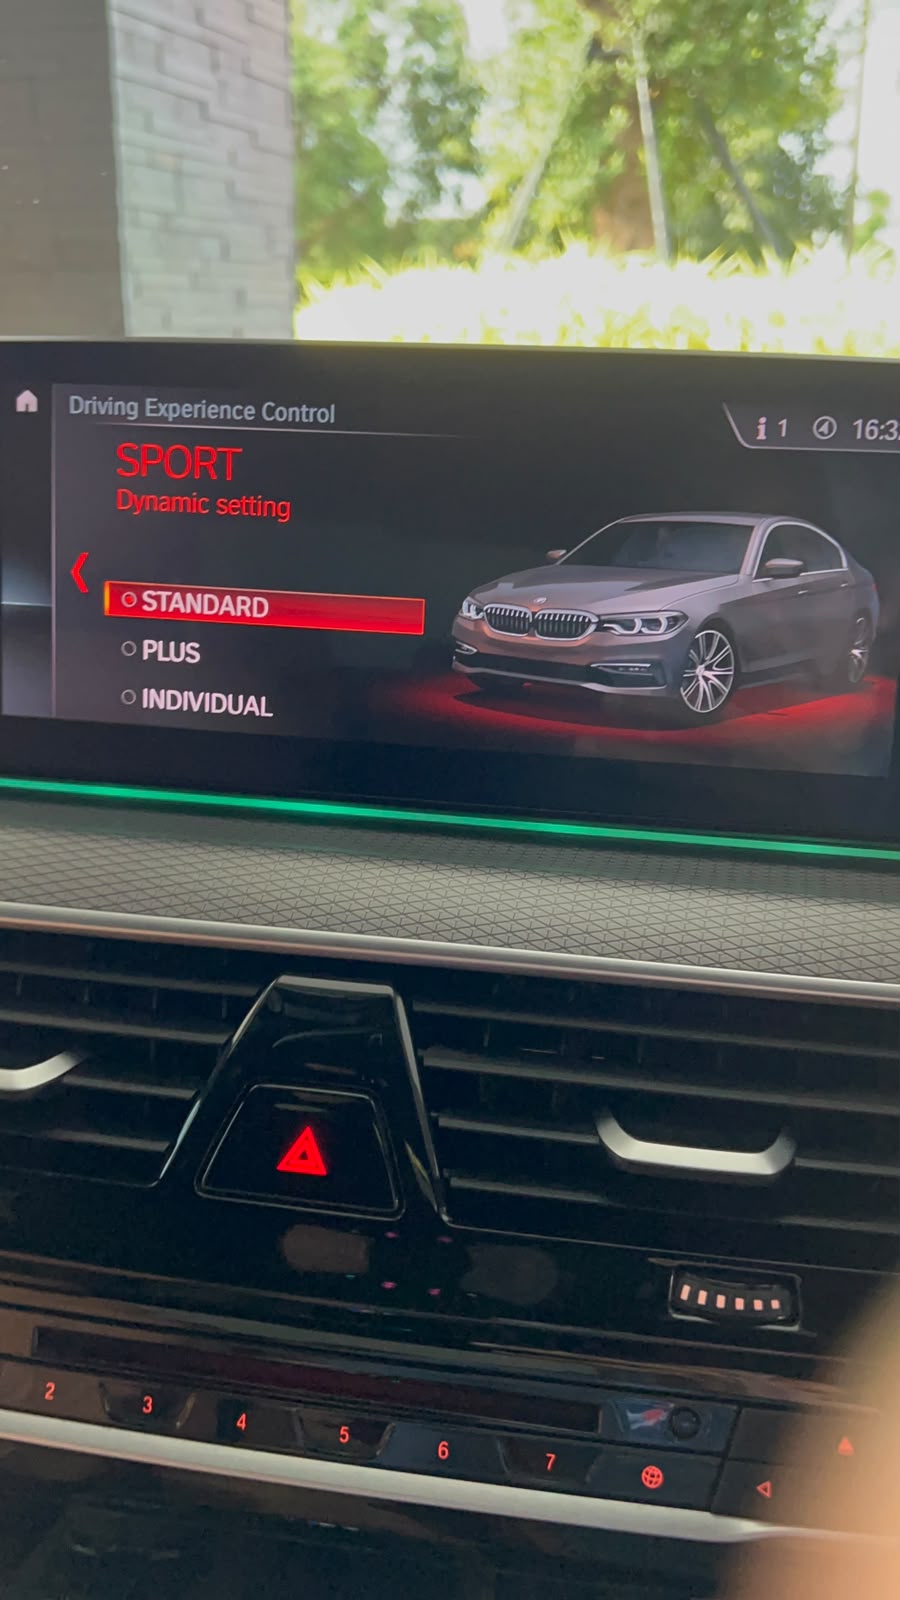
12Comfort Plus
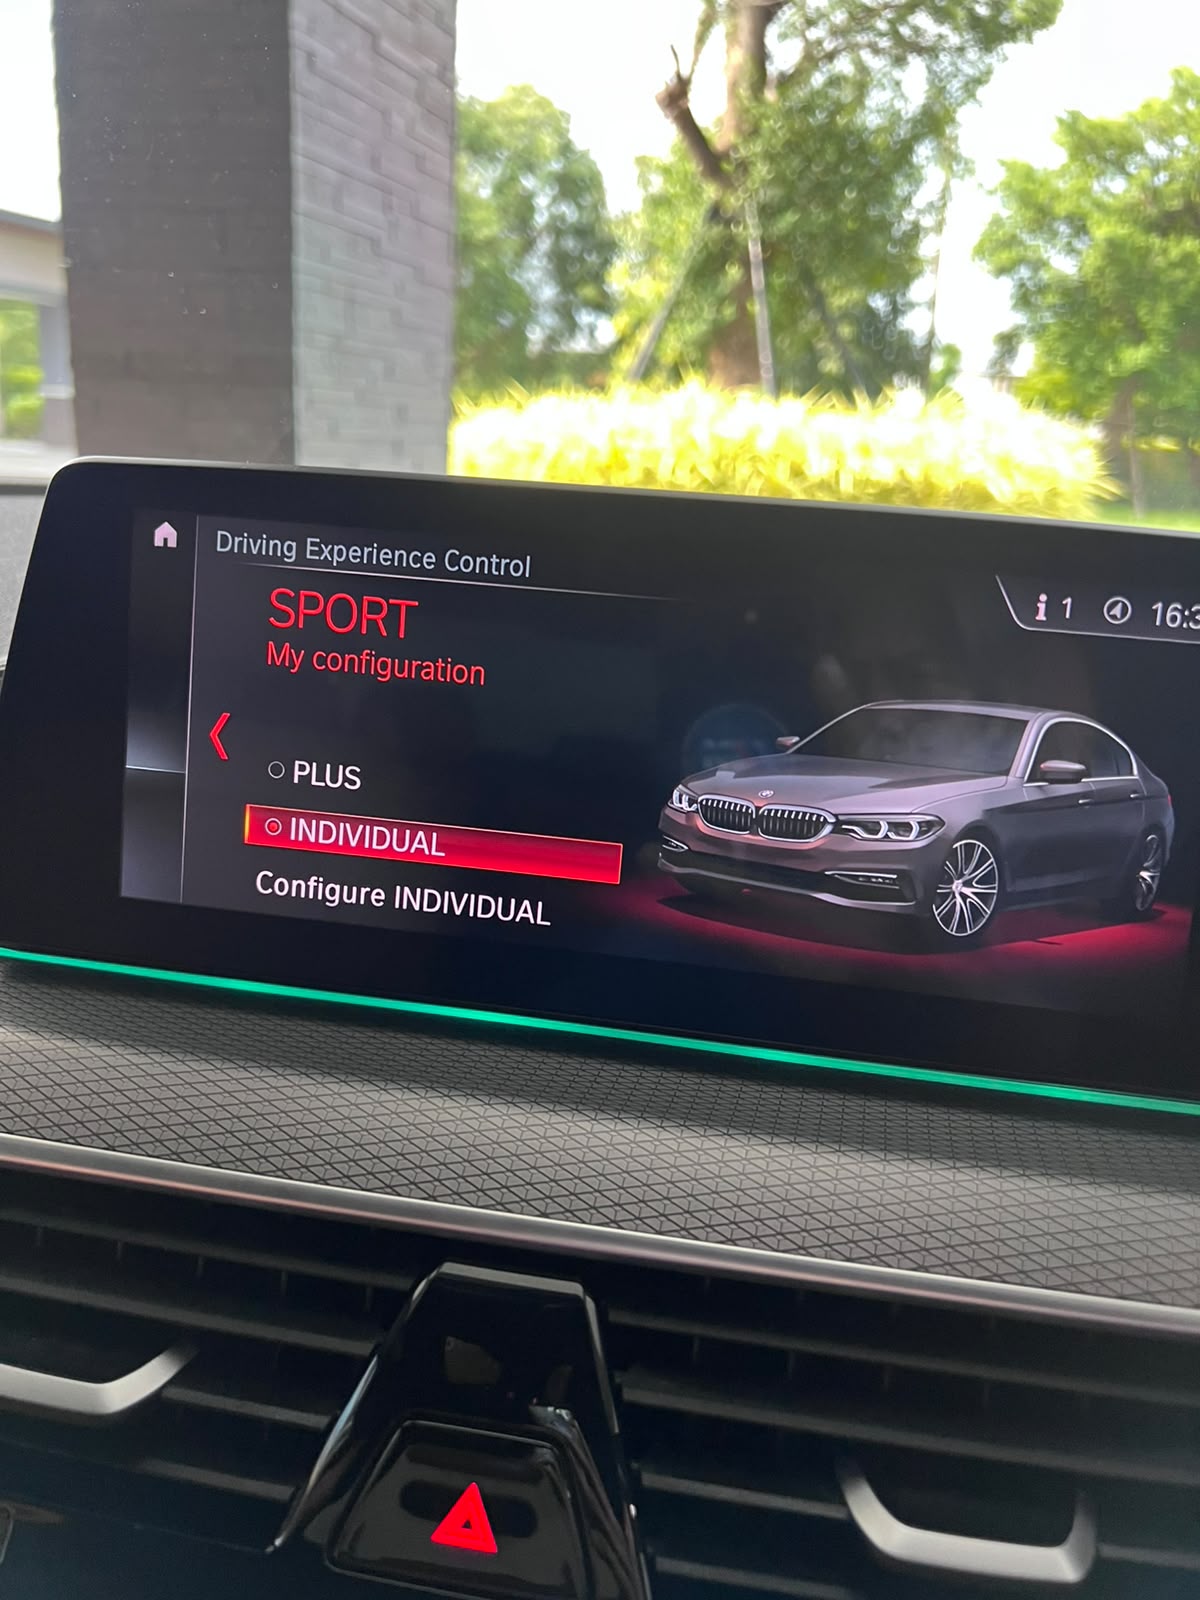
13Sport Plus
BMW APPLICATION & TOOLS
ISTA package & BMW software
Remote or onsite installation for the current BMW software package. WhatsApp: +66 84 668 3699.
COMPLETE LIST
Package includes 28 tools
VIDEO GUIDE
Watch on this page
RETROFIT & OPTIONS
Factory functions and add-ons
Availability depends on the vehicle, model year, market specification and installed hardware.
BMW MOTORRAD
Motorcycle Retrofit
For BMW Motorrad, the following retrofit and optional services are available. Availability depends on the vehicle specification and installed hardware.
RETROFIT LIST
BMW Motorrad Retrofit and Optional
Complete service list reproduced from the original Phad Motorrad page.
01Dynamic Upgrade↗02Retrofit Driving mode (Dynamic, Dynamic Pro, Enduro Pro, Race Mode)↗03Retrofit of RDC tyre pressure sensor↗04Retrofit of Active Cruise Control↗05Retrofit of Hill Start Control (HSC) Pro↗06Retrofit Low / High suspension — R1200GSA / R1250GSA↗07Retrofit heated grips and heated seat↗08Retrofit of Reverse Assistance↗09Retrofit Daytime Running Light (DRL)↗10Full-system exhaust AFR Mapping↗11Retrofit of Shift Assistant Pro↗12Retrofit of MSR (engine drag torque control)↗13Retrofit of ABS Pro↗14Retrofit of Dynamic ESA Pro↗15Retrofit of DDC (Dynamic Damping Control)↗16Retrofit of BMW Motorrad fog light↗17Retrofit of Navigator Connected↗18Retrofit new signal light for 2023 model year 19Headlight Retrofit — R1200GS / R1250GSA, new / old 20Retrofit limited-power vehicles (Japan, UK and power-reduced specifications) 21On / Off electronic suspension (DDC, SAF) 22ABS brake On / Off 23Conversion GS ⇄ GSA (contact us for details) 24Conversion S1000R → S1000RR (contact us for details) 25TFT Retrofit with old analogue meter↗26C400GT RDC Retrofit↗27DWA Retrofit↗28Daylight Retrofit — C400GT 2019↗
VIDEO GUIDE
Watch on this page
BMW & MINI RETROFIT
BMW and MINI Retrofit
Each service is paired with its matching reference image.
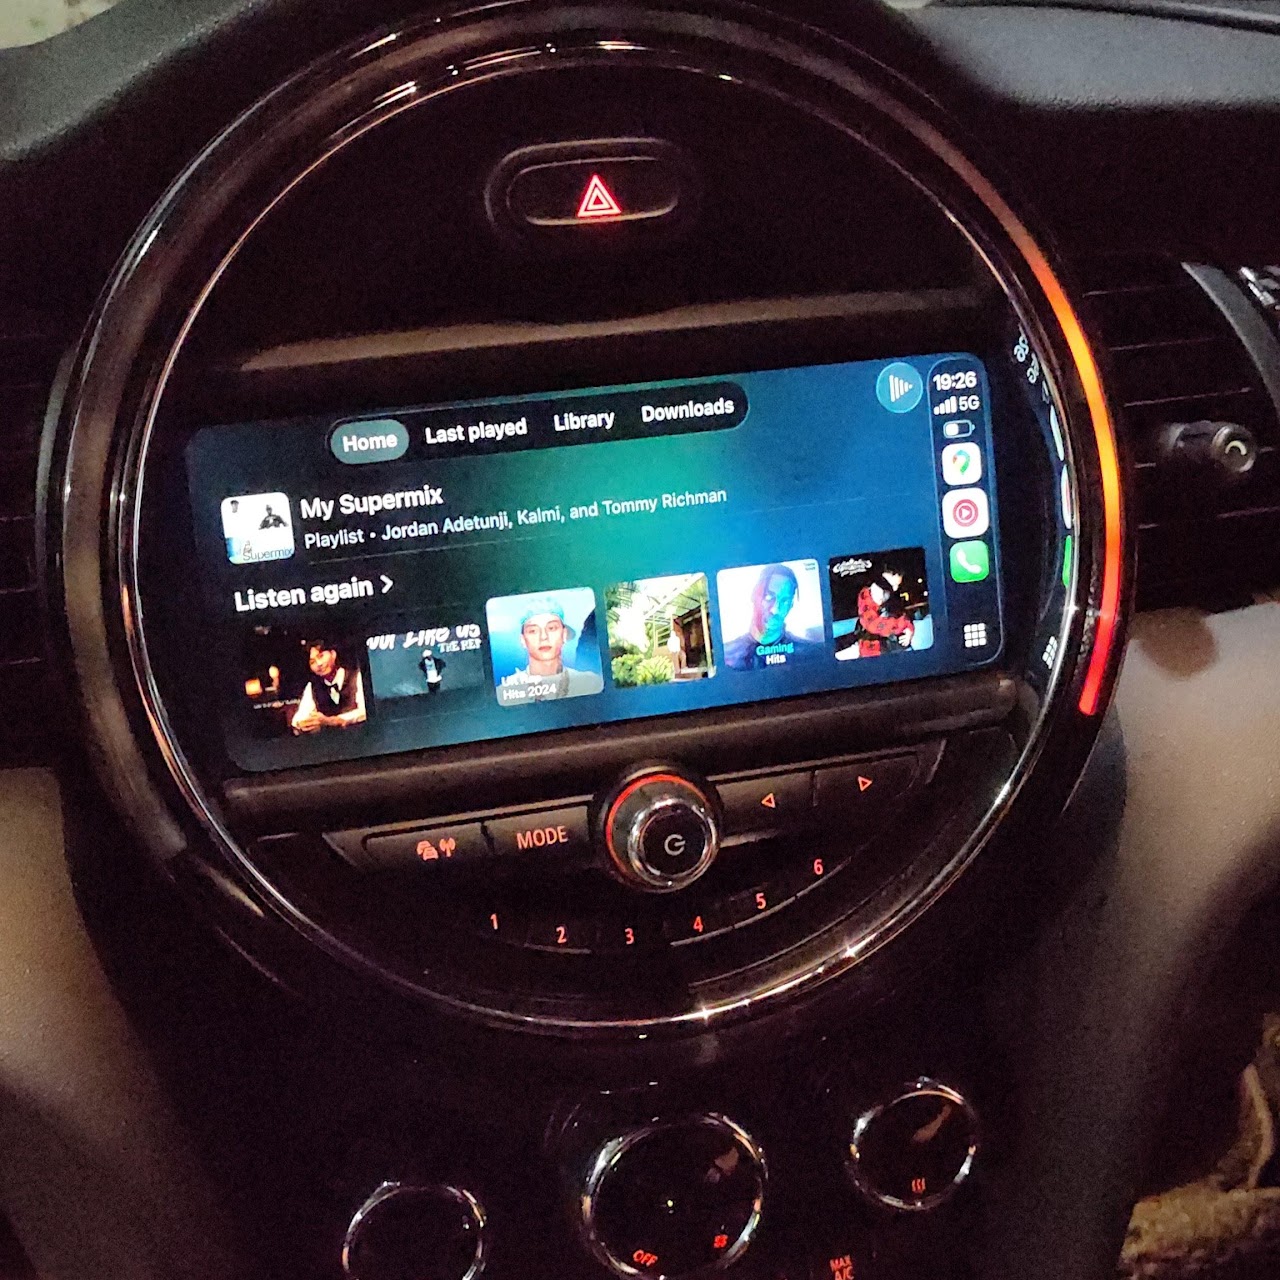
APPLE CARPLAY
Apple CarPlay
- MINI ID4 upgrade to ID6
- Install Apple CarPlay full screen
- Map update
- Coding
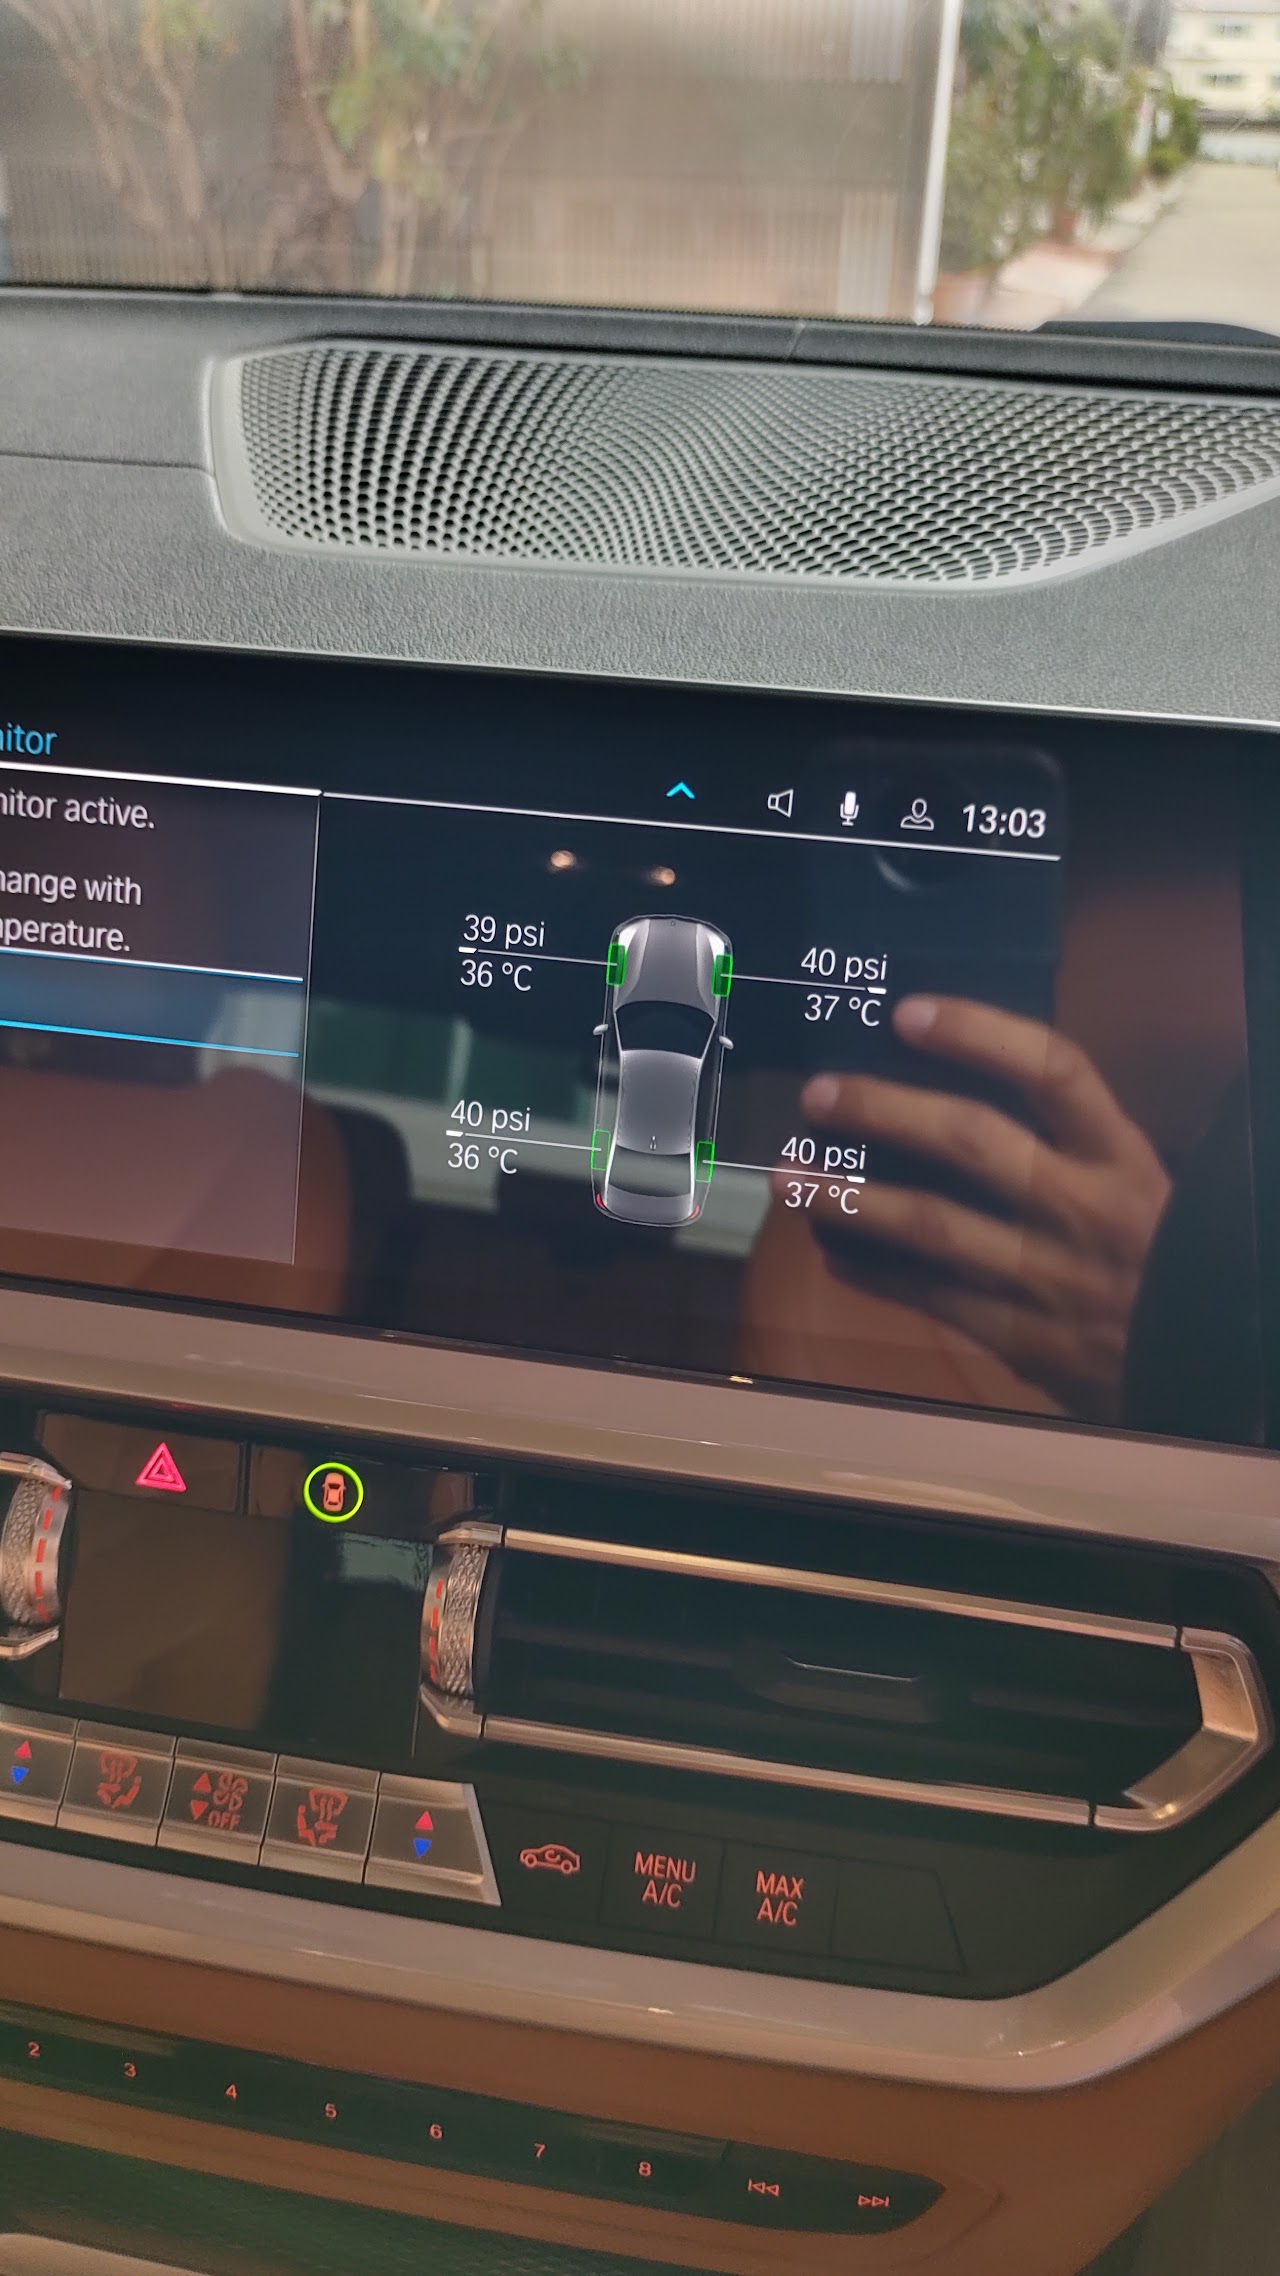
TPMS
Tyre Monitoring System
- Install and code the Tyre Monitoring System
- Dashboard coding with tyre temperature
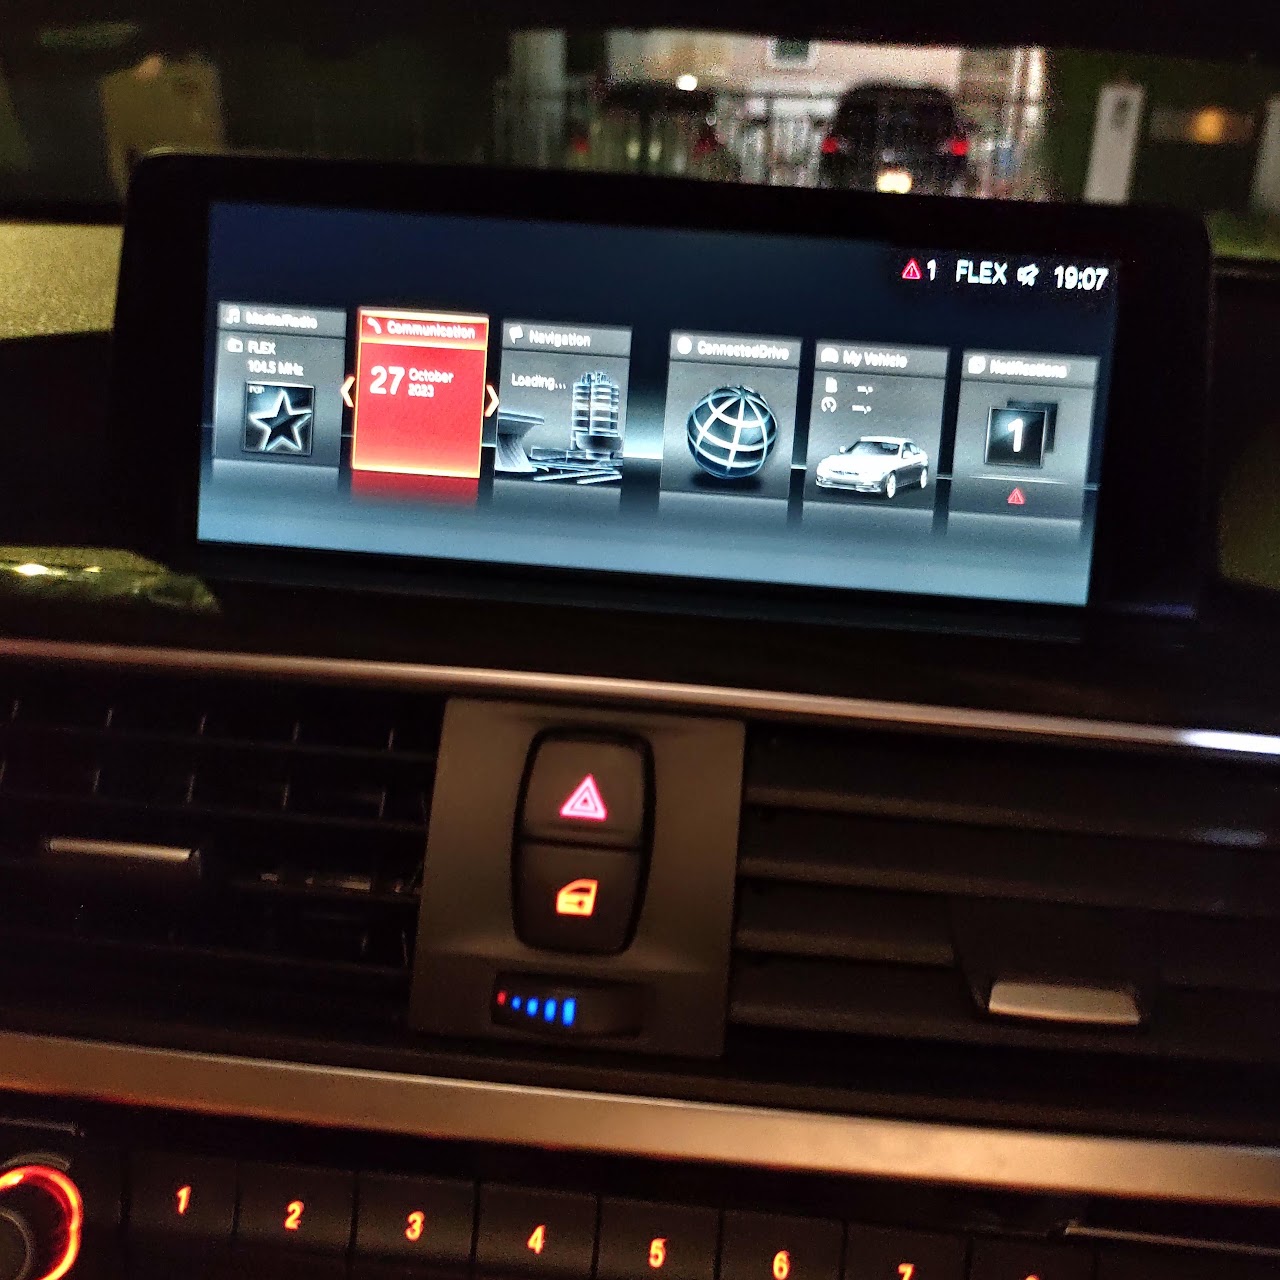
UPGRADE ID4 > ID6
Upgrade ID4 to ID6
- Upgrade the user interface to ID6
- Improved interface and sound quality
BMW MOTORRAD · RETROFIT DETAIL
Retrofit Driving Mode
Retrofit
Driving Mode
Retrofit Driving Mode for BMW Motorrad is a factory-authorized software upgrade that adds extra riding modes and features to a compatible motorcycle that did not originally have them. Instead of simply coding the bike to enable the features, this is a legitimate method of adding the advanced functionality to a model that is already wired for the technology.
This process requires a visit to a BMW Motorrad dealer to purchase the software upgrade, which is then programmed into the motorcycle's onboard computer.
Features included in the retrofit
The retrofit package, often referred to as "Riding Modes Pro," typically adds more dynamic and customizable options to the standard riding modes (Rain, Road, ECO) that come with the bike. These advanced modes adjust parameters like:
Throttle response: Affects how directly the engine responds to the throttle grip.
Dynamic Traction Control (DTC): Adjusts the sensitivity and intervention level of traction control.
Anti-lock Braking System (ABS) Pro: Optimizes ABS for braking while the motorcycle is in a banking position.
Dynamic ESA (Electronic Suspension Adjustment): Integrates with the new modes to alter the suspension damping for different conditions.
The Retrofitting on an R 1250 GS/GSA
A typical example of a Retrofit Driving Mode is on a BMW R 1250 GS.
Standard equipment: The bike comes with Rain, Road, and ECO modes.
Dynamic Mode: For aggressive, sporty riding on dry roads with a more spontaneous throttle response.
Enduro Mode: Optimizes settings for off-road riding on standard tires, with softer throttle response and more leeway from the traction control and ABS.
Dynamic Pro (Customizable): Allows the rider to individually configure parameters like ABS, DTC, and throttle response.
Enduro Pro (Customizable): Designed for experienced off-road riders using knobby tires. It provides a more spontaneous throttle response and deactivates ABS on the rear wheel.
How to get the retrofit
The process for getting the Retrofit Driving Mode is straightforward and must be performed by an authorized dealership.
Visit a dealer: Your BMW dealer can confirm if your motorcycle model is compatible with the software upgrade.
Purchase enabling codes: The dealer will purchase the correct "enabling codes" from BMW Motorrad.
Program the bike: The dealer will connect the motorcycle to their diagnostic system to upload and activate the new riding modes.
No new hardware: For many newer models, no new physical hardware is needed, as the bike is already built with the necessary electronics.
The ability to retrofit advanced driving modes gives owners more flexibility and control over their motorcycle's performance and safety features without needing to have purchased every option at the time of sale.
What is included in the S1000RR retrofit?
The "Riding Modes Pro" retrofit package adds the following track-focused functionalities to the motorcycle's electronics:
Race Pro 1, Race Pro 2, and Race Pro 3: These are highly customizable track modes that allow the rider to individually configure various bike parameters.
Launch Control: This feature assists with optimal acceleration from a standing start, perfect for racing starts or drag strip use.
Pit Lane Limiter: A speed limiter that can be activated in the pit lane to adhere to track rules.
How to customize the Race Pro modes
Within each of the three Race Pro modes, riders can fine-tune specific electronic systems to match their preferences or track conditions. The configurable parameters include:
Throttle Response: Change the engine's power delivery from a softer setting to a more direct and aggressive one.
Dynamic Traction Control (DTC) and Slide Control: Adjust the sensitivity of the traction control system, including how much wheelspin and controlled power-sliding is permitted.
Wheelie Control: Turn the system off or adjust its sensitivity to allow for more wheelies during track riding.
Engine Braking: Modify the amount of engine braking applied when the throttle is closed.
Anti-lock Braking System (ABS) Pro: Adjust the intervention levels of the cornering-optimized ABS system.
Dynamic Damping Control (DDC): If the bike has the optional electronic suspension, the damping can also be configured within these modes.
How to get the retrofit
Contact an authorized dealer: The process requires a BMW Motorrad dealer to perform the software upgrade. You can ask for a price quote and confirm your bike's compatibility.
Purchase the enabling code: The dealer will purchase a specific "enabling code" from BMW that is tied to your bike's Vehicle Identification Number (VIN).
Schedule the installation: You will need to bring your S1000RR to the dealership for the software upload. It is a software-only upgrade and does not require new hardware.
Activate and configure the modes: After the new software is loaded, the Race Pro modes will be available via the bike's TFT menu, and you can start customizing them immediately.
BMW MOTORRAD · RETROFIT DETAIL
RDC
Retrofit of RDC
Tire Pressure Sensor
Retrofitting an RDC (Tyre Pressure Control) sensor is the process of adding the factory-standard Tire Pressure Monitoring System to a BMW Motorrad bike that was not originally equipped with it. Unlike basic software upgrades, this requires both the installation of new hardware and specific electronic coding to integrate the system with the motorcycle's onboard computer.
What is RDC?
RDC uses wireless sensors mounted inside each wheel to continuously monitor and report real-time tire pressure and temperature to the rider via the instrument cluster. It provides both yellow "info" lights for minor deviations and a red warning light for a more significant pressure drop, enhancing rider safety.
The retrofit process
Retrofitting an RDC system is a complex procedure best performed by a qualified BMW Motorrad dealer or specialist. The steps involve hardware installation, electronic wiring, and software activation.
1. Hardware components
To begin the process, you will need several specific components:
Front and rear RDC sensors: These radio sensors are installed inside the tire on the wheel rim, replacing the standard valve stems.
RDC control unit: This module processes the data from the wheel sensors. For many newer bikes, a wiring harness may already be in place with a dummy plug, making installation more straightforward. For other models, you will need to install wiring to connect the control unit to the bike's electrical system.
Associated hardware: This includes specialized valve nuts, seals, and other small parts for installation.
2. Hardware installation
The physical installation involves several technical tasks:
Wheel and tire removal: Both the front and rear wheels must be removed from the motorcycle to access the valve stem area.
Sensor mounting: The tires are demounted, and the new RDC sensors are carefully installed on the inside of the rim, replacing the existing valve stems. It is crucial to have this work performed by a tire specialist to avoid damaging the new sensors or wheels.
Tire re-mounting and balancing: The tires are re-mounted, inflated to the correct pressure, and balanced, a standard step in any tire-fitting process.
RDC control unit installation: The new control unit is installed, often under the seat, and connected to the main wiring harness.
3. Software coding and activation
After the hardware is in place, the bike's electronics must be configured to recognize and use the new sensors.
Connect to diagnostic tools: The BMW Motorrad technician connects the bike to a diagnostic tool like a GS-911 or the official BMW Motorrad Diagnostic System.
Register the new system: The technician performs the necessary coding to activate the RDC feature in the bike's ECU. This process effectively tells the bike that it now has an RDC system installed.
Pair the sensors: The individual RDC sensor IDs for the front and rear wheels are paired with the bike's computer. This is often done by putting the system in "learn" mode and then "waking up" each sensor, which can be accomplished by using a special tool or by temporarily and rapidly releasing air from the tire.
Test ride: A test ride is performed to ensure the sensors are functioning and communicating with the bike's display.
Key considerations
Professional installation: Due to the need for specialized tire tools and electronic programming, this is not a straightforward DIY job. Professional installation ensures proper calibration and function.
Part compatibility: RDC sensor technology has evolved. It is important to ensure the parts (sensors and control unit) are compatible with your specific motorcycle model year.
Cost: The retrofit cost includes the parts (sensors, control unit), the labor for installation and programming, and the potential cost of tire service.
BMW MOTORRAD · RETROFIT DETAIL
Retrofit of Cruise Control
Retrofit of
Cruise Control
For motorcycles, "retrofitting" Cruise Control can refer to two main types of systems: factory-level electronic cruise control (ECC) and aftermarket mechanical or electronic systems. The feasibility and process for each type vary significantly.
1. Retrofitting factory-level electronic cruise control
For many late-model BMW motorcycles with "ride-by-wire" (electronic) throttles, an official retrofit kit is available from BMW Motorrad. This is a complex but fully integrated factory solution.
The process
Hardware installation: Your dealer will install a new left-hand combination switch with the cruise control buttons. This may require removing panels to access wiring. A new electronic throttle twistgrip may also be necessary depending on the specific model and options.
ECU coding: After the hardware is installed, a BMW Motorrad technician will connect the bike to their diagnostic system. They will activate the cruise control feature in the motorcycle's Electronic Control Unit (ECU) by entering a specific enabling code.
Integration: Because it is a factory-developed system, it integrates seamlessly with the bike's existing electronics, including the instrument cluster display, clutch switch, and brake switches.
Advantages
Seamless integration: Works exactly as if it came from the factory, with full system integration.
Safety features: Deactivates automatically when the brake or clutch is applied.
Reliability: Uses genuine, high-quality BMW parts.
Key considerations
Compatibility: This option is only available for specific models and model years. You must consult a BMW dealer with your motorcycle's Vehicle Identification Number (VIN) to confirm compatibility.
Cost: This is typically the most expensive retrofit option due to the high cost of original equipment manufacturer (OEM) parts and dealership labor.
2. Aftermarket electronic cruise control
For many motorcycles, especially those with ride-by-wire, third-party companies offer electronic cruise control kits. These are "plug-and-play" for many modern bikes and are a robust alternative to a factory system.
The process
Select a kit: Popular brands include MCCruise and Veridian. They offer model-specific kits for a variety of motorcycles.
Hardware installation: The kit includes a control module, a wiring harness, and a handlebar-mounted switch. Installation usually involves connecting the harness to the motorcycle's throttle sensor, brake switch, and diagnostic port.
No dealer coding: The kits are typically pre-programmed and do not require dealer activation. Once installed correctly, they are ready to use.
Advantages
Wider compatibility: Available for a greater range of motorcycles than the official factory retrofit.
Cost-effective: Often a more affordable option than the OEM kit, particularly if you do the installation yourself.
Key considerations
Installation complexity: While many kits are plug-and-play, the installation can still require removing fairings, fuel tanks, or other components to access the correct wiring.
System integration: While functional, the aftermarket system will not have the same level of deep integration with the instrument cluster or other systems as a factory solution.
3. Mechanical throttle locks and cruise assists
These are simple, inexpensive mechanical devices that temporarily hold the throttle grip in place with friction to relieve wrist strain. They are not a true cruise control system and do not automatically adjust speed.
The process
Acquire device: Common brands include Kaoko, Atlas, and Go Cruise. They are widely available online and can be universal or bike-specific.
Simple installation: Installation is usually quick and straightforward, involving clamping the device to the throttle assembly or replacing a bar end.
Friction-based operation: The rider engages the lock manually by pressing or flicking a lever to hold the throttle position.
Advantages
Low cost: The most budget-friendly option.
Universal fit: Many models can be fitted to almost any bike.
Instant relief: Provides quick rest for the rider's hand on long, constant-speed stretches of road.
Key considerations
Not a cruise control: The system does not actively maintain a set speed. The bike's speed will vary with changes in road grade or wind.
Requires attention: The rider must monitor the speed and disengage the lock when needed. It does not disengage automatically with brake or clutch input, although most designs allow manual override.
BMW MOTORRAD · RETROFIT DETAIL
Hill Start Control Pro
Retrofit of Hill Start conttrol (HSC) pro
Hill Start Control (HSC) Pro is an electronic safety feature on BMW Motorrad bikes that helps riders start on an incline without rolling backward. The "Pro" version enhances the standard HSC by adding an automatic mode. Retrofitting HSC Pro, like many factory options, is a dealer-performed software activation that relies on existing hardware.
How HSC Pro works
The system uses the bike's existing ABS sensors and control unit to apply and hold braking pressure when the bike is stopped on an incline. This frees the rider to focus on a smooth start using the throttle and clutch, and it is particularly helpful for heavy bikes or when carrying a passenger.
HSC Pro includes the following modes:
Manual mode (standard): The rider manually engages the system by squeezing the front brake lever firmly once stopped. The system releases the brakes when the rider pulls away.
Automatic mode: This feature, exclusive to the "Pro" version, automatically activates the hill hold function when the bike is stopped on a significant incline.
Off: The rider can disable the system entirely through the instrument cluster's menu.
The retrofit process
For compatible models, retrofitting HSC Pro is primarily a software update performed by an authorized BMW Motorrad dealer.
Check compatibility: The dealer will first check your bike's Vehicle Identification Number (VIN) to confirm it is compatible with the retrofit. While Hill Start Control (HSC) has been available as a retrofit for various models like the R 1200 GS and R 1200 R, compatibility depends on the specific model year and existing hardware, especially the ABS system.
Order enabling code: Once compatibility is confirmed, the dealer orders a unique enabling code from BMW Motorrad for your specific bike. This code "unlocks" the feature in the bike's software.
Perform software update: The dealer connects the motorcycle to their diagnostic system. This process usually requires updating the bike's software to the latest version (known as "i-level") before the new option can be coded.
Code the ECU: The technician uses the enabling code to program the motorcycle's Electronic Control Units (ECUs), particularly the ABS ECU, to enable the new HSC Pro function. This process is part of what is known as importing the "Vehicle Order" or VO file.
Test the system: After the update and coding are complete, the dealer will test the system to ensure it functions correctly and that the HSC display icon appears on the instrument cluster.
Important considerations
Not a hardware installation: For compatible bikes, the physical components required for HSC (like the ABS unit, tilt sensors, etc.) are already on the motorcycle. The retrofit is a software activation, not a hardware installation.
Professional installation: Due to the required diagnostic tools and software coding, this retrofit must be performed by a BMW Motorrad dealer or a qualified technician.
Cost: The total cost includes the price of the enabling code and the dealership's labor for the software update and coding.
BMW MOTORRAD · RETROFIT DETAIL
Low / High Suspension
Retrofit Low/Hight suspension R1200GSA/R1250GSA
Retrofitting suspension height on R1200GSA/R1250GSA
Retrofitting a dynamic or variable height suspension system on an R1200GSA or R1250GSA is not possible. The Adaptive Ride Height system is a factory-installed option that is deeply integrated into the bike's chassis and electronics.
However, you can achieve a "low" or "high" fixed ride height through the installation of different aftermarket suspension components. These methods do not offer the on-the-fly, electronically controlled height adjustment of the factory system. The process depends on whether your bike has standard suspension or the BMW Dynamic Electronic Suspension Adjustment (ESA).
1. Retrofitting standard suspension for a fixed lower height
If your bike has standard, non-electronic suspension, the most common methods for a static height change are:
Low suspension: Replacement shocks are designed with less travel to reduce the bike's overall height. You will also need shorter side and center stands to ensure the bike remains stable when parked.
High suspension: To raise the height, you would replace the shocks with ones that have more travel, requiring longer side and center stands.
Progressive spring kits: For a less expensive option, you can replace the stock springs on your existing shock absorbers with a lowering or raising kit. This is often the most cost-effective way to get your feet more firmly on the ground.
Lower seats: BMW offers low-comfort seats for the GS Adventure models, which can provide a lower riding position for riders who need better ground reach.
2. Retrofitting ESA-equipped bikes for a fixed height change
If your bike has the factory BMW Dynamic ESA suspension, you have a few options for modifying the height while retaining the electronic functionality.
"Plug and Travel" replacement shocks: Companies like Touratech and TracTive offer full replacement shock absorber sets that are "plug and play" with the factory ESA system. These shocks connect directly to the existing wiring and controls on the handlebars, so you retain all your ESA damping and preload settings. The new shocks can be purchased in various fixed ride height options (e.g., -25mm, -40mm).
Lowering replacement springs: A more budget-friendly approach is to replace the stock springs on your existing electronic shocks with lowering springs from manufacturers like Touratech. This option is effective for lowering the bike while keeping the ESA functionality for damping control.
Important considerations
Expert installation: Modifying the suspension on a GS is complex and should be performed by a professional motorcycle mechanic. Shocks need to be calibrated correctly to match rider weight and intended load.
Adjusting stands: When lowering or raising the ride height, you must also adjust or replace the side stand and center stand to ensure the bike parks securely.
Ground clearance: While a lowered ride height can be beneficial for many riders, it comes at the expense of reduced ground clearance.
High suspension: Creating a "high" suspension setup from a standard height bike is less common but can be achieved with aftermarket shocks and longer stands for riders who need more ground clearance.
BMW MOTORRAD · RETROFIT DETAIL
Heated Grips & Seat
Retrofit heated grips and seat
You can add heated hand grips and a heated seat to many BMW motorcycles through both factory-authorized and aftermarket solutions. The best option depends on your specific model and your desired level of integration and features.
Retrofitting heated grips
BMW Motorrad genuine retrofit kit
For many modern BMW motorcycles, an official retrofit kit is available from a dealer. This option integrates directly into the bike's electrical system and allows you to control the grips via the bike's existing dashboard and menus.
A BMW dealer installs the new heated grips and, for some models, a new switch assembly on the handlebar.
The dealer connects the grips to the bike's accessory wiring, which often has a designated plug.
A unique "enabling code" is used to program the bike's computer to activate and control the grips through the onboard system.
Pros: Seamless, integrated controls and display, factory warranty, and perfect fitment.
Cons: Higher cost due to genuine parts and dealer labor.
Aftermarket heated grip kits
Universal aftermarket kits are a popular and affordable alternative to the factory kit. Brands like Koso and Oxford offer self-contained systems with their own controls.
Remove the existing grips and thoroughly clean the handlebars.
Install the new heated grips and route the wiring along the handlebars and frame, securing it with cable ties.
Connect the wiring to a switched 12V power source (an accessory circuit that turns on with the ignition) to prevent draining the battery.
Mount the independent control switch in a convenient location on the handlebar.
Pros: Wide compatibility, lower cost, and simple electrical installation.
Cons: Non-integrated controls and wiring, may not display on the factory dashboard.
Retrofitting a heated seat
Aftermarket "Plug-and-Play" heated seats
For many GS and other models, companies like Wunderlich and Touratech offer replacement seats with integrated heating elements.
Purchase the new seat specifically designed for your bike.
If your bike already has factory heated seat wiring (even if the seat is not heated), the new seat will plug directly into that harness.
For bikes without existing heated seat wiring, the seat will have its own independent wiring harness that connects directly to the battery or an accessory circuit. A separate control switch is typically integrated into the side of the seat.
Pros: Retains factory controls (if wired for it), excellent comfort, and easy installation.
Cons: Premium price for a complete replacement seat.
DIY heated seat element installation
This method involves adding a heating element to your existing seat but requires more work and skill.
Carefully remove the seat cover from the seat foam, noting how it is attached.
Install a universal heating element kit (from a supplier like Saddlemen) under the seat cover and route the wiring.
Wire the element to a fused, switched power source on the bike.
Re-install the seat cover, a process that may require special tools like a heat gun and stapler to get a smooth, tight finish.
Pros: Less expensive than a full replacement seat.
Cons: Time-consuming, requires upholstery skills, and risks damaging the original seat.
BMW MOTORRAD · RETROFIT DETAIL
Shift Assistant Pro
The Shift Assistant Pro
The Shift Assistant Pro retrofit for BMW Motorrad is an aftermarket upgrade that allows for clutchless, bidrectional gear changes on compatible models. Originally a factory option for certain bikes, the retrofit brings this feature to motorcycles that did not have it installed from the factory.
Key features
Bidirectional clutchless shifting: Allows for both clutchless upshifts and downshifts in almost all load and engine speed ranges, eliminating the need to operate the clutch or roll off the throttle.
Reduced shift times: The system provides significantly faster gear changes, contributing to greater dynamics and a more engaging riding experience.
Increased comfort: Frees up the rider's clutch hand, which is especially beneficial in stop-and-go traffic or for long-distance touring.
Optimized shifting behavior: The system manages the precise timing of engine torque reduction for upshifts and throttle-blips for downshifts, resulting in smooth and precise gear changes.
Simplified installation: Depending on the specific kit, it may be a "plug and play" solution for a qualified technician.
Components of the retrofit kit
The retrofit kit typically consists of several key parts:
Shift linkage with sensor: This replaces the original linkage and includes a strain gauge sensor that detects the rider's intent to shift when they press on the gear lever.
Adapter cable: Connects the new shift sensor to the motorcycle's electronics.
ECU programming: The bike's Engine Control Unit (ECU) must be programmed to recognize and operate the new hardware. This often requires a special enablement code and must be performed by an authorized BMW Motorrad dealer or a specialist with the right diagnostic tools.
Compatibility and installation
Specific models: The retrofit is not available for all BMW Motorrad models. It is commonly offered for liquid-cooled bikes from certain years, such as the R 1200 GS (2014 and later) and the S 1000 series. Older models, like the 2013 liquid-cooled R 1200 GS, are often not compatible.
Coding is required: The process is not a simple bolt-on installation. It requires an authorized dealer or a specialist to perform the necessary ECU programming (coding).
Dealer vs. aftermarket kits: While an official BMW dealer can perform the retrofit, independent companies also offer kits with all the necessary hardware. Some of these aftermarket kits may even offer what they claim is "optimized" shifting functionality.
How it works
The system's operation is intelligent and load-dependent:
Upshifting: When the rider presses the gear lever to upshift, the sensor detects the movement and immediately sends a signal to the ECU. The ECU then briefly cuts ignition and fuel injection to unload the gearbox, allowing the gear to engage seamlessly without the rider closing the throttle or using the clutch.
Downshifting: For downshifts, the system uses "blipping" or a double-declutching function. It detects the downshift request and briefly blips the throttle to match the engine speed to the transmission speed, allowing for a smooth and fast gear change.
Riding with Shift Assistant Pro
Clear shifts are necessary: The system requires a firm, positive actuation of the gear lever. A slow or half-hearted press can cause issues or result in the bike accidentally shifting into neutral.
Throttle discipline: For the smoothest shifts, riders should maintain a steady throttle position during upshifts. For downshifts, the rider does not need to blip the throttle manually; the system handles it automatically.
Performance varies: Some owners, particularly those with four-cylinder bikes like the S 1000 series, report very smooth shifts. Owners of Boxer engines, like the R series, may find the results vary, with some reporting a less "buttery" feel due to the bike's suspension and driveshaft angle.
The procedure for retrofitting the Shift Assistant Pro on a BMW Motorrad motorcycle involves two main parts: the physical installation of the new hardware and the electronic coding of the bike's ECU. The complexity varies depending on the specific motorcycle model and whether you are using a dealer or a third-party kit.
Step 1: Preparation and pre-installation
Verify compatibility: First, confirm that your specific motorcycle model and model year are compatible with the Shift Assistant Pro retrofit. Compatibility often depends on the type of Engine Control Unit (ECU) installed.
A replacement shift linkage with an integrated strain gauge sensor.
An adapter cable to connect the sensor to the bike's wiring harness.
An enablement code (often purchased separately through a dealer).
Gather tools: Gather all necessary tools, including standard metric motorcycle tools, a torque wrench, and potentially bike-specific tools for removing bodywork or accessing the gear shifter.
Step 2: Mechanical installation
Access the shift lever and linkage by removing any necessary bodywork or panels.
Detach the stock shift linkage from both the gear lever and the gearbox arm. Pay attention to the orientation and placement of any spacers or washers.
Fit the new shift linkage, which contains the quickshifter sensor, in place of the old one.
Make sure the orientation is correct to ensure the sensor functions properly.
Torque all bolts to the manufacturer's specifications. Some bolts on the shifter may have left-hand threads.
Use the provided adapter cable to connect the new quickshifter sensor to the motorcycle's main wiring harness.
The location of the connection point varies by model, but it is often found near the engine or transmission.
Route and secure the new wiring away from heat sources and moving parts.
Step 3: Electronic coding and activation
This step must be performed by a professional with the correct diagnostic equipment, such as an authorized BMW Motorrad dealer or a specialized tuning shop.
Acquire the enablement code: The dealer will generate a Feature Enabling Code (FSC) specific to your bike's Vehicle Identification Number (VIN). This code tells the ECU that the new hardware is present and should be enabled.
Connect to the ECU: The technician will connect their diagnostic tool (e.g., ISTA, E-Sys) to the motorcycle's diagnostic port.
The technician will add the Shift Assistant Pro option to your bike's vehicle order, which is the list of options stored in the ECU.
The FSC code is used to authenticate and allow this change.
Code the ECUs: After the VO is updated, the affected ECUs are coded to activate the new software feature. This may involve a complete recoding of the ECUs to incorporate the new options.
Run adaptations/calibrations: Some installations may require running specific service functions, such as throttle position sensor recalibration, to ensure the new quickshifter operates smoothly.
Step 4: Final checks
Test the system: Take the motorcycle for a test ride to confirm that both upshifts and downshifts work correctly without using the clutch.
Verify operation: Ensure that the bike is shifting smoothly under varying loads and RPMs, and that there are no error messages on the dash.
BMW MOTORRAD · RETROFIT DETAIL
ABS Pro
ABS Pro
The procedure for retrofitting ABS Pro on compatible BMW Motorrad bikes involves a combination of potential hardware installation and specialized software coding. Unlike a simple software flash, ABS Pro relies on lean angle sensors, and its retrofit requires enabling these features and altering the ABS control strategy to use that data.
What is ABS Pro?
ABS Pro is a cornering-optimized anti-lock braking system that uses lean angle data from existing sensors on the motorcycle (e.g., the Inertial Measurement Unit, or IMU). By monitoring the bike's banking angle, ABS Pro can precisely adapt its braking intervention to prevent wheel lock-up and sudden righting moments while braking in a turn. This reduces the risk of falling in an emergency braking situation while cornering.
Typical retrofit procedure
The complexity of the retrofit varies significantly depending on whether the motorcycle already has the necessary lean angle sensors installed for other systems, such as Dynamic Traction Control (DTC) or Riding Modes Pro.
Step 1: Pre-installation check
A qualified technician or a specialized service center must first determine if the bike is mechanically equipped for the upgrade.
Check for existing hardware: If the motorcycle was factory-equipped with DTC or Riding Modes Pro, it will likely have the required sensors (IMU) already installed. In this case, the retrofit is often a software-only update.
Missing hardware: If the bike lacks the necessary sensors, the retrofit is more complex and expensive, requiring the installation of the IMU and associated wiring, in addition to the software coding.
Step 2: Acquire the necessary files
For a successful retrofit, a specific enablement code (FSC) is required. This code is tied to the bike's Vehicle Identification Number (VIN) and is purchased through an authorized BMW Motorrad dealer.
Step 3: Electronic coding and activation
Once the hardware (if needed) and enablement code are ready, a technician uses specialized diagnostic software to complete the process.
Connect diagnostic tool: The technician connects to the motorcycle's ECU via the diagnostic port.
Add to Vehicle Order (VO): The ABS Pro feature is added to the bike's vehicle order, a record in the ECU of all installed options.
Code the ECU: The ABS control unit is recoded to activate the ABS Pro software. This step incorporates the new functionality and uses the data from the IMU to modulate brake pressure while cornering.
Step 4: Final checks and calibration
After the coding is complete, the motorcycle is tested to ensure all systems are functioning correctly.
The system performs a self-test when the ignition is switched on. The ABS indicator light on the dash should turn off once the system confirms that it is operating without faults.
A test ride may be performed to verify the new ABS Pro functionality.
Key considerations
Dealer vs. third-party: While some third-party solutions exist, the most reliable and officially supported method for retrofitting ABS Pro is through an authorized BMW Motorrad dealer. The process requires specific software and codes that are typically only available through official channels.
Cost: The price of the retrofit can vary widely depending on whether it requires hardware installation or is a software-only upgrade. A software-only upgrade is significantly cheaper.
Model compatibility: ABS Pro retrofits were initially released for high-performance bikes like the HP4 and S 1000 RR (model years 2012–2014). Compatibility expanded over time to include other models like the R 1200 GS and K 1600 GT/GTL. It is critical to confirm that your specific model and model year are compatible with the retrofit.
BMW MOTORRAD · RETROFIT DETAIL
MSR Engine Drag Torque Control
MSR (engine drag torque control)
Engine Drag Torque Control (MSR) is an electronic safety feature available on many modern BMW Motorrad bikes, typically as part of the optional "Riding Modes Pro" package. MSR prevents the rear wheel from skidding during aggressive downshifts or when rolling off the throttle quickly, especially on low-friction surfaces. Instead of a mechanical slipper clutch, MSR electronically manages engine torque by momentarily opening the throttle butterflies slightly to reduce the engine's braking effect and prevent rear wheel hop.
The retrofit of MSR is almost always a software-only procedure, provided the motorcycle is already equipped with the necessary hardware to enable it. This is similar to the ABS Pro retrofit, which also relies on existing sensors.
Preconditions for MSR retrofit
The ability to retrofit MSR depends entirely on whether the bike has the required sensors and control units already installed.
Existing hardware: The MSR system relies on existing sensors used for other dynamic functions, such as the Inertial Measurement Unit (IMU), wheel speed sensors for ABS, and throttle position sensors. Bikes that come from the factory with Dynamic Traction Control (DTC) or Riding Modes Pro usually have the required hardware.
Model compatibility: MSR is available on many modern BMW motorcycles, including the R 1250 and S 1000 series. Compatibility varies by model and model year, so it's essential to confirm that your specific bike can support the feature.
Retrofit procedure
Unlike a hardware retrofit like the Shift Assistant Pro, there is no physical installation for MSR. The procedure is purely electronic and must be performed by a professional with the correct diagnostic equipment.
Step 1: Pre-procedure checks
A technician first verifies the bike's compatibility and ensures all required hardware is present.
The Vehicle Identification Number (VIN) is used to generate a Feature Enabling Code (FSC), which is required to unlock the feature in the bike's software.
Step 2: Electronic coding and activation
Connect diagnostic tool: A technician connects a BMW-specific diagnostic tool (like ISTA) to the bike's diagnostic port.
Update Vehicle Order (VO): The MSR option is added to the bike's vehicle order. This is a list of all the features and equipment the bike was built with.
Code the ECU: The engine control unit (ECU) is then recoded to activate the MSR software. The FSC code is used to authenticate and allow this process.
Step 3: Final steps
After the coding is complete, the motorcycle is tested to ensure all systems function correctly.
The instrument cluster will confirm that the new feature is enabled, and the MSR function can typically be adjusted within the bike's settings menu, often linked to the different riding modes.
Key considerations for MSR retrofit
Professional installation is required: Due to the complex nature of ECU coding and the need for a specific enablement code, this is not a DIY procedure. A BMW Motorrad dealer or specialist is required to perform the work.
Part of a larger package: MSR is often part of a larger "Riding Modes Pro" software package that includes other features like ABS Pro and Dynamic Brake Control (DBC). Retrofitting MSR may also require enabling these other features if the bike has the hardware for them.
Integrated function: MSR works in concert with other systems on the bike, such as the throttle-by-wire and IMU, to achieve its effect. A proper retrofit ensures this integration is seamless and reliable.
Engine Drag Torque Control (MSR) is generally available as a retrofit for many modern BMW Motorrad models that are already equipped with the necessary electronic hardware, such as an Inertial Measurement Unit (IMU). This typically includes bikes that came with optional features like Dynamic Traction Control (DTC) or Riding Modes Pro from the factory. Since the retrofit is a software upgrade, it is most common on models with ride-by-wire throttles.
Here is a list of common BMW Motorrad model series where MSR retrofit is often possible:
GS/Adventure Series
R 1250 GS and GSA: Models equipped with "Riding Modes Pro" from the factory can often be updated via software.
R 1300 GS and GSA: Later models may support the retrofit if not included from the factory.
F 900 GS and GSA: Many of these models were built with the necessary electronics for an MSR software retrofit.
Sport Series
S 1000 RR (2020 onwards): For the 2023 model year, MSR was made available on the S 1000 RR and can be retrofitted on compatible bikes.
S 1000 R and XR: These models, particularly later generations, can often have MSR added via a software update. The F 900 R and XR were also released with MSR as an option.
Roadster/Heritage Series
R 1250 R and RS: Models with the necessary electronics for DTC or Riding Modes Pro are generally compatible.
R 12 and R 12 nineT (newer models): These bikes may have MSR as a factory option, and if they have the necessary hardware (like the IMU for cornering ABS), they might be able to get MSR enabled.
Touring Series
R 1250 RT: As part of the "Riding Modes Pro" option, MSR can often be activated via software on compatible models.
K 1600 Series (GT, GTL, Bagger): Many later-model K1600s with existing advanced rider electronics packages can have MSR enabled.
How to check for compatibility
To determine if your specific motorcycle can be retrofitted with MSR, the most reliable method is to:
Check factory options: Review your bike's original factory build sheet. If it already has Dynamic Traction Control (DTC) or Riding Modes Pro, a retrofit is very likely.
Consult a dealer: The most definitive way is to have an authorized BMW Motorrad dealer check your Vehicle Identification Number (VIN). Their diagnostic software can determine if your bike's hardware and electronics are compatible with the MSR software update.
Use a diagnostic tool: Some advanced third-party diagnostic tools, like Motoscan Ultimate, might be able to confirm compatibility, but an official FSC code from BMW will still be required for activation.
Important note
MSR is a complex, software-dependent feature. Unlike a mechanical component, it relies on seamless integration with the bike's IMU, throttle-by-wire, and ABS system. Because of this, it is not a "bolt-on" part and requires professional coding to enable.
BMW MOTORRAD · RETROFIT DETAIL
Dynamic ESA Pro
Retrofit of Dynamic ESA
Retrofitting Dynamic ESA Pro is complex and generally not supported by BMW Motorrad for bikes not originally equipped with it. Instead of a factory retrofit, riders often upgrade components or use plug-and-play aftermarket systems to add Dynamic ESA functionality.
The key distinction lies between BMW's earlier Electronic Suspension Adjustment (ESA) and the more sophisticated, semi-active Dynamic ESA Pro. A true factory retrofit of Dynamic ESA Pro would be impractical due to the deep integration of the software and sensors required.
Dynamic ESA vs. ESA I and ESA II
Understanding the different levels of BMW's electronic suspension is critical to understanding what can be retrofitted.
Feature
ESA I & II (Older)
Dynamic ESA Pro (Newer)
Adjustment
Damping and spring preload are only adjusted by the rider while stationary, or by selecting a riding mode.
The system automatically and continuously adjusts damping in real-time based on road and riding conditions.
Control
Uses stepper motors to change settings when commanded.
Uses solenoid-controlled valves for rapid, real-time damping adjustments.
Inputs
Relies on the rider's manual input for settings.
Gathers real-time data from various sensors, including suspension travel sensors and the bike's Inertial Measurement Unit (IMU).
Aftermarket alternatives for Dynamic ESA Pro
For motorcycles that do not have Dynamic ESA Pro from the factory, the most common "retrofit" methods are aftermarket solutions. These upgrades often involve replacing the original shocks but retain the factory electronic controls.
Tractive Suspension: Offers "Plug & Play" ESA shocks that connect directly to the original BMW wiring harness and are controlled via the factory buttons. This retains the full functionality of the Dynamic ESA system while improving performance and reliability.
Maselli Suspension: Provides an ESA shock absorber that works with the bike's original preload system, spring, and electronic controls, allowing for a performance upgrade without compromising the electronics.
Touratech Suspension: Offers "Plug & Travel" ESA replacement shock sets that integrate with the original BMW ESA controls.
Retrofitting "Pro" riding modes
A separate "retrofit" that can be confused with a suspension upgrade is adding the "Pro" riding modes. This does not install Dynamic ESA Pro but unlocks additional ride mode features on compatible motorcycles.
Method: This is typically done by installing an official BMW "coding plug" chip under the motorcycle's seat.
Functionality: This enables additional modes like "Dynamic Pro" and "Enduro Pro," which offer advanced, customizable settings for throttle response, traction control, ABS, and wheelie control.
Software update: Accessing all customizable settings requires the bike's software to be updated at a dealership
Attempting a factory Dynamic ESA retrofit on a non-ESA BMW is highly complex and not supported by the manufacturer. The original system relies on deep integration with the motorcycle's electronics, including multiple control units, sensors, and wiring harnesses that are not present on a non-ESA bike.
Instead, the only practical path is an aftermarket conversion. This involves installing new shock absorbers with built-in electronics that can be controlled with existing or added switches. These systems provide automated adjustments but are not a true factory "Dynamic ESA" system.
Option 1: Aftermarket conversion with remote control
This method uses a fully independent aftermarket electronic suspension system, bypassing the bike's stock computer. It is the most robust solution for a non-ESA bike.
Components needed
Aftermarket semi-active shocks: These include integrated motors and solenoids for automated damping and preload adjustment. Examples include higher-end offerings from Öhlins, Wilbers (WESA-X), or Tractive (DDA).
External control unit: This unit receives input from sensors and controls the shocks.
Handlebar-mounted switch: A separate switch is added to the handlebars to allow the rider to select settings.
Installation kit: This includes all necessary wiring harnesses and mounting hardware.
Retrofit procedure
Remove the stock suspension: This includes the manually adjustable front and rear shock absorbers.
Mount the new suspension and components: Install the new electronic shocks, mount the external control unit in a suitable location (often under the seat), and fit the new switch on the handlebar.
Run the new wiring: Route the supplied wiring harnesses to connect the new shocks and the handlebar switch to the external control unit.
Connect to power and sensors: Connect the control unit to a power source. The system may also require connecting to existing bike sensors, though some modern units use internal sensors and only need a power connection.
Initial calibration: Follow the manufacturer's instructions for the initial setup. This typically involves lifting the bike to unload the wheels and running a calibration routine to teach the system the suspension's full range of travel.
Option 2: Aftermarket "plug-and-play" conversion
This method is only an option if the aftermarket manufacturer offers a kit compatible with the specific year and model of your non-ESA motorcycle. It re-purposes some of the factory controls.
Components needed
Aftermarket ESA-compatible shocks: Manufacturers like Tractive and Touratech offer kits designed to be integrated into BMWs with existing, but non-Dynamic, ESA systems. A non-ESA bike would also need additional components.
Factory ESA switches and wiring harness: You would need to purchase and install the original BMW ESA buttons and wiring harness to integrate with the aftermarket shocks.
Suspension travel sensors (for semi-active functionality): Dynamic ESA requires front and rear travel sensors, and you would need to install these as well.
Retrofit procedure
Install factory electronics: Fit the factory ESA switches on the handlebar and install the required wiring harness for the ESA system.
Install sensors: Fit the suspension travel sensors on the front and rear of the motorcycle.
Install aftermarket shocks: Replace the manual shocks with the aftermarket ESA-compatible versions.
Calibrate the system: With the new components installed and the feature potentially enabled, perform a calibration using a diagnostic tool.
Considerations for non-ESA to Dynamic ESA retrofit
Cost: The total cost of an aftermarket retrofit can be substantial, often rivaling or exceeding the cost of the factory option on a new motorcycle.
Reliability: Aftermarket systems can be very reliable, but they are still a modification. Choosing a reputable brand and installer is essential.
Complexity: The "plug-and-play" method on a non-ESA bike is the most complex as it requires advanced access and modification of the bike's core software. Most owners opt for the self-contained aftermarket system.
Performance: High-end aftermarket suspension systems may offer better overall performance than the stock BMW Dynamic ESA, but with less integration with the factory riding modes
BMW MOTORRAD · RETROFIT DETAIL
BMW Motorrad Fog Light
Retrofit of BMW Motorrad fog light
BMW Motorrad fog light retrofits can be done with either official BMW kits or aftermarket options, though the method differs depending on your motorcycle model and existing electrical system. Newer, CANBUS-equipped bikes often have pre-wired connectors, simplifying the process. Older models may require a traditional wiring harness and relay installation.
Retrofitting with official BMW kits
The official BMW kit is often a plug-and-play solution, especially on newer models, but requires dealer coding to be recognized by the bike's CANBUS electrical system.
Procedure (for CANBUS-equipped bikes like R1250GS)
Mount the lights: Install the BMW LED fog light housings onto the motorcycle using the designated brackets. Newer models like the R1250GS typically have mounting points already built into the frame or crash bars.
Locate the pre-installed connectors on your motorcycle. On R1250GS models, these are typically found near the front of the bike, often behind the fairing or near the forks.
Connect the cables from the new lights directly to the bike's pre-wired connectors.
Install the control switch: Attach the official BMW switch to the handlebar or designated location. On many bikes, this involves replacing or adding a switch cluster.
Code the CANBUS: Visit a BMW Motorrad dealer or a workshop with official diagnostic equipment. The bike's CANBUS system must be coded to recognize and activate the new fog lights. Without this step, the lights will not function.
Retrofitting with aftermarket kits
Aftermarket kits from brands like Touratech, SW-Motech, and DENALI typically use their own wiring harness and control switch. For a truly integrated installation that avoids extra switches, a CANBUS accessory manager like the
or
is required.
Procedure with aftermarket CANBUS accessory manager (e.g., HEX ezCAN)
Mount the lights: Install the aftermarket LED fog lights and their mounting brackets onto the bike's crash bars, forks, or other specified mounting points.
Disconnect the battery.
Install the CANBUS accessory manager by connecting it directly to the battery and the bike's CANBUS network via a specialized connector.
Connect the lights: Run the supplied wiring from the fog lights to the auxiliary manager unit. This unit serves as the controller for all aftermarket electrical accessories.
You can set features like brightness control and "flash-to-pass" behavior.
Reconnect the battery and test: Reconnect the battery and test all functionality to ensure the new lights are working correctly.
Procedure with a traditional relay-based aftermarket kit
Mount the lights: Secure the lights and brackets to the motorcycle.
Install the wiring harness: Run the supplied wiring harness, which includes a relay and fuse, from the lights to the battery.
Install the switch: Mount the kit's on/off switch to the handlebar and run its wiring to the relay.
BMW MOTORRAD · RETROFIT DETAIL
DDC
Retrofit of DDC
A factory-level retrofit of BMW's Dynamic Damping Control (DDC) on a motorcycle not originally equipped with it is not feasible due to its deep integration with the bike's complex electronics. DDC is a semi-active system that dynamically adjusts damping in milliseconds by communicating with multiple control units, including the ABS and Traction Control, via the CAN bus.
The only practical way to add this functionality is by installing a completely independent, high-end aftermarket electronic suspension system. These systems come with their own control units and sensors, offering similar performance without the need to integrate with the factory's non-compatible electronics.
Aftermarket conversion procedure
This method bypasses the need for factory integration, making it a viable solution for any non-DDC motorcycle.
1. Gather components
Aftermarket semi-active suspension kit: Look for full kits that include both front and rear shocks with built-in electronics. Reputable brands like Tractive and Wilbers offer specialized products for this purpose.
External control unit: The kit will include a new "black box" that processes data from the suspension's sensors and controls the damping.
Interface and display: Depending on the kit, this could be a handlebar-mounted switch, a separate display, or even a smartphone app.
Wiring harness: A proprietary wiring harness will connect all components to the new control unit.
2. Disassemble the stock suspension
Working on a motorcycle's suspension and electrical system requires specialized knowledge and tools. Improper disassembly can damage components or create unsafe riding conditions.
3. Install the aftermarket system
Installing complex electronic suspension components involves precise mounting, secure wiring, and proper connection to the motorcycle's power source. Errors during this process can lead to system malfunctions or electrical issues.
4. Configure and test
Configuring and testing an aftermarket electronic suspension system involves initial calibration and setting up riding modes. Incorrect calibration or setup can result in the suspension not functioning as intended, potentially affecting handling and safety.
Key takeaways
No factory DDC retrofit: Due to the complexity and integration of the original system, a true factory DDC retrofit is not possible.
Full aftermarket kit required: You must purchase a comprehensive aftermarket semi-active suspension kit that includes its own control unit and wiring.
Expert installation recommended: The installation of high-end suspension and complex electronics should be performed by a professional motorcycle mechanic to ensure safety and performance. Attempting this procedure without the necessary expertise can be dangerous and is not recommended.
When retrofitting a non-DDC bike with an aftermarket semi-active suspension system, there is no factory coding procedure. The aftermarket kit is a self-contained system that does not communicate with the original BMW DDC control module, as one does not exist on the motorcycle. Instead, the programming and coding procedures involve calibrating the new aftermarket system and configuring its control interface.
The self-contained system
Aftermarket semi-active suspension kits from brands like Tractive and Wilbers are designed to be entirely independent of the factory electronics. They come with their own:
Electronic Control Unit (ECU): The "brain" of the system, which interprets sensor data and controls the shock's damping valves.
Proprietary sensors: These monitor suspension movement and other parameters.
Independent interface: A separate handlebar-mounted switch or an integrated interface (often via Bluetooth to a smartphone app) allows the rider to select settings.
Programming and calibration procedure
The actual "programming" is a calibration procedure performed with the aftermarket system's own interface or software. It is not done with a BMW-specific diagnostic tool as that tool only interacts with factory equipment.
1. Initial mechanical setup
Before any electronic calibration can occur, the suspension must be correctly installed and set up mechanically. This includes:
Unloading the suspension: The motorcycle must be lifted with both wheels off the ground to allow the suspension to extend fully.
Setting static sag: The correct static sag must be set manually according to the manufacturer's instructions to ensure proper suspension travel and ride height.
2. Electronic calibration
The calibration process teaches the aftermarket ECU the physical limits of the new shocks. This allows the system to accurately control damping and preload settings. The procedure typically involves the following steps:
Activate calibration mode: Using the aftermarket system's control interface, initiate the calibration mode. This often requires the ignition to be on.
Run the cycle: The ECU will automatically cycle the damping and preload mechanisms through their full range of motion, from minimum to maximum. This process can be both audible and visible as the system adjusts itself.
Store the values: Once the cycle is complete, the ECU stores the mechanical travel limits. This enables it to control the damping within the specified range.
3. Configuration and personalization
After calibration, the rider can personalize the system's settings through the control interface.
Set ride modes: Create and store custom ride modes by adjusting damping, preload, and other parameters.
Link to sensors: Some advanced systems allow linking to external sensors or using internal sensors to automatically adjust damping based on riding conditions, effectively mimicking the "semi-active" nature of DDC.
Why BMW diagnostic tools are not used
Incompatible hardware: The factory diagnostic tools are designed to read and write data to factory-installed DDC modules. They cannot communicate with the proprietary control units of aftermarket systems.
Absence of factory ECU: On a non-DDC bike, the specialized ECU required for Dynamic DDC does not exist. There is no software to activate or program. The aftermarket kit adds this functionality as a standalone system.
BMW MOTORRAD · RETROFIT DETAIL
Daytime Running Light
Retrofit Daytime Running Light (DRL)
BMW Motorrad Daytime Running Light (DRL) retrofits are typically performed using one of two methods: activating the factory-equipped DRLs via coding or installing an aftermarket lighting system. The procedure varies significantly depending on the bike's model year, regional specifications, and hardware.
Method 1: Enabling factory DRLs via coding
This procedure is applicable to modern BMW motorcycles equipped with a TFT display and the necessary headlight hardware for DRL functionality, such as newer S 1000 RR, R 1250 GS, and F 900 models. In some regions (like the US), this feature is disabled by default and must be activated with a diagnostic tool.
Tools required
Computer or smartphone: For running the diagnostic software.
Battery charger: To maintain battery voltage during the coding process.
Procedure with GS-911
Connect the bike to a battery charger to ensure a stable power supply.
Plug the GS-911 device into the bike's OBD-2 diagnostic port, typically located under the rear seat.
Turn the ignition on.
Connect to the GS-911 device via Wi-Fi or USB.
Select your motorcycle model from the software's menu.
Navigate to "Service Functions" or "Retrofits and Removals".
Select the "Daytime Running Lights" retrofit.
Click "Perform Retrofit." This is a two-part process that will automatically restart the dash during coding.
Allow the software to perform the controller coding for the body control module.
After the procedure is complete, run an auto-scan and clear any fault codes.
Turn the key on. An "A" icon for "Auto Daytime Running Lights" should now appear on the dash.
Check your bike's settings menu. An option to enable or disable DRLs will now be available.
With the engine running, the DRLs will be active, and the headlight will automatically switch on in low-light conditions.
Method 2: Installing aftermarket DRLs
This method is suitable for older BMWs without factory DRLs or for anyone who prefers more powerful or customized aftermarket lights.
Tools and components required
Aftermarket DRL kit: Kits from manufacturers like DENALI, Touratech, or SW-Motech.
Wiring harness with relay and fuse: Included with most kits.
Optional: CANBUS accessory manager: For integrating with the bike's stock switches (e.g., DENALI CANsmart or HEX ezCAN).
Hand tools: Wrenches, crimping tools, zip ties, etc..
Procedure with a CANBUS accessory manager
Mount the lights: Install the aftermarket LED lights using the supplied brackets, typically on crash bars or forks.
Install the manager: Connect the accessory manager to the battery and the bike's CANBUS connector, usually found under the seat.
Connect the lights: Run the new light wiring to the auxiliary manager.
Configure with software: Use the manager's software on a computer or smartphone to map the new DRLs to one of the bike's existing switches (e.g., the turn signal cancel button). This also allows for features like brightness control.
Test: Reconnect the battery and test all functions.
Procedure with a traditional relay-based kit
Mount the lights: Install the lights and brackets.
Route the harness: Run the supplied wiring harness, which contains a relay and fuse, from the lights to the battery.
Connect to a switched power source: To ensure the lights turn off with the ignition, connect the relay's trigger wire to a switched 12V power source, such as a taillight wire.
Connect to the battery: Attach the main power wires to the battery terminals.
Install the switch: Mount the kit's dedicated on/off switch on the handlebar and connect its wires to the relay.
Test: Reconnect the battery and test all functionality.
BMW MOTORRAD · RETROFIT DETAIL
Reverse Assistant
Retrofit of Reverse Assistant
For BMW motorcycles, the "Reverse Assistant" or "Reversing Aid" is an optional factory feature that can be retrofitted on certain models. This system uses the starter motor to gently power the bike backward while the rider controls the speed. The retrofit involves installing a hardware kit and then coding the bike's Electronic Control Unit (ECU) to enable the function.
Models available for reverse assist retrofit
The electric reverse assist is generally available for larger, heavier touring and cruiser models that use the CANBUS electrical system, making maneuvering difficult. Compatible models include:
K Series: K 1600 GT, GTL, Bagger, Grand America
R Series: R 18, R 1250 RT
Other heavy tourers: Check with a BMW Motorrad dealer or a specialized forum for your specific model's compatibility.
Programming procedure with GS-911
This procedure assumes the official BMW retrofit hardware kit has been physically installed according to the factory instructions.
Step 1: Preparation
Connect power: Plug the motorcycle into a battery charger to ensure the voltage remains stable throughout the coding process. This is crucial to prevent errors.
Connect diagnostic tool: Plug the GS-911 device into the bike's diagnostic port (OBD-2 on newer models, or the round 10-pin port on older ones).
Establish connection: Turn on the ignition and connect your computer or smartphone to the GS-911 device via Wi-Fi.
Step 2: Perform the coding
Open the software: Launch the GS-911 software and select your motorcycle model.
Navigate to retrofit functions: In the main menu, go to "Service Functions," and then to "Retrofits and Removals".
Initiate coding: Select the "Reverse Assistant" retrofit option. Follow the on-screen instructions and click "Perform Retrofit".
Step 3: Clear fault codes
Run auto-scan: After the coding procedure is complete, run an "Auto-scan" to identify any new or remaining fault codes.
Clear codes: Clear any fault codes that appear. This helps to ensure the new system is correctly initialized and there are no communication errors.
Step 4: Verify the function
Engage the system: With the motorcycle running and in neutral, press the reverse assist button (often on the left handlebar).
Check the display: The reverse assist symbol should appear on the dash.
Test the movement: Gently press the starter button to engage the reverse function, which will use the starter motor to move the bike slowly backward. Release the button to stop.
What to know about the retrofit
Hardware installation is required: Unlike some minor cosmetic retrofits, reverse assist requires a dedicated button and wiring, making it a hardware-and-software retrofit. The programming step is only possible after the physical components are installed.
Not available on all models: This feature was never offered on sport or lightweight models and cannot be retrofitted to them. The bike must have the underlying system architecture to support the upgrade.
The electric Reverse Assistant can be retrofitted on specific, heavier BMW Motorrad models that have the factory CANBUS electrical system to support the function. For many bikes, this feature was an optional extra from the factory. Compatibility is crucial, as the retrofit requires the bike to have the necessary underlying system architecture.
K Series
Models: K 1600 GT, K 1600 GTL, K 1600 B, and K 1600 Grand America.
Years: This retrofit is possible on many models from 2017 onward, particularly those updated for Euro 4 regulations and the latest CANBUS systems.
R Series
Models: The reverse assistant is available for the large-displacement R series tourers, including the R 1250 RT and the R 18 cruiser models.
R 18: This optional feature is available for retrofit on many R 18 models from their initial production in 2020 onward.
R 1250 RT: The retrofit option is available for R 1250 RT models equipped with the CANBUS system, typically from 2020 onward.
Models not compatible
The reverse assistant is not available or compatible with all BMW motorcycle models. It cannot be retrofitted on bikes that lack the necessary CANBUS integration and motor control systems, such as:
Standard GS models (e.g., F 900 GS)
Roadster models (e.g., F 900 R)
Sport models (e.g., S 1000 RR)
How to check compatibility
The most accurate way to confirm if your specific model and year can be retrofitted with the reverse assistant is to use one of the following methods:
Contact a BMW Motorrad dealer: Provide your vehicle's Vehicle Identification Number (VIN). They can use their official parts and diagnostics system to confirm compatibility.
Use an online parts catalog: Websites like bike-parts-bmw.com allow you to search for official parts based on your model and production year. If a "Reverse assist control unit" or "Reverse assist retrofit kit" is listed as a factory option, a retrofit may be possible.
BMW MOTORRAD · RETROFIT DETAIL
Alarm DWA
RetroFIt of Alarm DWA
Retrofitting a BMW DWA (Diebstahlwarnanlage) anti-theft alarm system is a common upgrade for vehicles and motorcycles that did not include it from the factory. The process involves both physical hardware installation and software coding to integrate the system with the vehicle's CAN bus.
Hardware Installation
The DWA system typically consists of a combined siren and tilt sensor unit.
Location: In many BMW motorcycles (like the R1300GS or F850GS), the module is located under the passenger seat. In cars, it may be integrated with the Central Gateway or a separate siren module.
Installation: The module plugs into an existing connector if the vehicle is "alarm-ready." If not, additional wiring to the vehicle's bus system may be required.
Batteries: If you are using a used module, ensure the internal backup batteries (typically two CR123A lithium batteries) are fresh to avoid immediate "DWA" or "DWA LO" error messages on the dash.
Software Coding & Activation
Even after the hardware is plugged in, the vehicle will not recognize the alarm until it is "registered" in the vehicle's software.
ONLINE TUNING & SUPPORT
Online Tools & Support
Remote operation for supported BMW Motorrad, BMW and MINI vehicles. Prepare the correct cable, a Windows laptop and the required software before your appointment.
ENET / OBD2WINDOWS 10 / 11REMOTE SUPPORTWI-FI INTERNET
IMPORTANTOlder motorcycle instrument-cluster work requires BMW ISTA and ICOM Next.
Contact Phad Motorrad before the appointment so we can confirm the correct connection method and equipment.
BEFORE THE SESSION
What you need to prepare
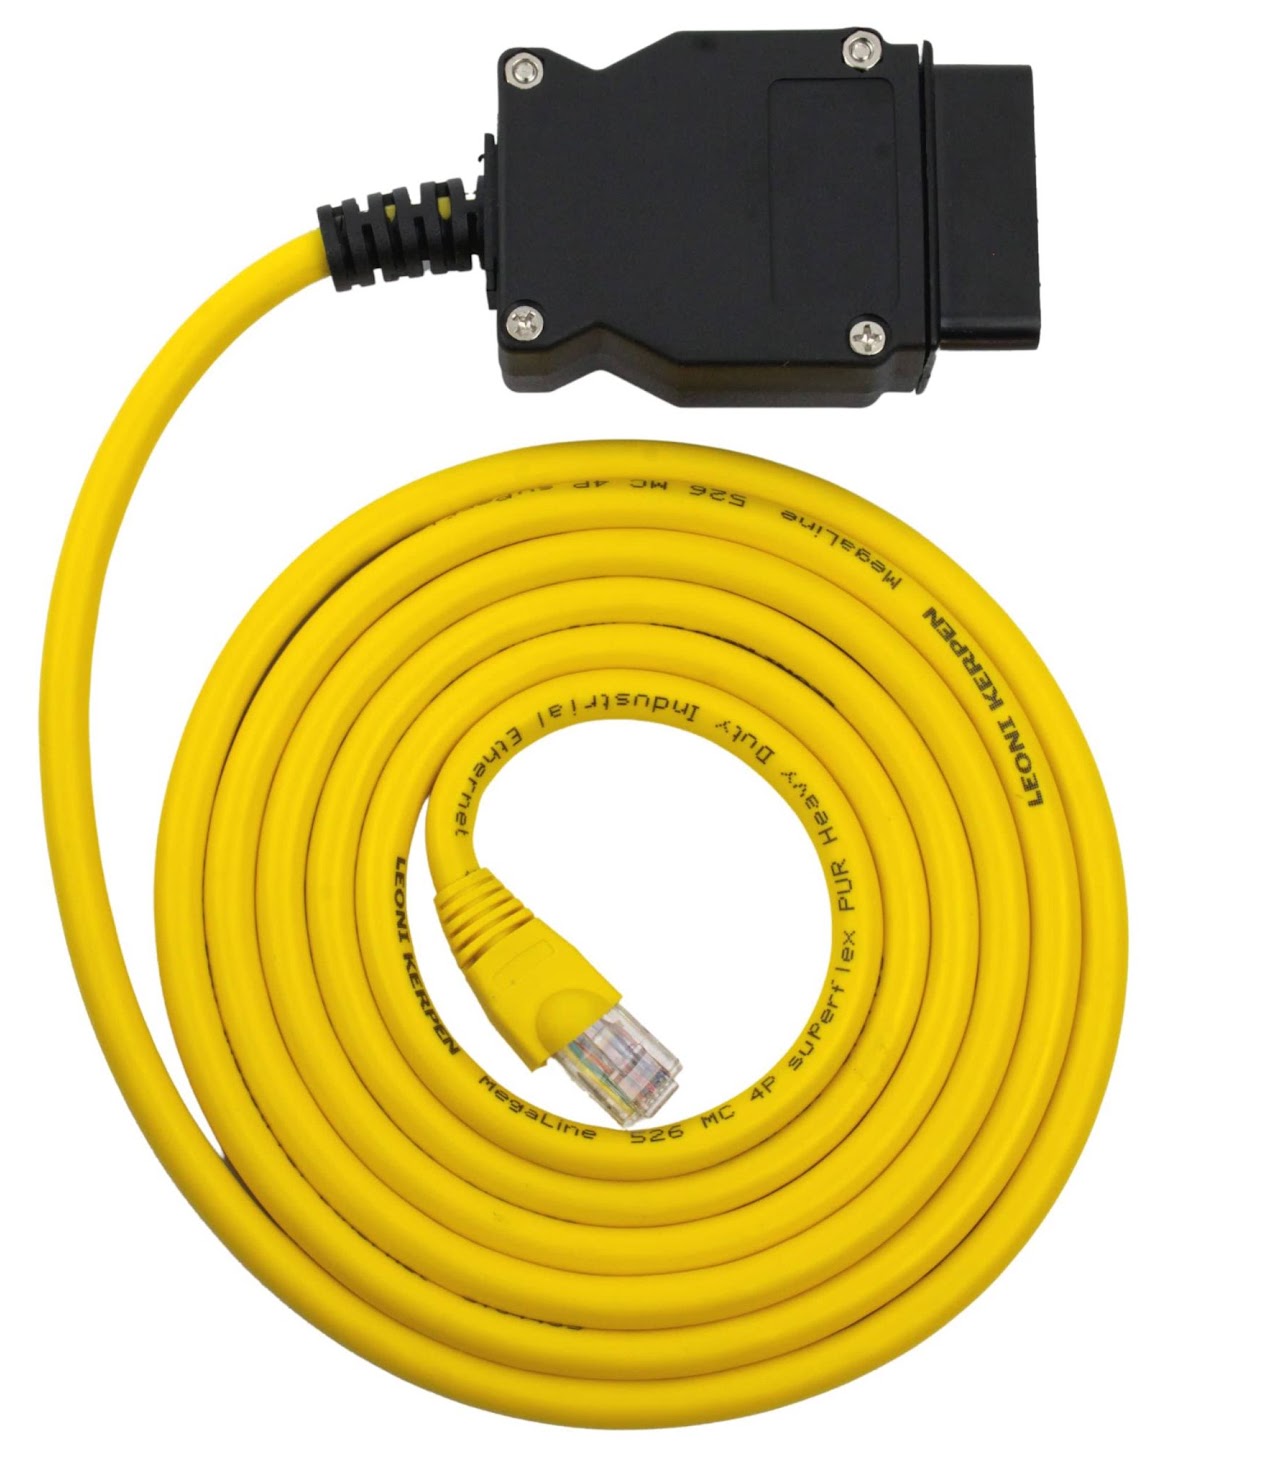
CONNECTIONENET / OBD2 Cable
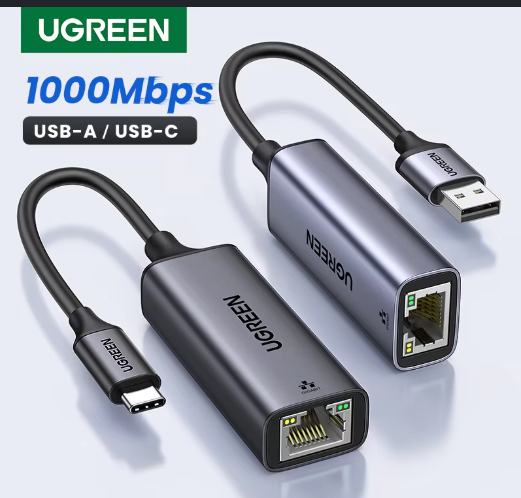
ADAPTERUSB / RJ45 Adapter
ENET Cable
Search for a BMW ENET cable online. Your laptop needs an RJ45 port or a USB-to-RJ45 adapter.
Battery Charger
Recommended for the motorcycle or car during a remote session, but not required for every job.
Windows Laptop
Prepare a Windows 10/11 laptop with a wired Ethernet LAN connection.
Internet & Remote Access
Connect the laptop to Wi-Fi and prepare UltraViewer or AnyDesk for the remote operation.
REMOTE SOFTWARE
Download and install all 3 applications
Install these applications on the Windows PC or laptop that will connect to the vehicle.
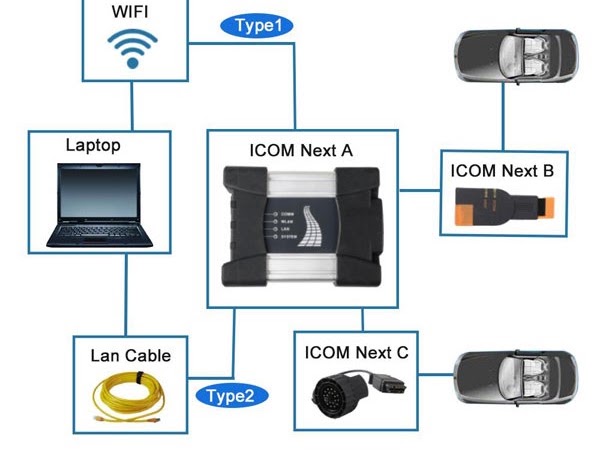
NETWORKICOM Network Setup
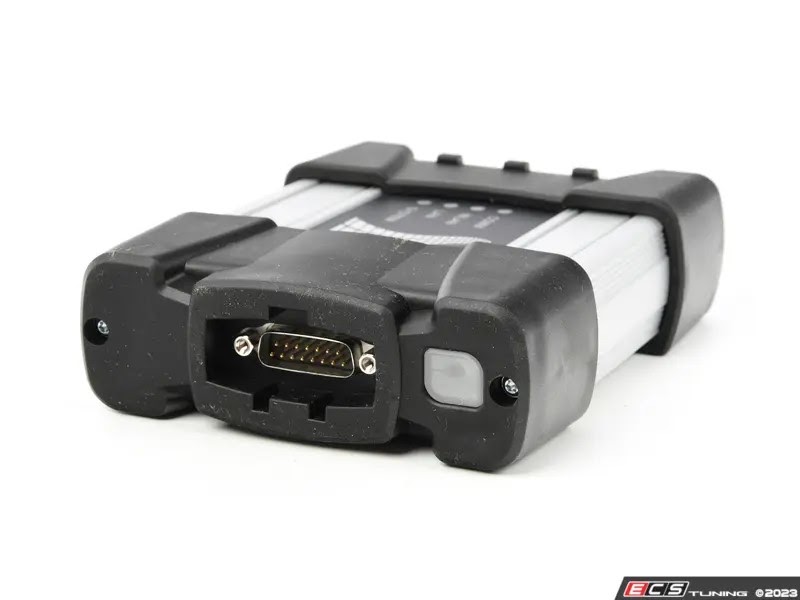
INTERFACEICOM
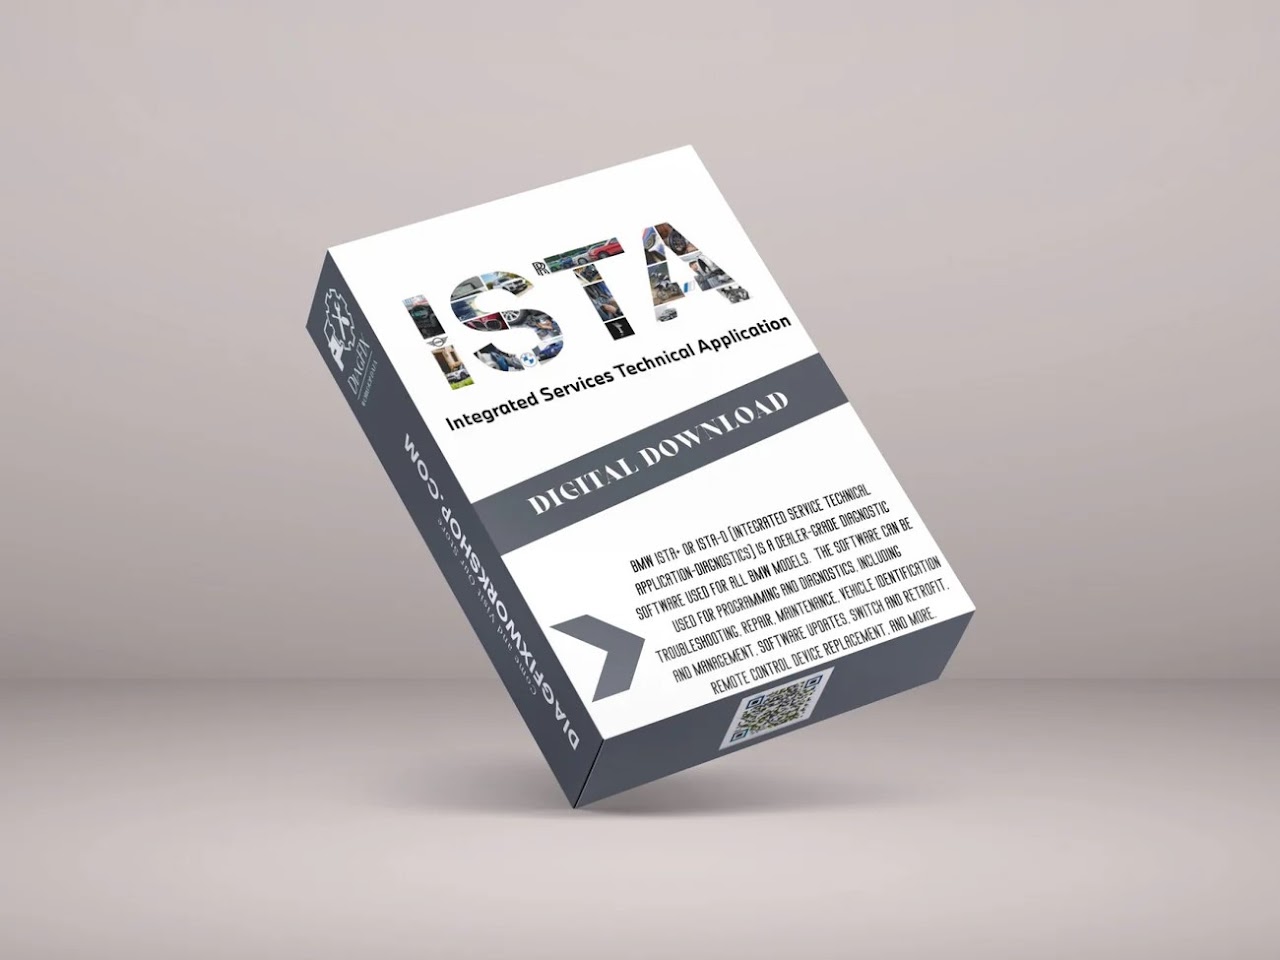
SOFTWAREISTA
01Remote SupportUltraViewer
Remote desktop software used by Phad Motorrad during the online session.
DOWNLOAD ↗02Secure VPNRadmin VPNCreates the private network connection required for supported remote operations.
DOWNLOAD ↗03Connector AppCar-ConnectorConnector software for supported BMW and MINI online work.
DOWNLOAD ↗MOTORRAD CONNECTION GUIDE
Prepare the correct OBD2 connection